Register your product(s) at hps://tools.juniper.net/svcreg/SRegSerialNum.jsp.
Update your installaon base at hps://www.juniper.net/customers/csc/management/
updateinstallbase.jsp.
Perform the Inial Soware Conguraon for the
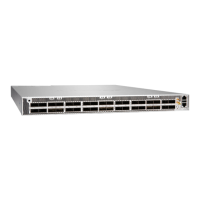
PTX10001-36MR
Before you begin connecng and conguring a PTX10001-36MR, set the following parameter values on
the management console or console server:
• Baud Rate—9600
• Flow Control—None
• Data—8
• Parity—None
• Stop Bits—1
• DCD State—Disregard
You’ll need to perform the inial conguraon of the PTX10001-36MR through the console port using
the CLI or through zero-touch provisioning (ZTP). To provision the PTX10001-36MR using ZTP, you’ll
need access to a Dynamic Host Control Protocol (DHCP) server and a File Transfer Protocol (anonymous
FTP), Hypertext Transfer Protocol (HTTP), or Trivial File Transfer Protocol (TFTP) server on which the
soware image and conguraon les are stored.
To connect and congure the PTX10001-36MR using the CLI:
1. Connect the console port to a laptop or PC by using the supplied RJ-45 cable and RJ-45 to DB-9
adapter. The console port (labeled CON/ToD) is located on the management panel of the
PTX10001-36MR (see "Connect the PTX10001-36MR to a Management Console" on page 96) .
2. Log in as root. There is no password. If the soware boots before you connected to the console
port, you might need to press the Enter key for the prompt to appear.
login: root
98

 Loading...