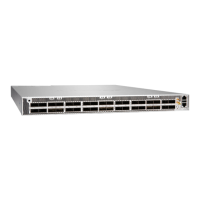
6. Ensure that you have all the parts and tools available to mount the PTX10001-36MR in a rack (see
"Mount the PTX10001-36MR on Two Posts in a Rack" on page 83 or "Mount the PTX10001-36MR
on Four Posts in a Rack" on page 81).
CAUTION: PTX10001-36MR routers require two people for installaon, one person to
li the device into place and another person to aach the device to the rack. If you are
installing the PTX10001-36MR above 60 in. (152.4 cm) from the oor, you can remove
the power supplies and fan modules to minimize the weight before aempng to
install the PTX10001-36MR.
CAUTION: If you are mounng mulple devices in a rack, mount the heaviest device at
the boom and mount the rest boom to top in order of decreasing weight.
Mount the PTX10001-36MR on Four Posts in a Rack
• ESD grounding strap (not provided).
• A pair of front mounng rails and rear mounng blades. These mounng blades support the rear of
the chassis and must be installed. (ordered separately)
• Screws to secure the mounng rail to the chassis (16 screws are provided).
• Eight screws to secure the chassis and mounng blades to the rack (not provided).
• Screwdriver appropriate for the rack-mounng screws (not provided).
• Two power cords with plugs appropriate to your geographical locaon (provided).
• RJ-45 cable and RJ-45 to DB-9 serial port adapter (provided).
• Management host, such as a PC laptop, with a serial port (not provided).
To mount the PTX10001-36MR on four posts in a rack by using the provided mounng kit:
1. Wrap and fasten the ESD grounding strap to your bare wrist and an connect the other end of the
strap to the ESD point on the device.
2. Decide whether to place the front (port) end or the back (FRU) end of the PTX10001-36MR at the
front of the rack. Posion the PTX10001-36MR in such a manner that the AIR OUT labels on
components are next to the hot aisle.
81

 Loading...