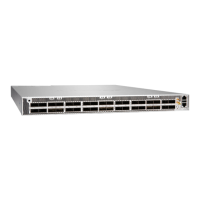
4. Using both hands, place the power supply in the power supply slot on the eld replaceable units
(FRU) panel of the PTX10001-36MR and slide it in unl it is fully seated and the ejector lever slides
into place. See Figure 44 on page 111.
Figure 44: Install a PTX10001-36MR AC/HVDC Power Supply
NOTE: Each power supply must be connected to a dedicated power source outlet.
NOTE: If you have a Juniper Care service contract, register any addion, change, or upgrade of
hardware components at hps://www.juniper.net/customers/support/tools/updateinstallbase/ .
Failure to do so can result in signicant delays if you need replacement parts. This note does not
apply if you replace exisng components with the same type of component.
Remove the DC Power Supply from the PTX10001-36MR
WARNING: Turn o the circuit breaker for the DC power source before disconnecng
the power cord from the power supply. Unplugging an DC connecon while the power
supply is powered up might damage the electrical connectors.
WARNING: If you need to replace all the power supplies installed in your
PTX10001-36MR, you must power o the PTX10001-36MR before removing the
power supplies. See "Power O the PTX10001-36MR" on page 100.
111

 Loading...