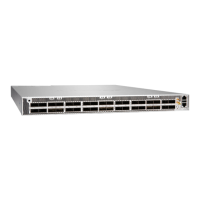
NOTE: When you remove mulple devices from a rack, remove the device at the top of the rack
rst and proceed to remove the rest of the devices from top to boom.
• Ensure that the rack is stable and secured to the building.
• Ensure that there is enough space to place the removed PTX10001-36MR in its new locaon and
along the path to the new locaon.
• Read "General Safety Guidelines and Warnings" on page 148 and "PTX10001-36MR Installaon
Safety Guidelines" on page 77.
• Power o the device (see "Power O the PTX10001-36MR" on page 100).
• Disconnect the power cords.
• Ensure that you have disconnected any cables or wires aached to the PTX10001-36MR (see
"Disconnect a Fiber-Opc Cable from the PTX10001-36MR" on page 122).
To remove a PTX10001-36MR from a rack:
1. Have one person support the weight of the device while another person uses the screwdriver to
remove the front mounng screws that aach the chassis mounng brackets to the rack.
2. Remove the PTX10001-36MR from the rack.
3. Use the screwdriver to remove the mounng screws that aach the mounng blades aached to the
rear of the rack.
4. Place the removed screws and rear mounng blades in a labeled bag. You will need them when you
reinstall the chassis.
5. Transport the PTX10001-36MR to the new locaon.
RELATED DOCUMENTATION
Unpack and Mount the PTX10001-36MR | 78
126

 Loading...