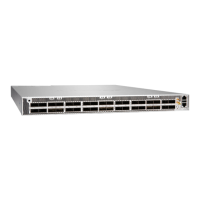
4. Using the number 2 Phillips screwdriver, remove the four at-head screws that secure the access
door on the the device. Retain the screws for later use.
Figure 53: Removing Flat-head Screws in the Access Door
5. Remove the screw holding the SSD in place.
6. Slide the SSD out of the slot and set aside; repeat with the second SSD.
Figure 54: Removing the SSDs
7. Replace the two screws and ghten.
8. Replace the four at-head screws and hand ghten using the number 2 Phillips screwdriver.
9. Dispose of the SSDs according to your site security procedures.
141

 Loading...