AKD2G-S Installation, Safety 1 | 9 Setup
9.2.1.3 Confirm connections (example: directly to PC)
You can turn on logic power to the drive through the X10 connector (mains power voltage is
not needed for communications).
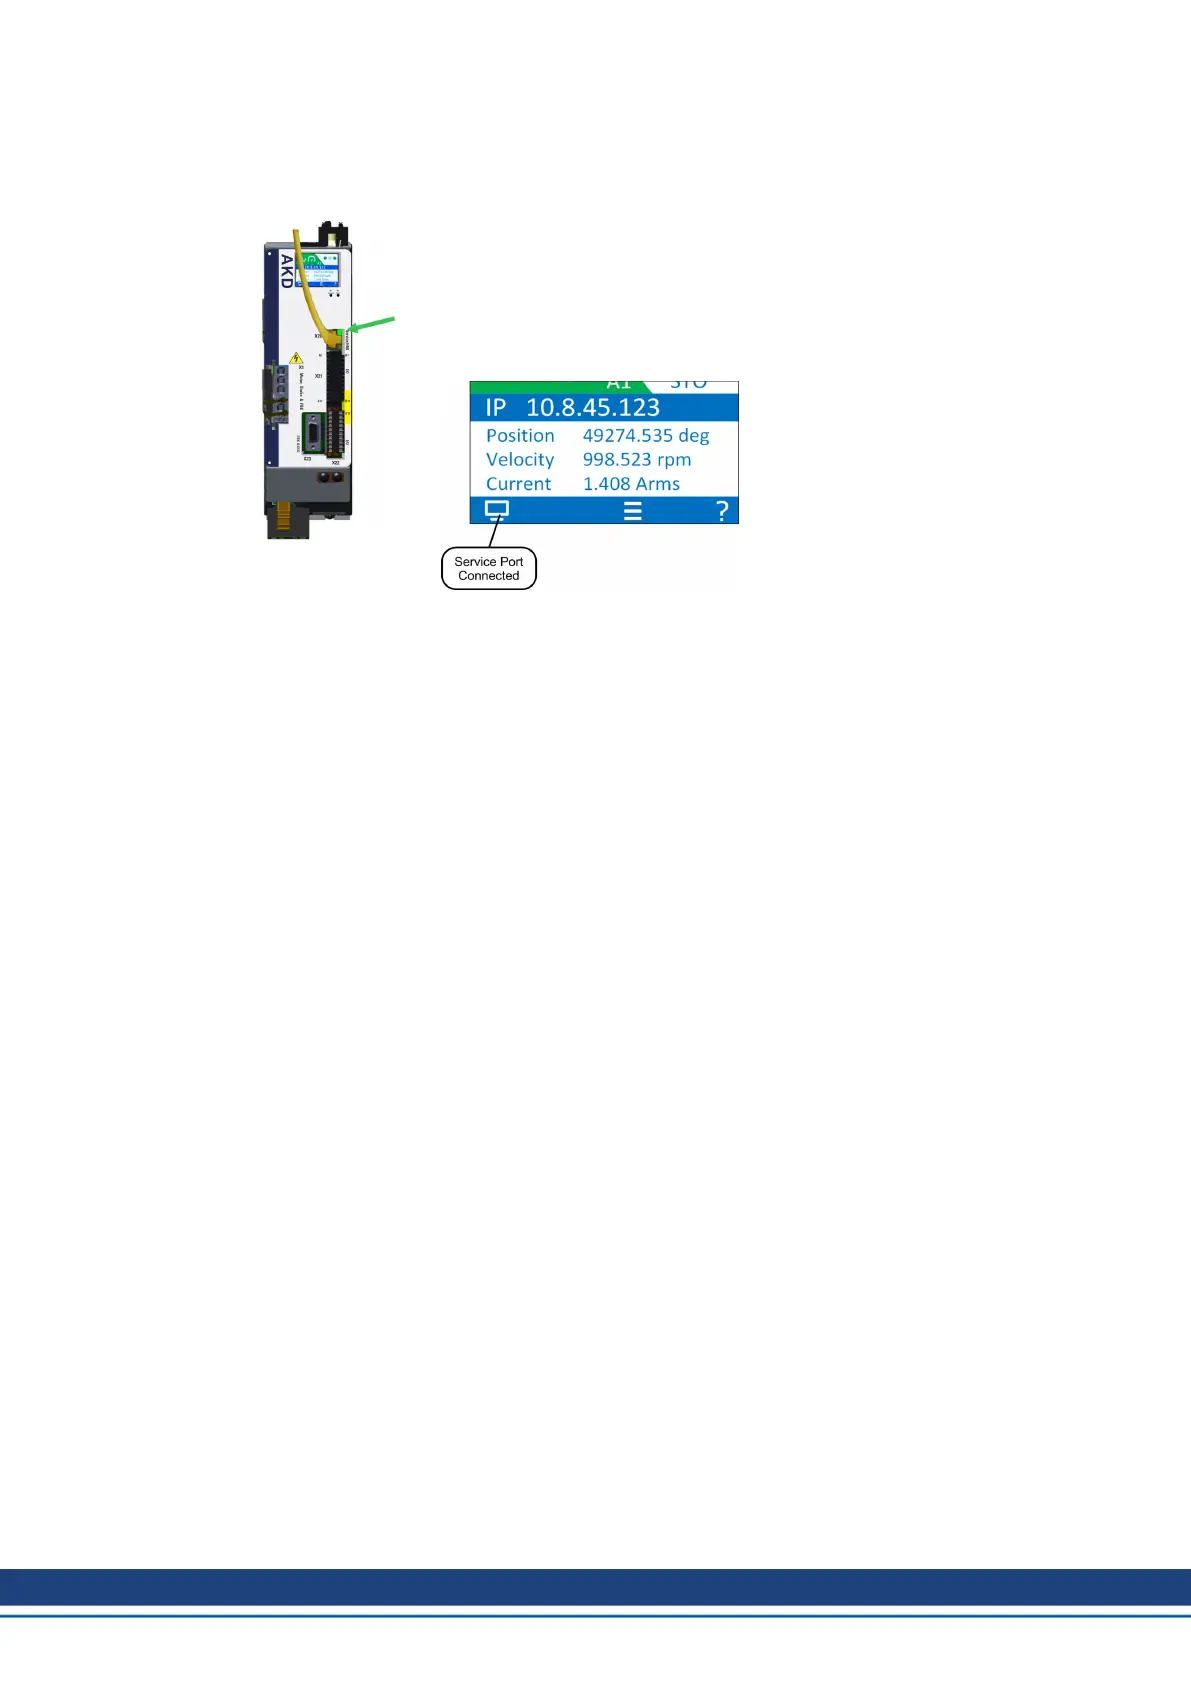
Confirm that the link LEDs on the drive (green LED on the RJ45 con-
nector) and on your PC are both illuminated. If both LEDs are illu-
minated, then you have a working electrical connection.
The LCD display shows a sign, if the connection between AKD2G and
WorkBench is active.
Use WorkBench to configure the drive via the service interface.
9.2.1.4 System integration
MAC Address
The unique MAC address is pre-defined by the manufacturer (see nameplate).
Service IP Address
The AKD2G service port X20 supports auto-IP, DHCP and static IP addressing.
The drive is delivered with IP address 0.0.0.0. Depending on the connection (switch or PC)
either DHCP or auto-IP mechanism assignes a unique IP address.
WorkBench uses the IP address to detect AKD2G devices in the LAN and start com-
munication. With WorkBench you can set a static IP address for the drive (keyword
IP.ADDRESS).
EtherCAT Node Address
The EtherCAT node address is assigned automatically by the EtherCAT master.
CAN Node ID
Set a CAN node ID for the drive in WorkBench (keyword CANBUS.NODEID).
114 Kollmorgen | kdn.kollmorgen.com | Beta, December 2018
 Loading...