8-56
8.62.1.2 Preparations
Before disassembly,
Make sure that the anesthesia machine is turned off and disconnected from the A/C power
source.
Maneuver the anesthesia machine to an appropriate location and then apply the brake.
8.62.1.3 Pre-disassembly
Refer to step 1 in 8.1.7Remove the Display Assembly to remove the display assembly.
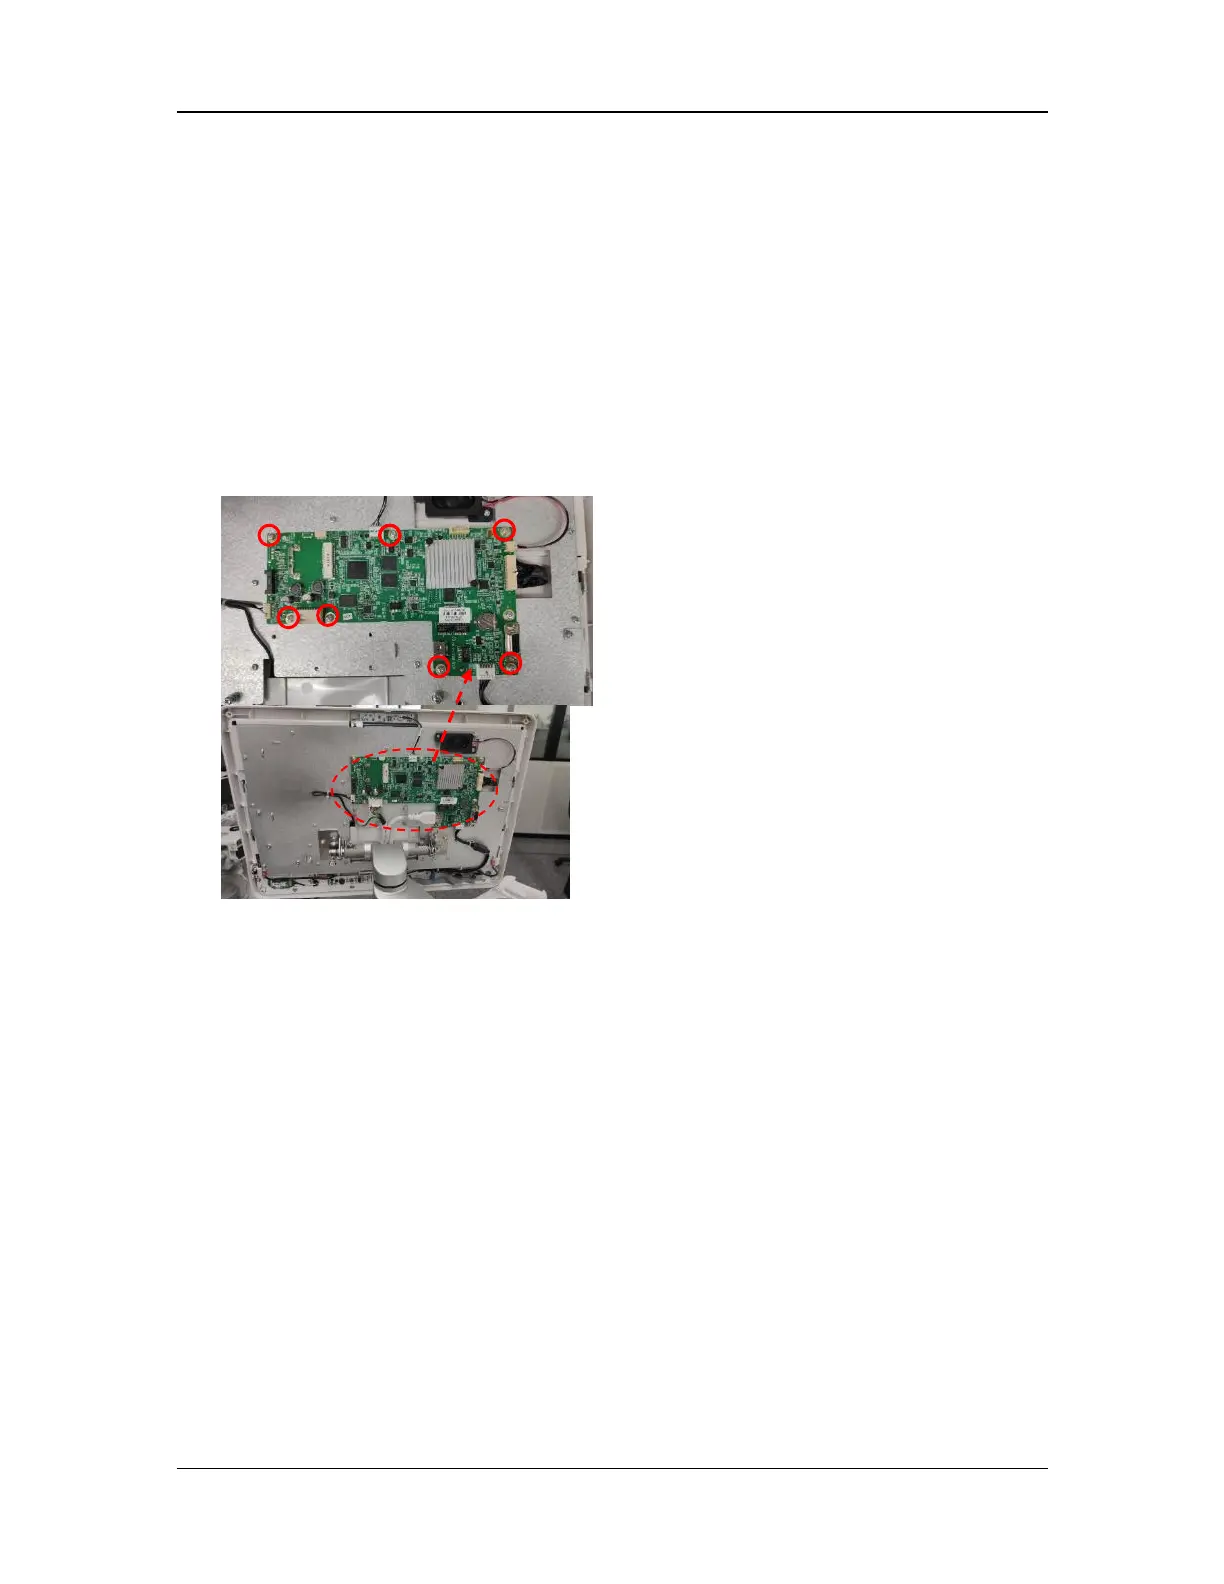
8.62.2 Remove the CPU Board PCBA
1. Disconnect the cables from the CPU board PCBA.
2. Remove the eight screws from the CPU board PCBA with the Phillips screwdriver and take
out the CPU board PCBA.
8.63 Disassemble the Key Lighting Board
8.63.1 Prepare for Disassembly
8.63.1.1 Tools
During parts disassembly and replacement, the following tools may be required:
Phillips screwdriver
8.63.1.2 Preparations
Before disassembly,
Make sure that the anesthesia machine is turned off and disconnected from the A/C power
source.
Maneuver the anesthesia machine to an appropriate location and then apply the brake.
8.63.1.3 Pre-disassembly
Refer to step 1 in 8.1.7Remove the Display Assembly to remove the display assembly.
8.63.2 Remove the Key Lighting Board
1. Disconnect the cables from the key lighting board.
2. Remove the nine screws from the key lighting board with the Phillips screwdriver and take
out the key lighting board.