4 Units Description
4-3
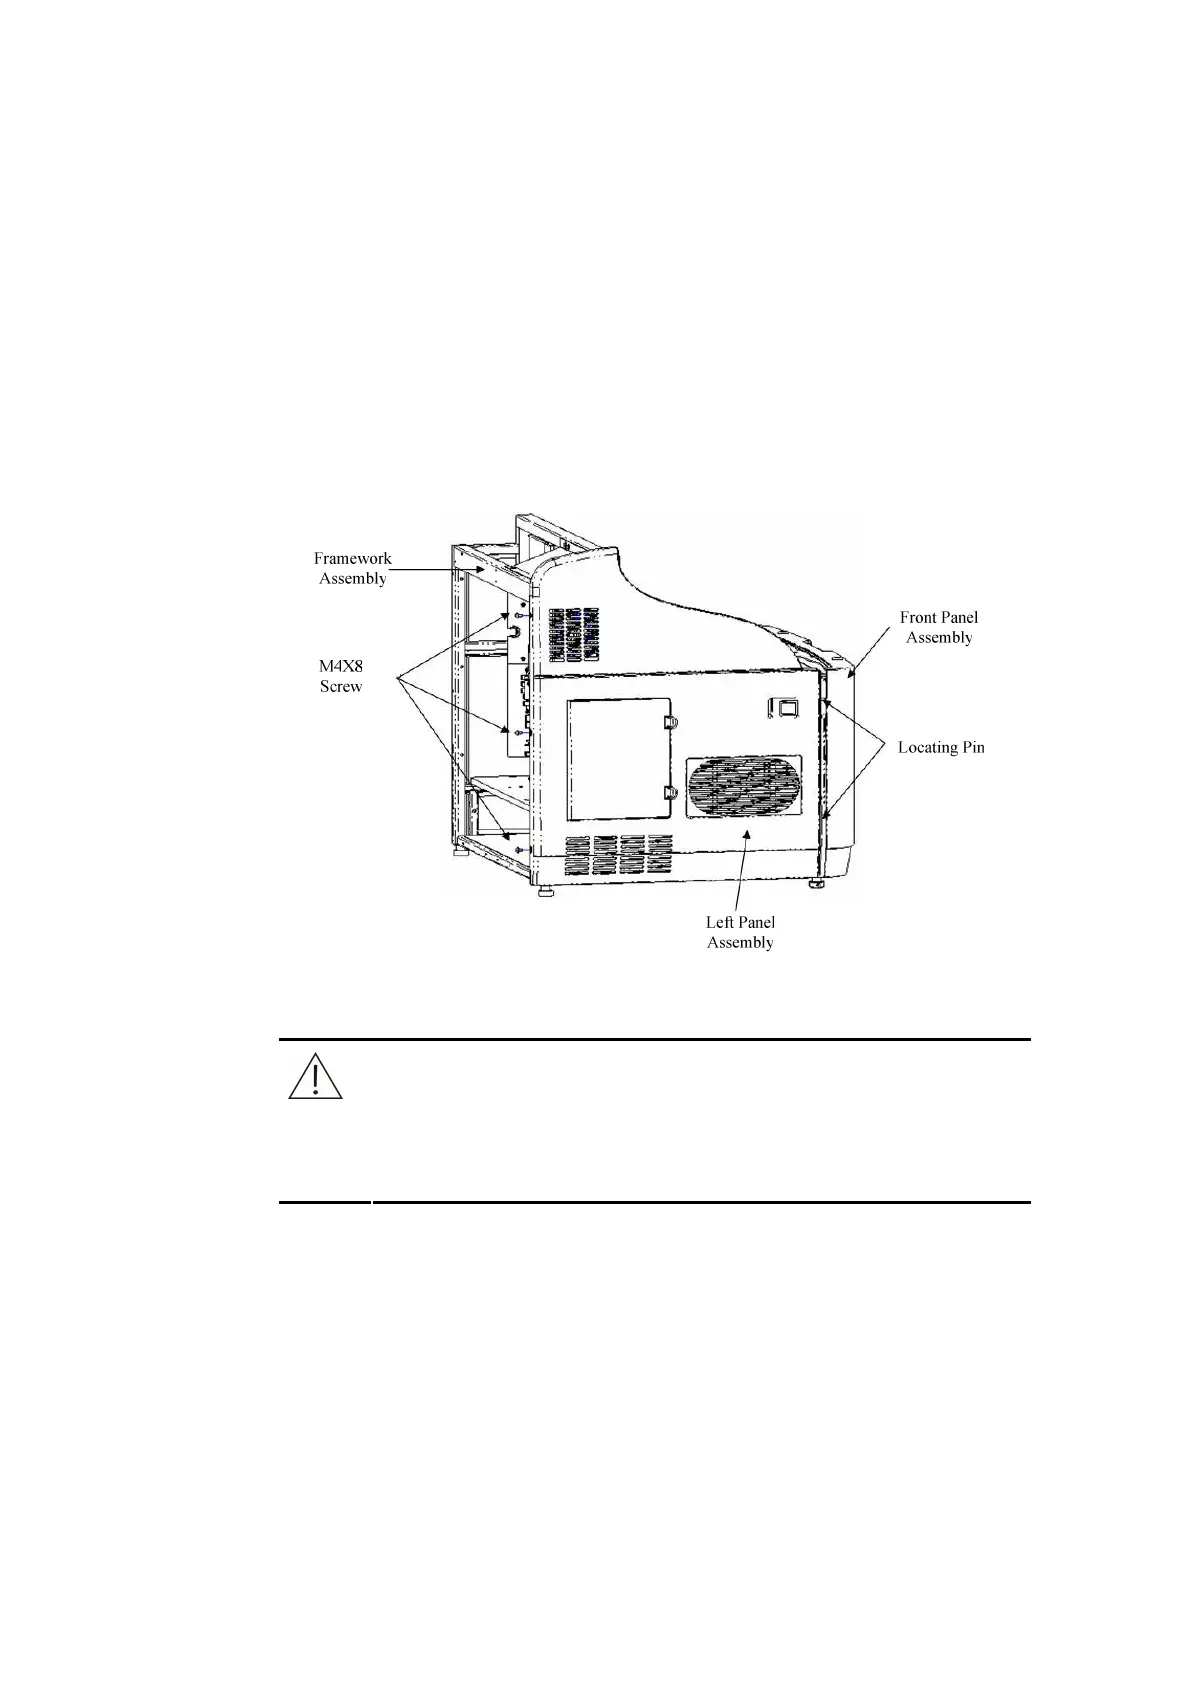
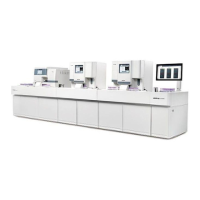
4.1.2.1 Dismounting/Mounting Left /Right Panel
a. Dismount the screws which connect the left panel and the framework. See
Figure 4-3.
b. Move the left panel assembly back until the locating pin and latch hook are
departed from the holes of front panel and framework respectively, and then take
out the left panel assembly.
c. To mount left panel, just reverse the dismounting procedures.
d. The procedures to dismount/mount the right panel are the same as that of left
panel.
Figure 4-3 Removing Left Panel Assembly
4.1.2.2 Dismounting/Mounting Table Panel
CAUTION
While removing and installing the front plate, pay great attention to
the sample probe and the mixing bar to avoid injury resulting from
collision with them. Move the sample probe and mixing bar to the
safe place before operation.
The table panel assembly consists of panel 1, panel 2, and panel 3. See
Figure
4-1
.
Dismounting/mounting procedures:
a. Remove the screw caps in table panel.
b. Loosen the screws under the screw caps.
c. Remove the table panel 1, table panel 2 and table panel 3 in turn.
d. Reverse above procedures to mount the table panel.