3 Installation 3-
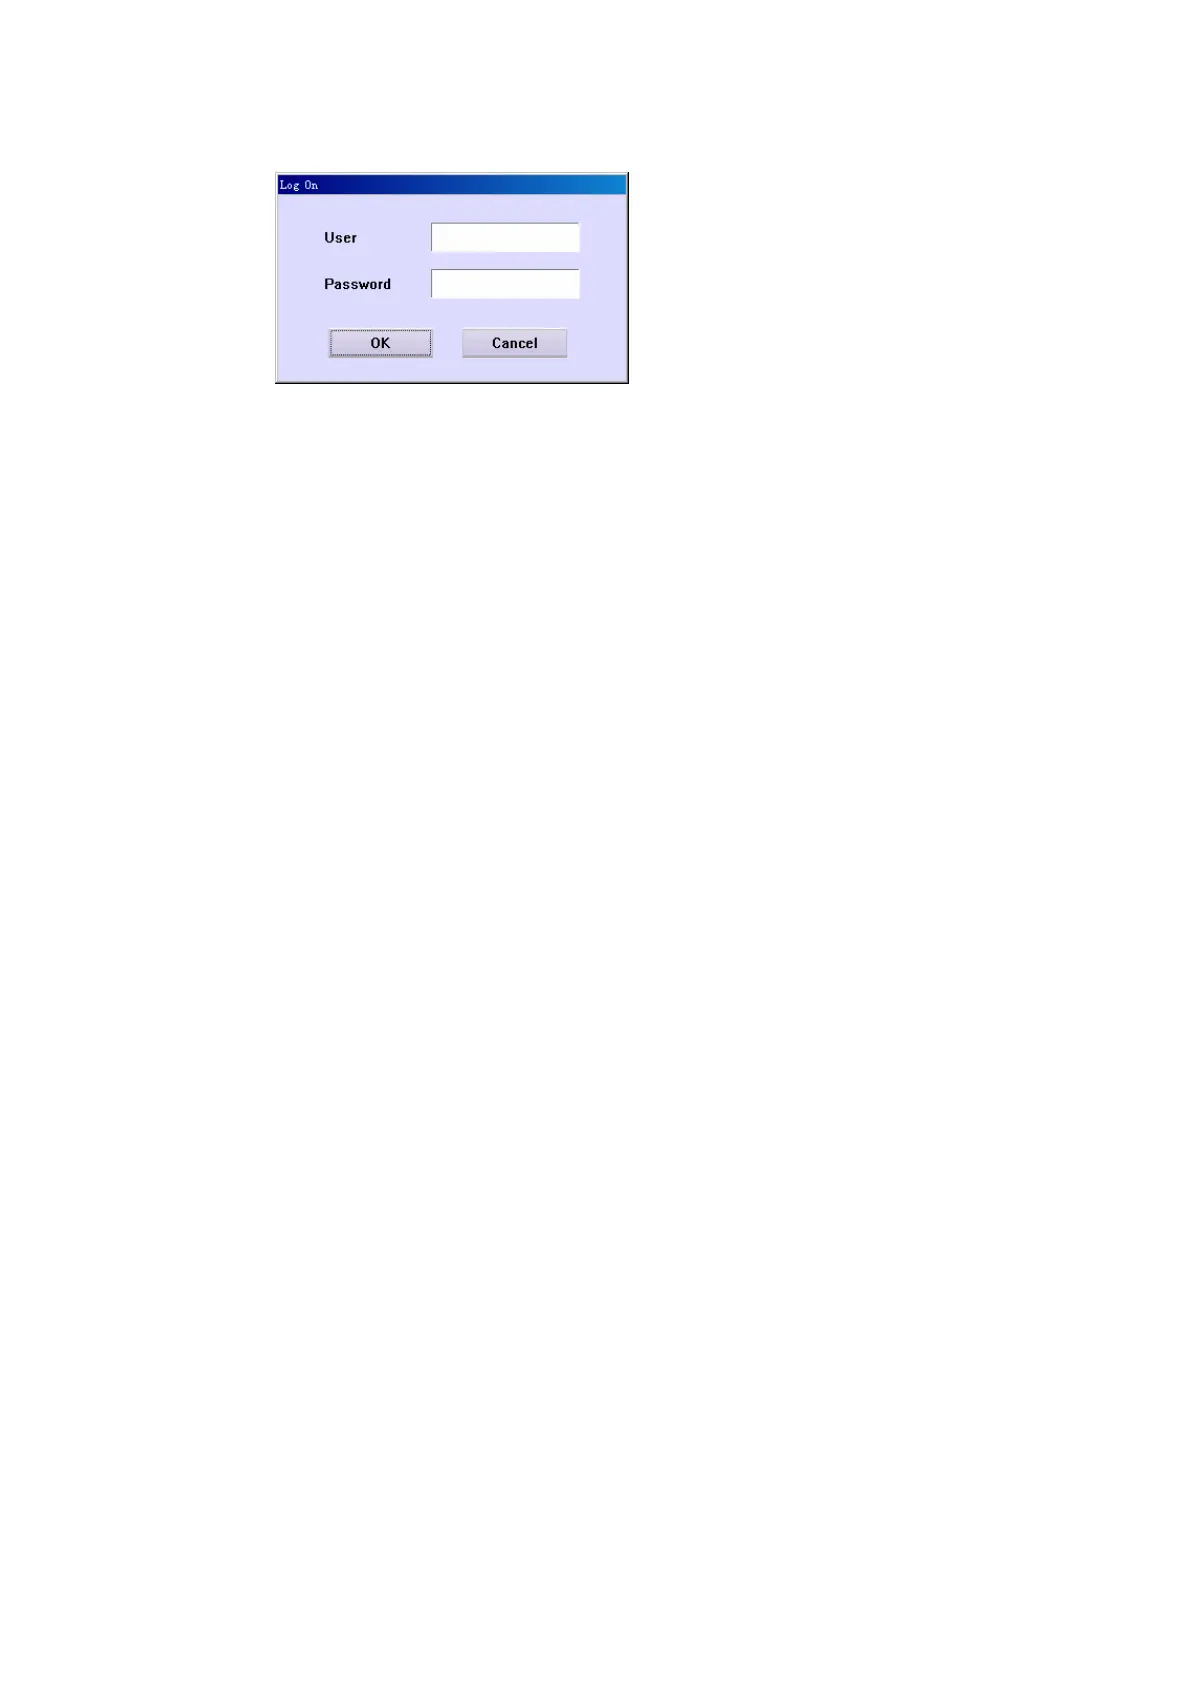
Figure 3-6 User Log-in Dialog Box
Enter the username and password, and then click OK to initialize the system and
then operate according to the prompting screen until the main screen of the
operating software is displayed.
After that, wait about 20 minutes until the light source is stable and the reaction disk
temperature reaches 37℃, then the tests can be run. When the lamp is stable, enter
the Maitenance screen and click . Operate as the software instructs to complete
refreshing of the lamp background.
3.3.5 Setting up the System
Before requesting tests, perform the following steps to finish the settings:
To set the options regarding the basic parameters of the system, click Setup
System.
To set the options regarding the hospital and doctor information, click Setup
Hospital.
To set the options regarding parameters of calibrators, click Calibration
Calibrator.
To set the options regarding parameters of controls, click QC Control.
To set the options regarding test parameters, reference, calibration rule and
quality control (QC) rule, click Parameter Test.
To set the options regarding the reagent parameters, click Reagent.
To set the options regarding the carryover information among tests, click
Parameter Carryover.
To set the options regarding the printing parameters, click Setup Print.
The Test screen is where you can set test parameters, reference ranges,
calibration and QC rules of tests.The Test screen includes the following tabs:
Parameters, Reference, Calibration, QC. The Parameters will be explained in
the following figure.