4
Installation & Wiring
2. Installation and Wiring
2-1. Attaching to and Removing from a DIN rail
This instrument adopts the rail mounting type with 35 mm width of DIN standard.
The procedures of attaching and removing are as follows:
2-2. Note for connecting wires
① Hang an upper claw of this instrument on
the upper side of DIN rail.
② Press this instrument onto DIN rail until a
click sound is heard.
③ Confirm the firm fixation.
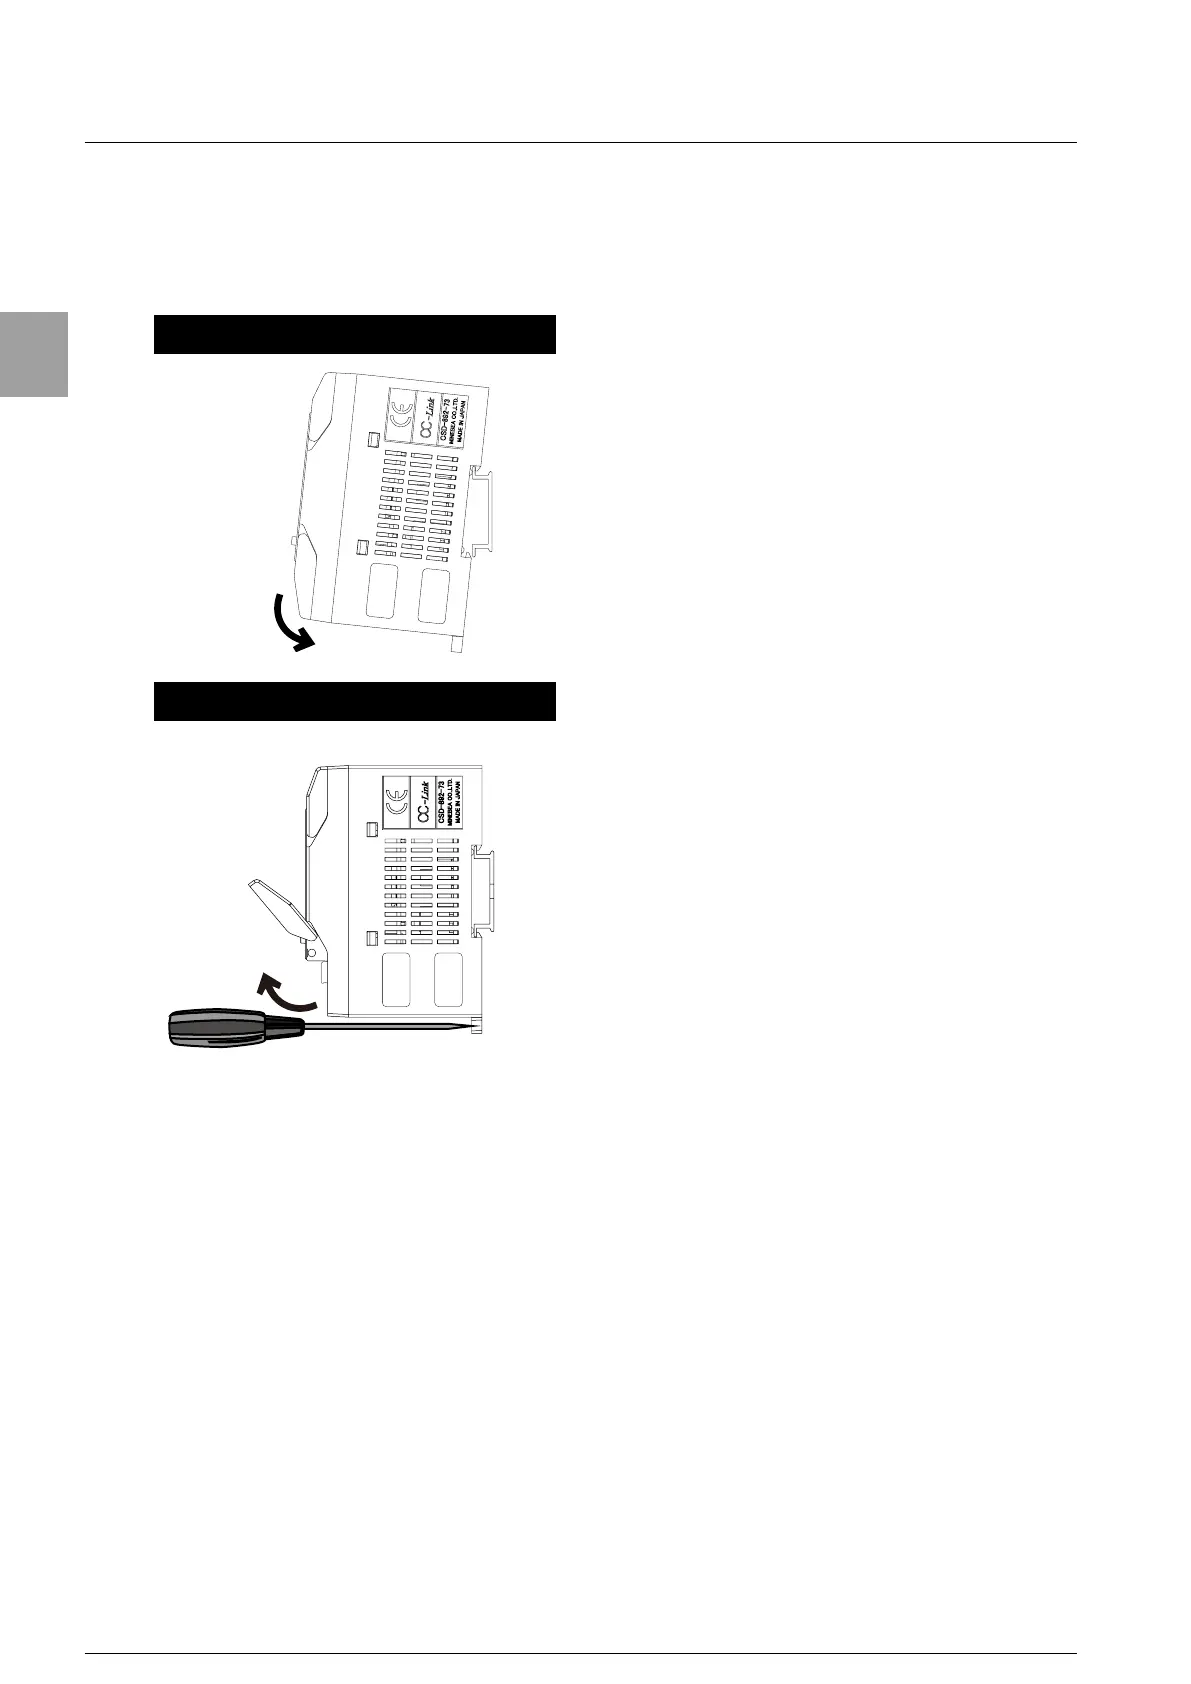
①
Confirm all the cables including the power
supply cable have come off from the main
body.
② Pull a lower claw of this instrument
downward from the front direction using
a screwdriver, and then remove this
instrument from the DIN rail.
Attaching method to a DIN rail
Removing method from a DIN rail
●
When connecting wires, turn off the power supply without fail.
●
Do not supply the electric power until the installation is completed. There is no switch
that switches ON/OFF of power supply in the main body.
●
Do not drop or do not give the high impact because the terminal block is made by the
resin.
●
Please separate the cable connected with the main body from the noise source such as I/
O for the control, power supply line as much as possible.
●
Do not share the wiring with the other lines as a special conduit wiring.
●
Be sure to connect a grounding wire with exclusive use of D-type single grounding. Do not
share it with other groundings for power supply system.
●
The tightening torque of terminal screws on the terminal board is 0.6 N・m.
●
Please use the solderless terminal with 6.2 mm or less in the width.
(O-type 1.25-3 or Y-type 1.25-3)