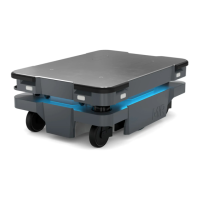
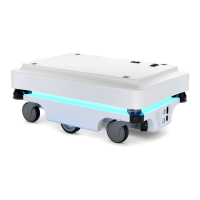
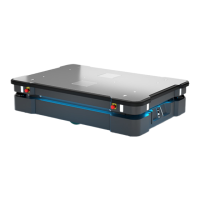
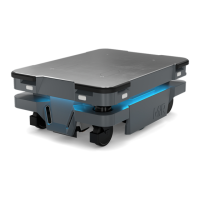
2. Product presentation
MiR100 Hook User Guide (en) 10/2020 - v.3.0 ©Copyright 2016-2020: Mobile Industrial Robots A/S. 14
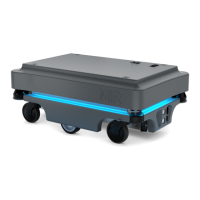
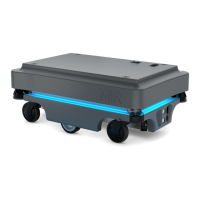
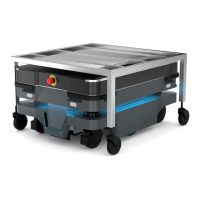
Pos. Description Pos. Description
in each corner
3 Drive wheel: two pcs.,
differential control
4 Behind removable corner
cover: HDMI port and USB
“service port” - connects to
the robot’s PC
5 Scanner reset button (yellow)
and on/off button (blue)
6 Ultrasound sensors: two pcs.,
for detection of transparent
objects (side)—see Obstacle
detection on page67
7 3D depth camera: two pcs.,
both in the front—see
Obstacle detection on
page67
8 Pad connectors: two pcs., for
connection to charging poles
on MiR Charge 24V charging
station
9 S300 safety laser scanner
(front)—see Obstacle
detection on page67
10 Side cover
11 Behind removable rear
corner cover: Charging port
with switch
12 Ultrasound sensors: two pcs.,
for detection of transparent
objects (rear)—see Obstacle
detection on page67
13 Rear cover 14 S300 safety laser scanner
(rear)—see Obstacle
detection on page67
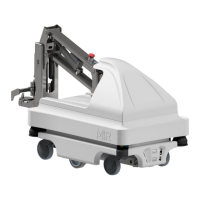
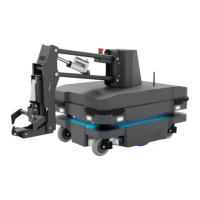
15 Gripper: attaches to the
gripper bar on the cart to
enable towing—see
Modifying the gripper on
page96
16 3D camera: one pc., reads ID
tags (QR-marker or AprilTag)
on carts
17 Emergency stop button:
makes robot enter
Emergency stop. Beneath is