DMTA-10055-01EN, Rev. A, February 2015
Chapter 9
180
Figure 9-29 Entering the Velocity Cal thickness value
12. Choose Done to complete the calibration process.
9.10 Curved Surface Correction
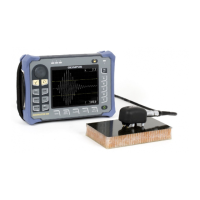
The EPOCH 650 ultrasonic flaw detector provides for surface distance correction
when inspecting pipes, cylinders, and other curved surfaces using an angle beam
transducer. This applies only to inspections where the surface of the test piece is
curved in the direction of the sound path of the transducer. This feature corrects the
horizontal distance and depth to reflector measurements based on part thickness and
part diameter. The correction is applicable for curved surface inspections where the
transducer is placed on the outer diameter of the part. Curved surface correction can
also be applied to solid cylinders (bars).
To activate curved surface correction
1. Select Trig > CSC = Outer Dia or Bar to activate curved surface correction for
either tubular or solid cylinders.
The Curved Surface Correction icon ( ) appears in the flag area.

