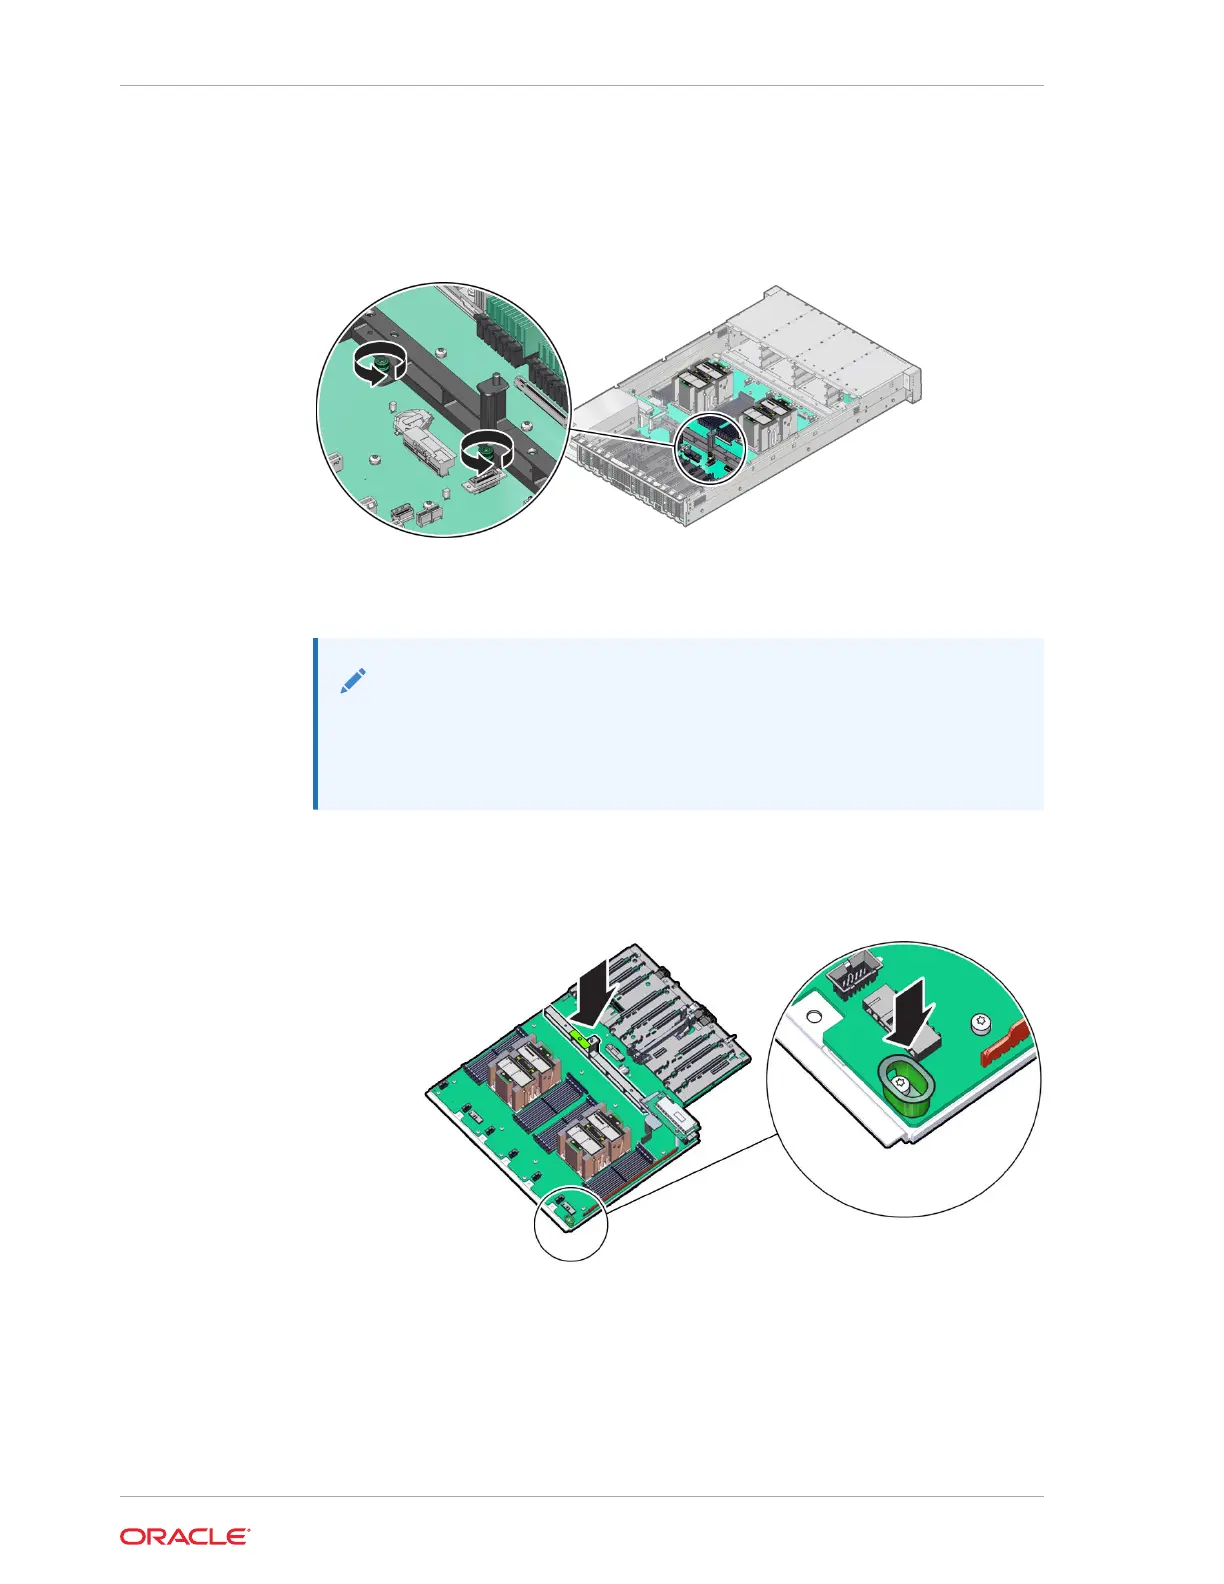
9. Using a Torx T25 screwdriver, fully loosen the two captive screws that secure the
motherboard mid-wall to the chassis.
If you are not able to remove the motherboard, loosen the third screw in the
midwall motherboard handle. After removing the motherboard, tighten the same
screw.
10. Remove the motherboard from the server with reusable components that populate
the motherboard in place.
Note:
Move all cables out of the way so they do not interfere with the
procedure. Be careful not to damage or break off the rear Locate light
pipe LED indicator.
a. Grasp the midwall motherboard handle labeled MB Handle.
Hold the motherboard with the midwall motherboard handle and the small
plastic motherboard handle.
b. Carefully slide the motherboard forward, and while holding the motherboard
mid-wall handle and small plastic motherboard handle, lift it out of the chassis.
Chapter 5
Servicing the Motherboard Assembly (FRU)
5-42