3. Remove the left and right stairarms from the crankarms, "Stairarm Assembly Replace-
ment" on page163.
4. Remove the left and right left and right crankarm assemblies, see "Crankarm
Assembly Replacement" on page151.
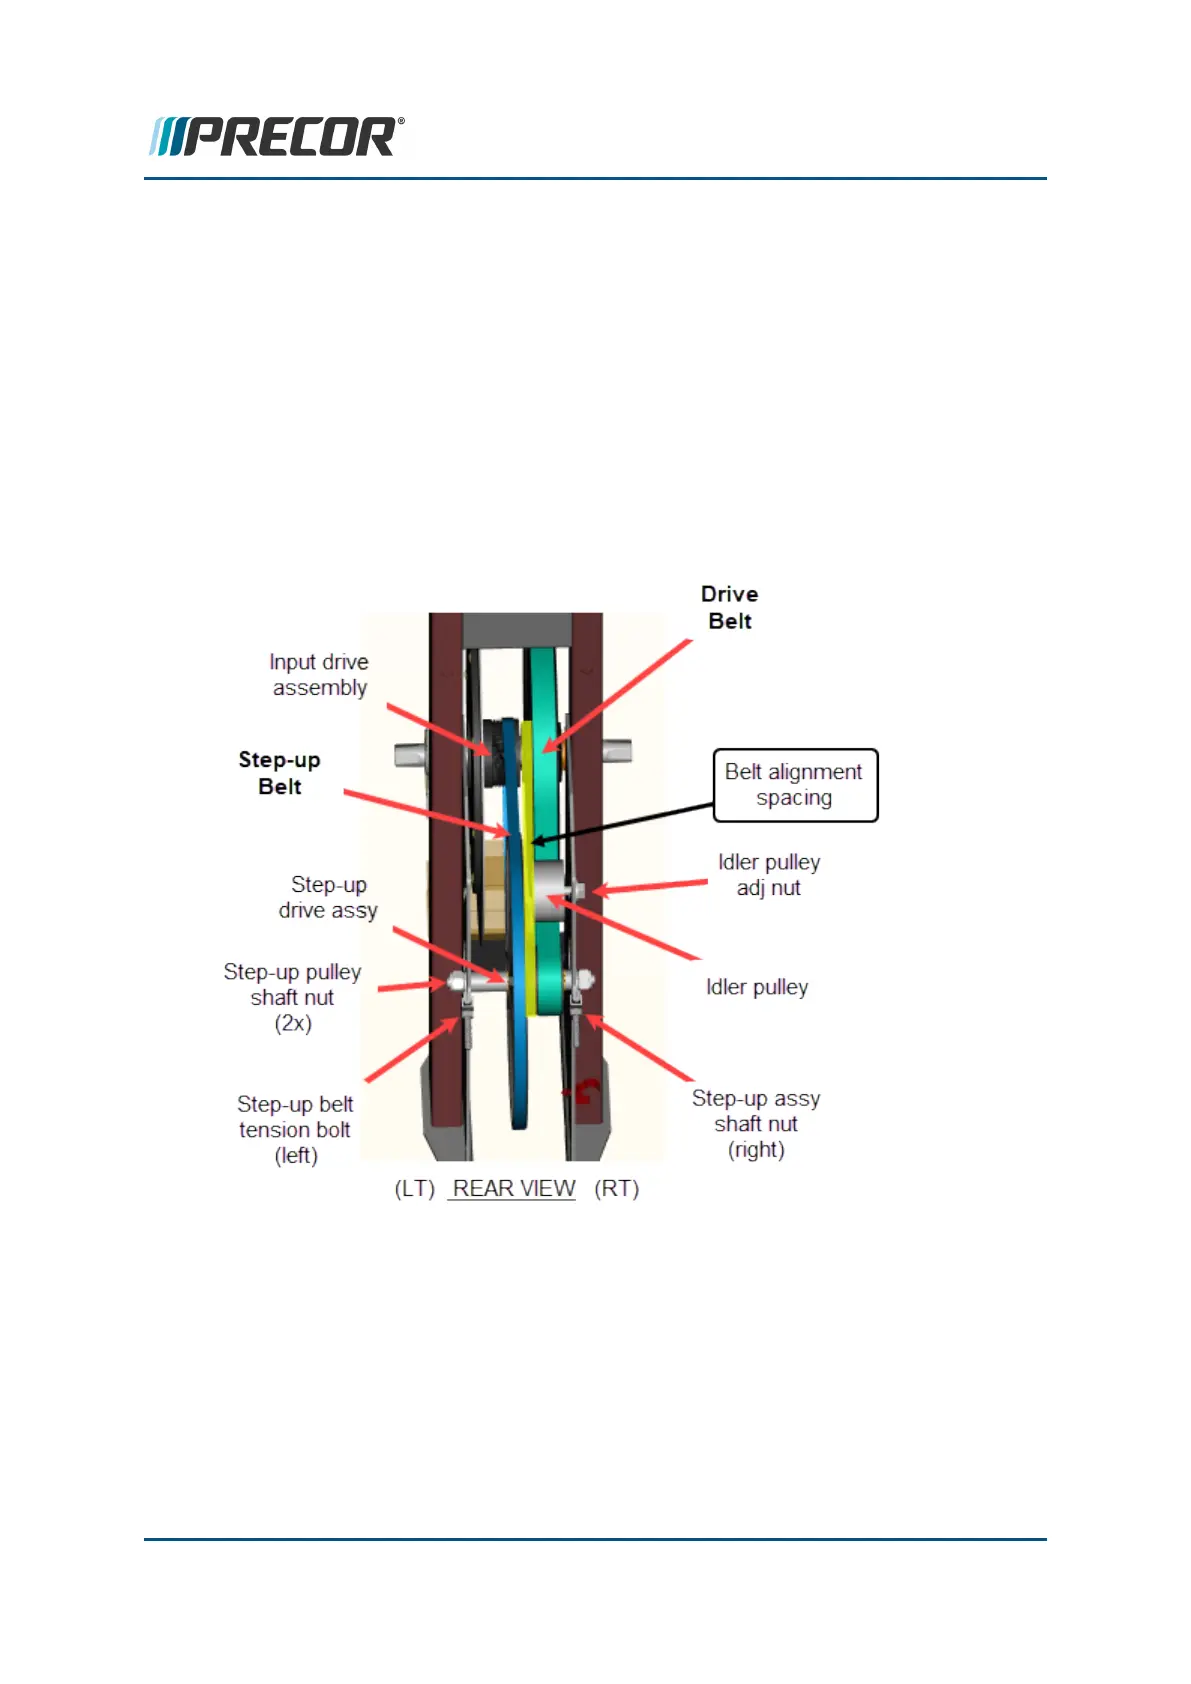
5. Remove all tension from the Step-up belt.
a. Use an 11/16” socket to loosen (do not remove) the left and right step-up pulley
shaft nuts.
b. Use a 10 mm wrench to evenly loosen the left and right Step-up belt tension
adjustment nuts. Completely remove all tension and provide as much slack as
possible.
6. Use a 1/2” wrench to loosen the drive belt idler pulley nut and remove all tension from
the input drive belt.
7. Remove the left and right pillow block bearings, see "Pillow Block Bearing Replace-
ment" on page155. Retain part(s) and/or fastener(s) for installation.
8. Slide the input drive assembly through the step-up and drive belts and remove.
Contact Precor Customer Support at support@precor.com or 800.786.8404 with
any questions.
Page 138
6 Available Replacement Procedures
Input Drive Assembly Replacement