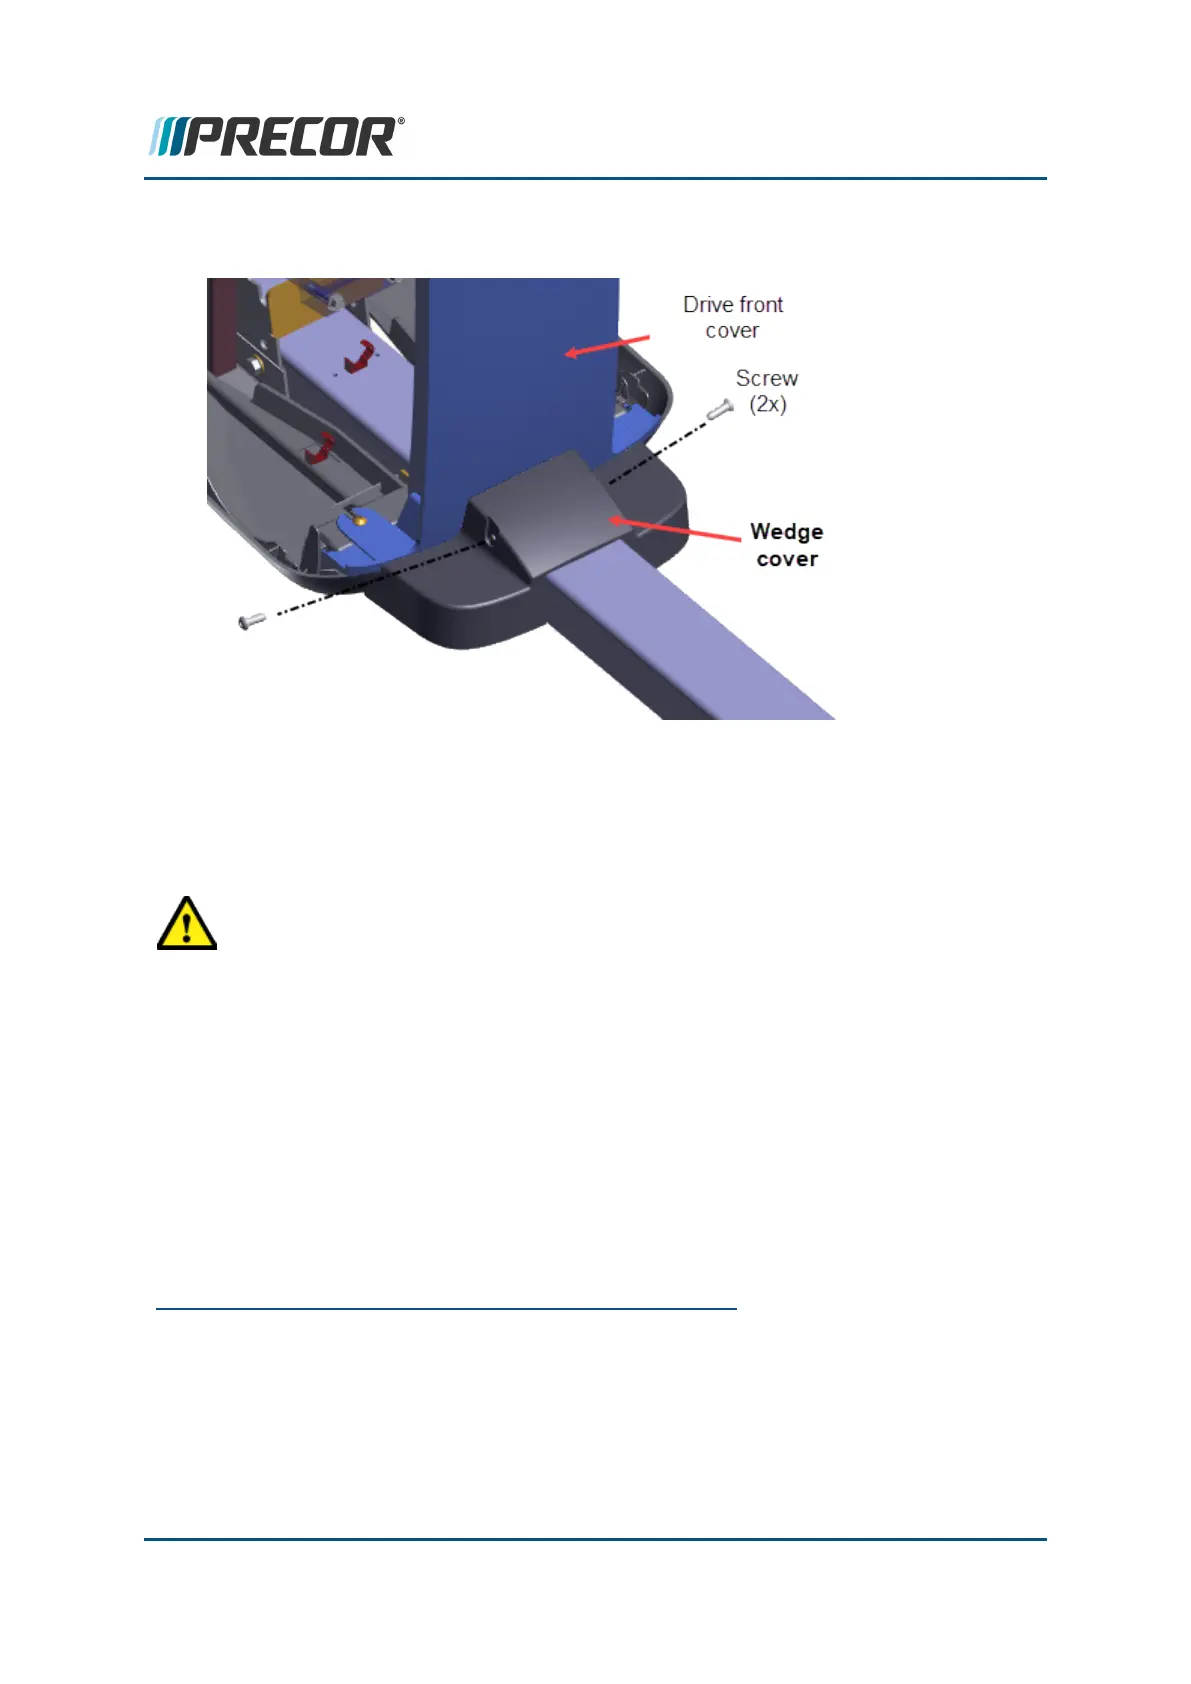
4. Remove the two screws that fasten the wedge cover to the frame and remove the
wedge cover.
5. Remove the LPCA
1
cover, unsnap from the top to remove. Remove the four screws
that fasten the LPCA board to the front cover. Do not remove any of the wires or
cables from the LPCA.
Remove the three screws that fasten the drive front cover to the bottom cover (2x)
and the frame weldment (1x). Remove the front cover.
CAUTION:Electronic components and PCA
2
boards are susceptible to damage
from an ESD
3
event. Always use ESD precautions (properly grounded anti-static
wrist-strap and anti-static mat) when handling or servicing printed circuit boards.
1
Lower Printed Circuit Assembly board; also refered to as the Lower PCA or simply as the
lower board. On treadmills, it is the console to base function interface and the motor con-
troller unit (MCU). On self-powered units, it is the lower PCA console to base function inter-
face.
2
Printed circuit assembly, generally referred to as either an upper PCA or lower PCA.
3
Electrostatic Discharge or Electrostatic Sensitive Device.
Contact Precor Customer Support at support@precor.com or 800.786.8404 with
any questions.
Page 84
6 Available Replacement Procedures
Covers and Panels Replacement