Before using PrismJET 54 Gen2 OPERATION MANUAL
80 3.6 Adjust Print
• While “Warming Up” is displayed, do not touch Platen and Media guide.
They become very hot and you could burn yourself.
• You can start printing during warming up.
4.4.8 Start Printing during Warm up
• A confirmation pattern for print quality adjustment is printed.
(Starts printing after warming up is complete.)
4. The printer scans the print using the embedded color sensor, then automatically corrects the dot
placement.
• Once successfully completed, the message “Auto Adjust Succeeded” will appear on the panel.
• If failed, the message “Auto Adjust Failed” will appear on the panel.
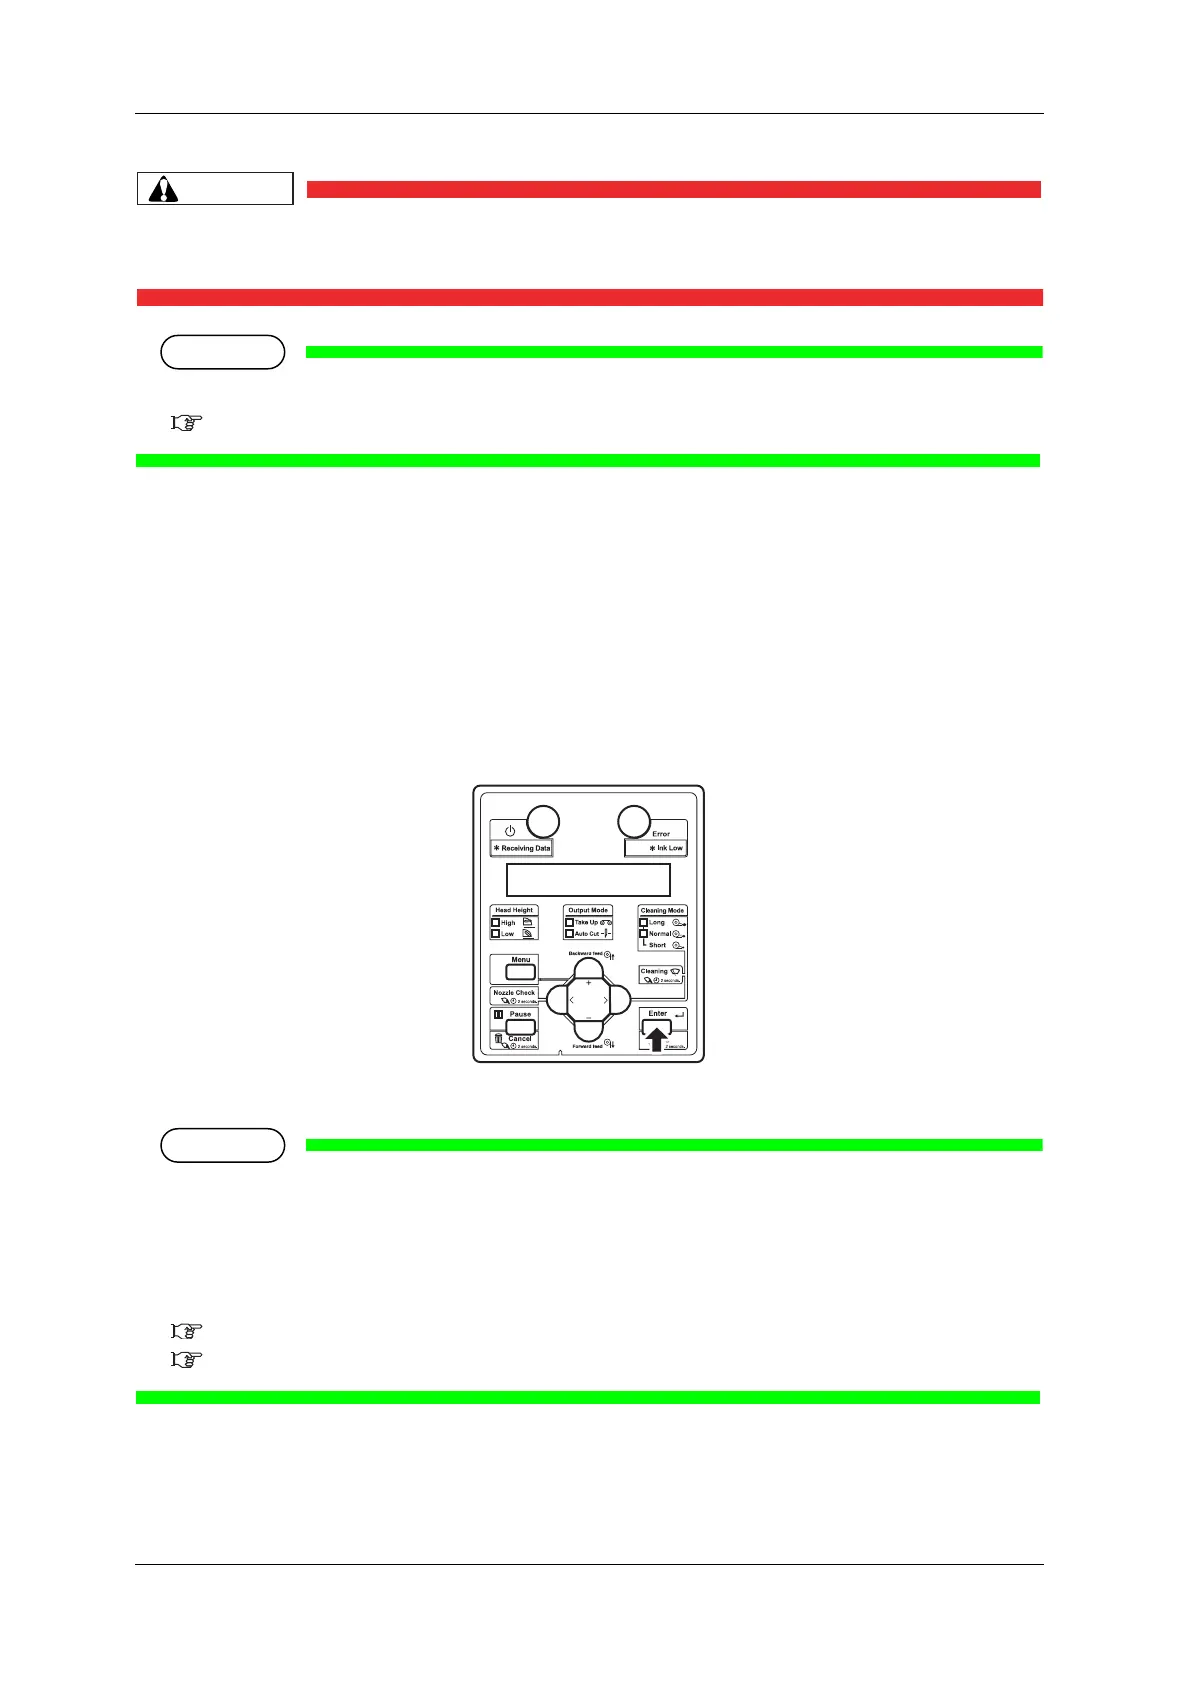
5. Press the [Enter] key on the Operation panel.
• The previous setup menu is displayed.
• If failed in the middle of the calibration, the adjustment value for the pattern which has been
successfully calibrated will be saved in the printer, but the adjustment value for the pattern which
has been failed to calibrate or has not been calibrated yet will not be saved in the printer.
• If print defects (like banding or grainy look) still appear on the print, try an auto calibration again,
or go to "Standard" or "Custom" to perform calibration.
3.6.3 Standard Adjust Print
3.6.4 Custom Adjustment Pattern
 Loading...