89
Trinity F90+ user manual
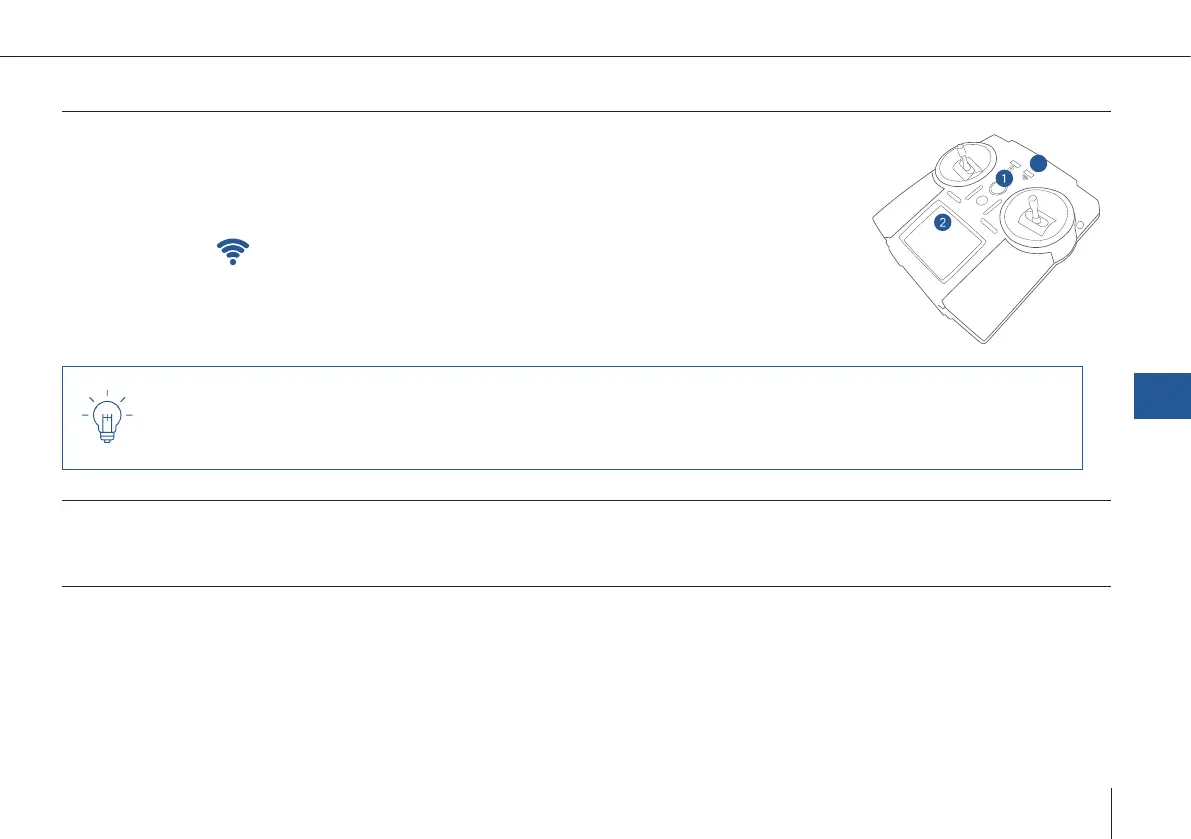
8.8 Step 8 – Turn on the QS RC transmitter
3
1. Turn on the main switch of the QS RC Transmitter.
2. Check the battery status of the transmitter. Do not y if the battery capacity of the trans-
mitter is below 50 %.
3. If the LED
on the transmitter is off, the RC connection is successful.
A safety pilot who is able to control the UAV with the help of the transmitter is always required. Be prepared
to take over and control the UAV manually in assisted ight in case of an emergency. The transmitter must be
held by the pilot during the whole ight time.
8.9 Step 9 – Check the UAV for damages
Please make sure every part is free of damages.
8.10 Step 10 – Magnetometer calibration (if required)
Obligatory: ight location > 50 km away from the last ight location
Calibration and take-off area is free of metal (parking decks, cars, metal structures) or any devices causing electric or magnetic
elds (power lines, generators, mobile phones).
8
Flight setup – step by step