Section 4.2
Machine Adjustments
400-088-120-02 4.2-9 Rev. Date: 10/2016
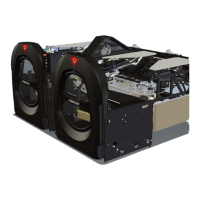
5. Using a hammer, open the cup width at the points of the Spotting Cups where pins were too
high (see Figure 4.3-11). Conversely, close the cup width on Spotting Cups where pins were too
low. Caution: too much force could break the Spotting Cup.
6. Plug the Table Motor back in.
7. Repeat the above steps until all 10 pins touch the pin deck simultaneously.
4.2.2.7 Individual Spotting Cup ON-SPOT Adjustments
1. With all 10 pins touching the pin deck, adjust the Table height so that the pins cannot be
pulled out of the front of the spotting cups and are held snugly in place (a slight amount of
movement of some of the pins is okay). Ideally, all 10 pins will be touching the pin deck and
will be snug in the Spotting Cups.
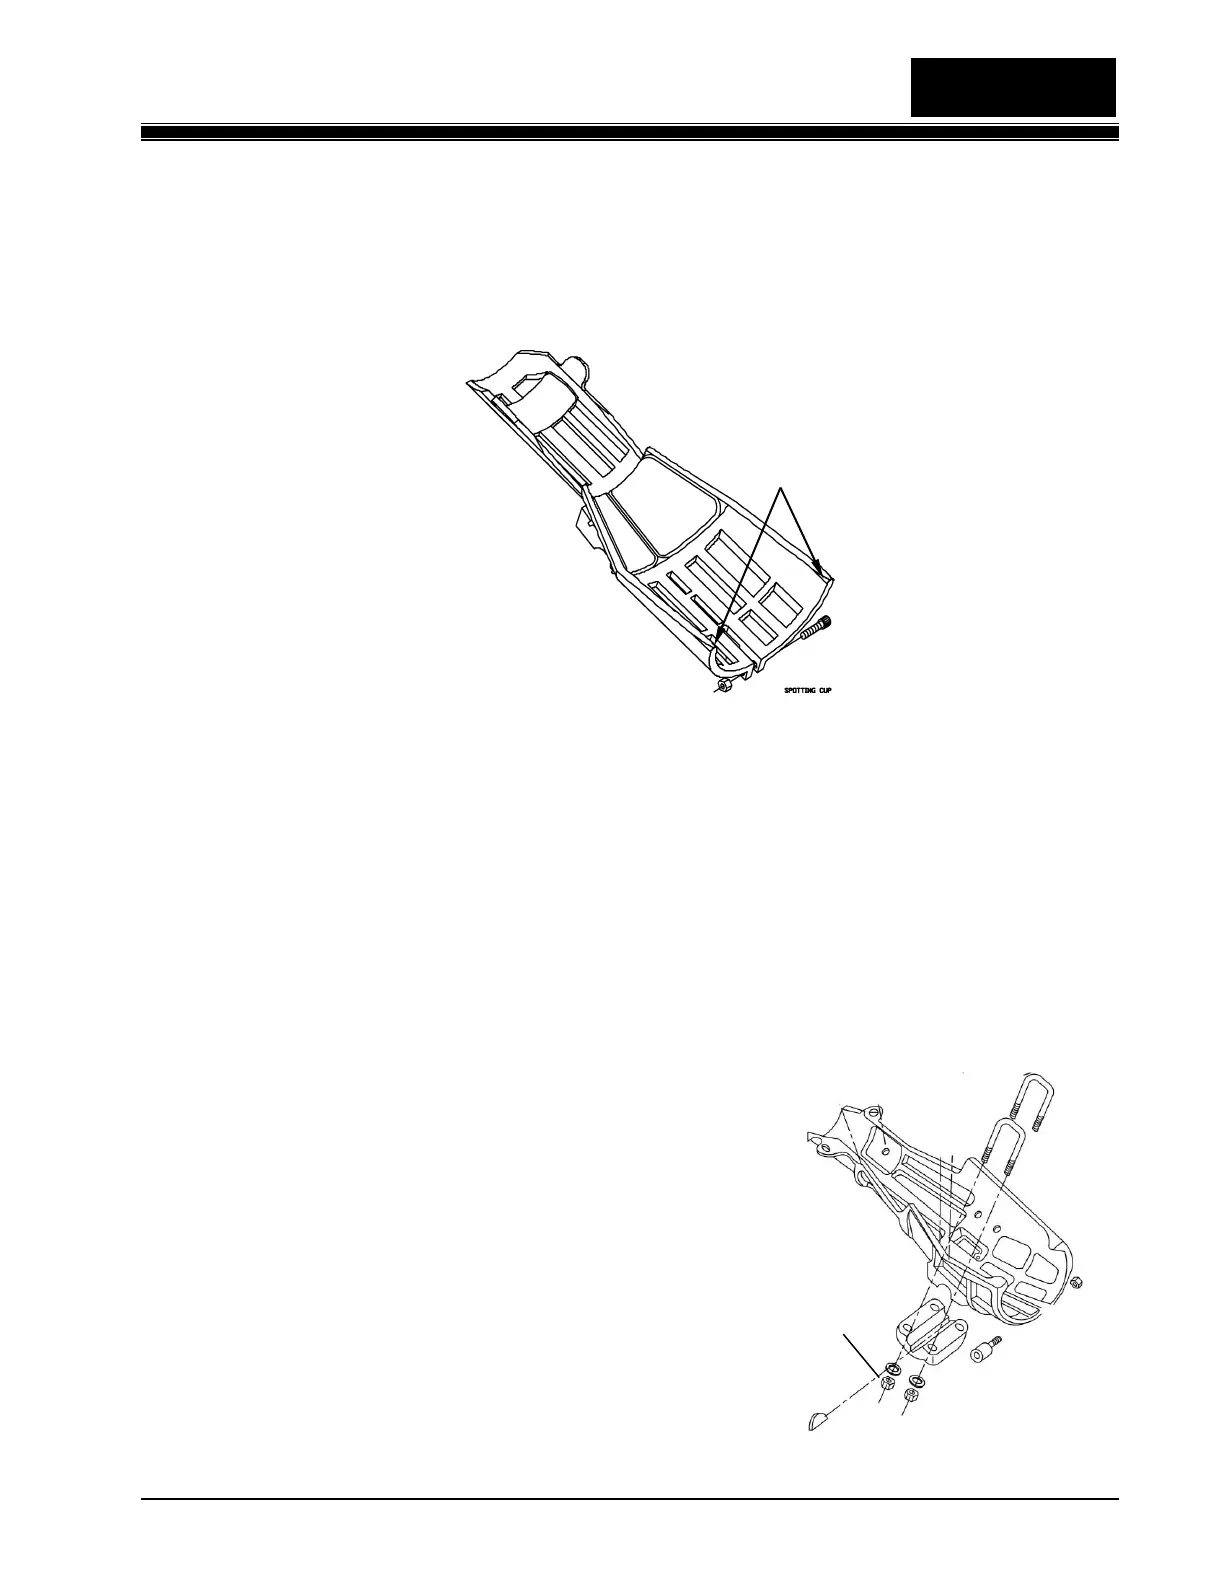
2. Adjust all 10 Spotting Cups to place the pins exactly
on spot (1/16”). To adjust the spotting cups in order
to place pins on spot, proceed as follows:
a. When pins are being set too far forward, loosen
the two top cup nuts and tighten the bottom two
nuts (see Figure 4.2-12).
b. When pins are being set too far back, loosen the
bottom two nuts and tighten the top two nuts.
 Loading...