6. Select [WPA2] [OK] End
Step to 9.
7. Select [WPA2-PSK] Press [OK] Select [Enter]
8. Enter the Pre-Shared Key. Select [Accept]
Enter the Pre-Shared Key using between 8 and 63 ASCII characters.
Uppercase and lowercase letters are differentiated, so be sure to enter characters in the required
case.
9. Press [Menu] twice.
10. Log out.
1. Log in as the network administrator from the control panel.
2. Display the "Security Method" screen.
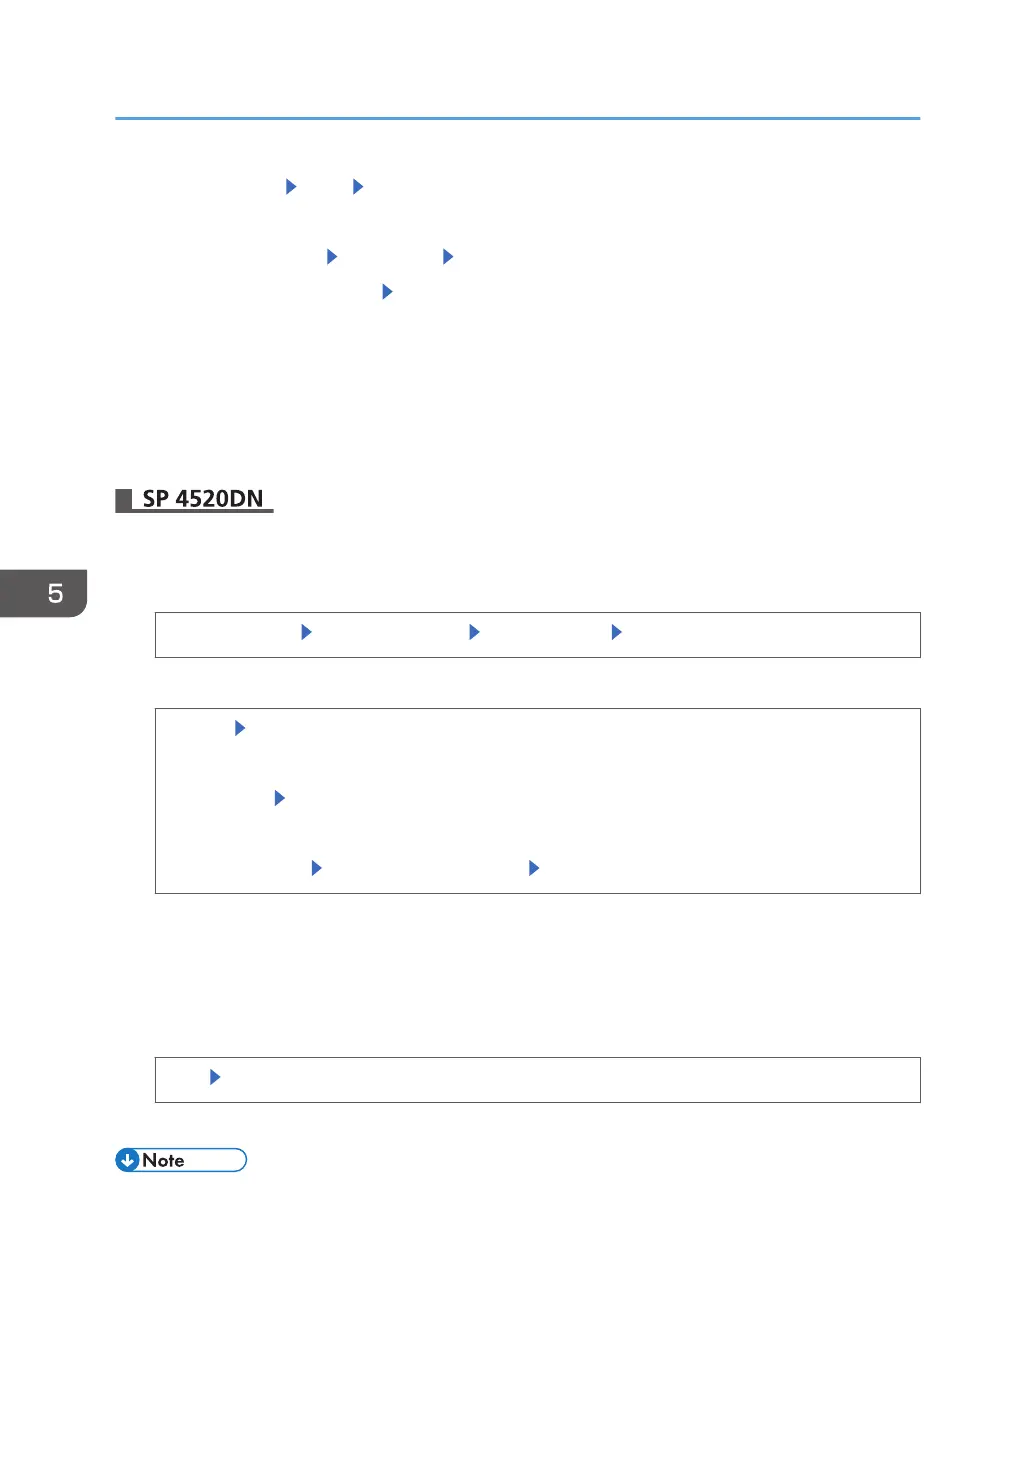
[System Settings] [Interface Settings] [Wireless LAN] [Security Method]
3. Set the encryption method to WPA2.
[WPA2] [WPA2 Authent. Method]
WPA2
[WPA2] [OK]
WPA2-PSK
[WPA2-PSK] Enter the Pre-Shared Key [OK]
Enter the Pre-Shared Key using between 8 and 63 ASCII characters.
Uppercase and lowercase letters are differentiated, so be sure to enter characters in the required
case.
4. Complete the setting.
[OK] [OK]
5. Log out.
• To set the encryption method to [WPA2], you must specify IEEE 802.1X. For details, see page 147
"Configuring IEEE 802.1X Authentication".
•
This can also be specified via Web Image Monitor. For details, see Web Image Monitor Help.
5. Enhanced Network Security
146

 Loading...