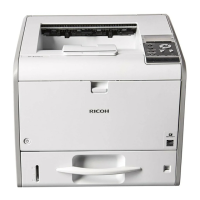
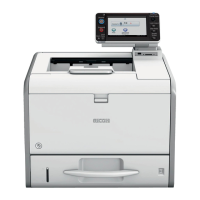
Using as a Network Printer
This section explains how to install printer drivers for print servers. See the installation procedure for the
print server you are using.
• To use NetWare, an optional NetWare unit is required.
Using Windows Print Server
1. Click [PCL Printer Drivers] or [PostScript 3 Printer Driver] on the installer screen.
2. The software license agreement appears in the [License Agreement] dialog box. After
reading the agreement, click [I accept the agreement.], and then click [Next].
If installing the PostScript 3 printer driver, proceed to Step 4.
3. Select the printer driver you want to use, and then click [Next].
4. Select [Specify a new port], and then click [Next].
5. Select [Network Printer], and then click [Next].
6. Double-click the computer name you want to use as a print server in the [Browse for
Printer] window.
7. Select the printer you want to use, and then click [OK].
8. Select the [Printer Name] check box of the printer model you want to use.
9. Specify the user code, default printer, and shared printer as necessary.
10. Click [Continue].
11. Follow the instructions on the screen.
• If you print with a print server connected to the printer using the SmartDeviceMonitor for Client port,
Recovery Printing and Parallel Printing cannot be used from the client computer.
•
If you print under Windows Vista/7/8/8.1 or Windows Server 2008/2012/2012 R2 print
server, notification functions of SmartDeviceMonitor may not be used with the client computer.
Using NetWare Print Server
1. Click [PCL Printer Drivers] or [PostScript 3 Printer Driver] on the installer screen.
2. The software license agreement appears in the [License Agreement] dialog box. After
reading the agreement, click [I accept the agreement.], and then click [Next].
If installing the PostScript 3 printer driver, proceed to Step 7.
3. Installing the Printer Driver for a Network Connection
20
 Loading...