HINT: When you are at either end of a list of options you can use the left or the right button to
wrap back around the list. In the above example pressing the left cursor button will take you to option 4
of 4 at the other end of the list. This is very helpful when you enter a list of many options and you
already know that the item you wish to select is at the far end of the list. In this case, simply go
backwards instead of forwards to quickly select the required item.
Only an engineer can configure which values can be displayed on the front display. In the
above screen (figure 3) you would first have to navigate to the Security item (4/4) and login as an
Engineer.
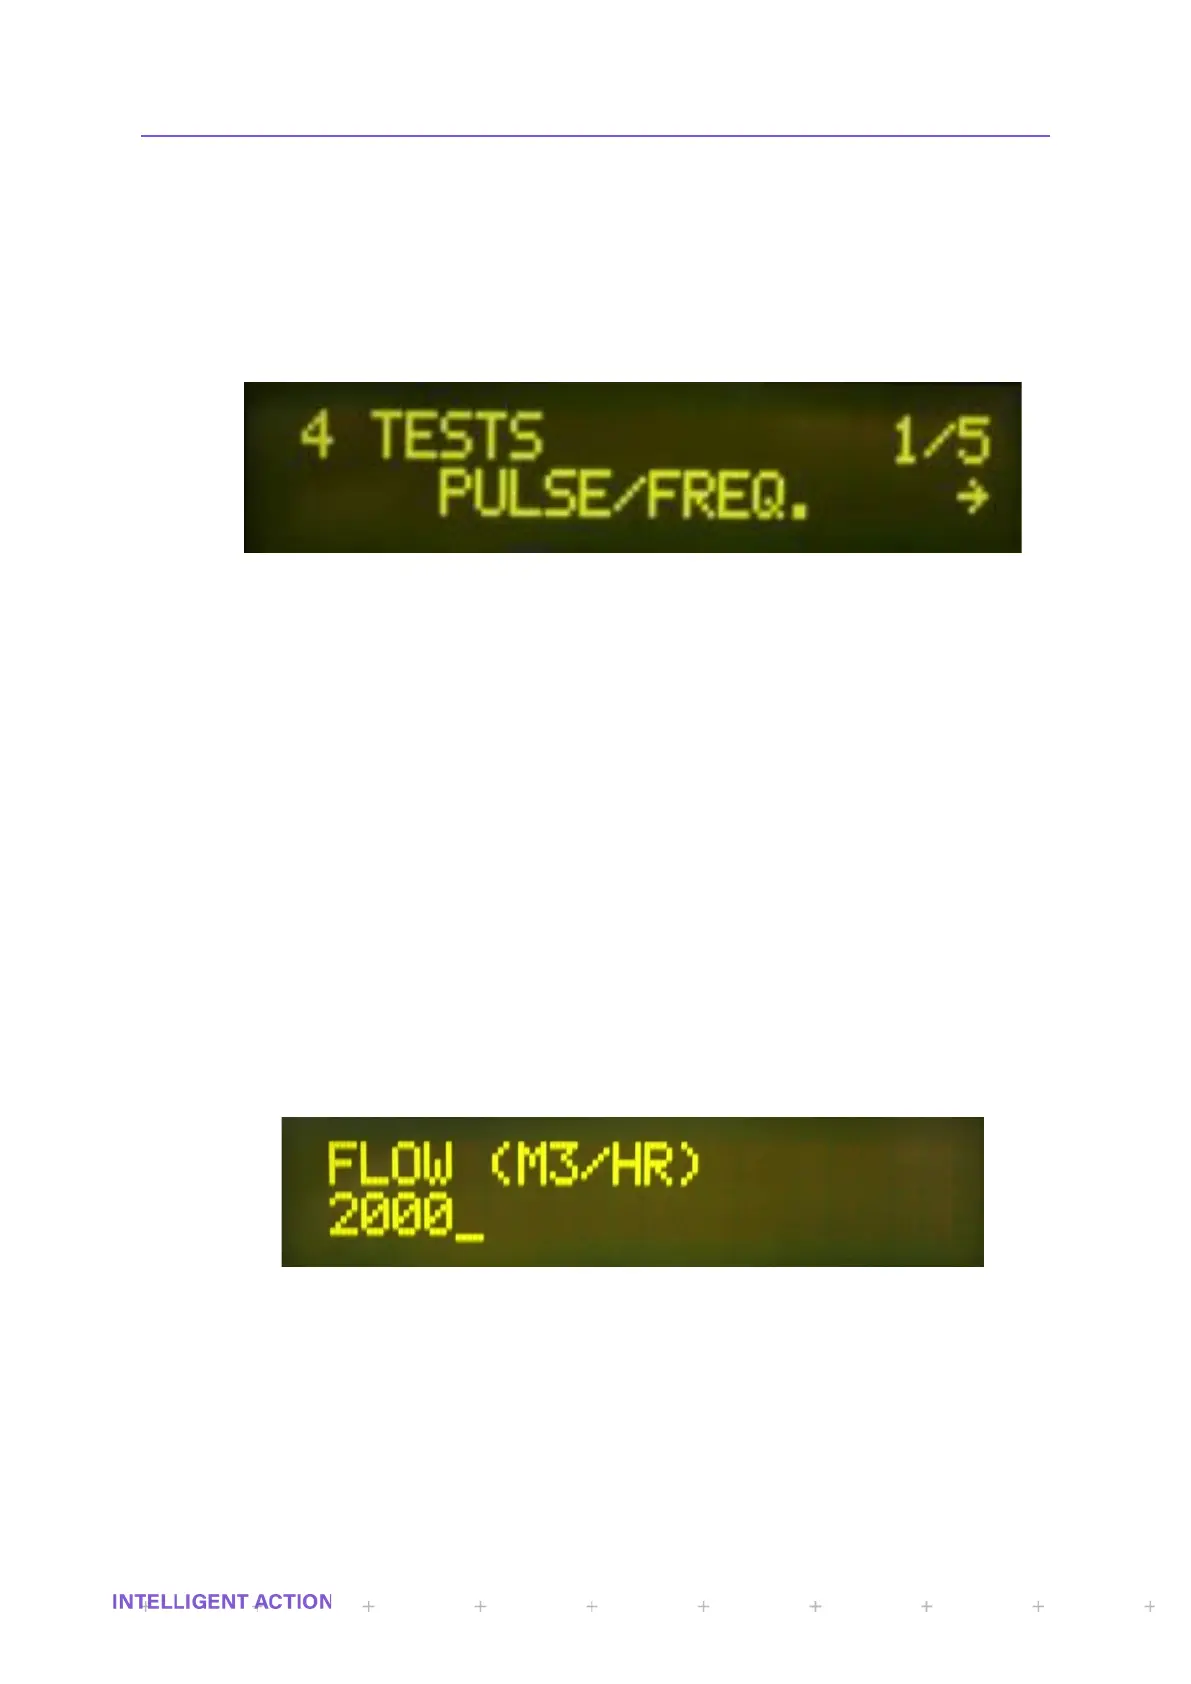
The following display shows a menu at greater depth:
Figure 5 - Menu Depths
The top left hand part of the display indicates that this is level 4 of the menu and there are 5
items in this particular sub menu branch. Whenever you are in the menu, pressing either the cancel or
the up cursor button the same number of times as the depth (in this case 4) will bring you back right up
and out of the menu to the front display screen. If you press the cancel key again when you are on the
front display screen it will of course be interpreted as a ‘Stop’ command, however for a stop to occur the
enter key must then be pressed and pressing cancel again aborts the stop. Repeatedly cancelling will
always return you to the front display wherever you are in the menu. If you decide to cancel back out of
the menu whilst you are in the middle of a question or a series of questions, then you may also have to
confirm cancellation of the decision(s) you are in before you are able to cancel right up and out of the
whole menu.
2.4 DATA ENTRY
If the related prompts are enabled the operator will have to enter data at the beginning of a batch/blend.
Data is entered as follows.
2.4.1 NUMERIC ENTRY
There is no difference to the method of entry between numeric and alphanumeric characters.
The only difference is that the character symbols are not available in numeric entry mode.
Figure 6 - Numeric Data Entry
The above example of numeric data entry shows the cursor under the 5th position. Use of
either the up or down button at this location will result in the user scrolling through the available
numerical character set. Selecting the right cursor button will insert the character currently displayed and
the cursor will move along to the 6
th
position.
 Loading...