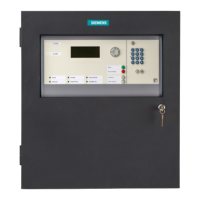
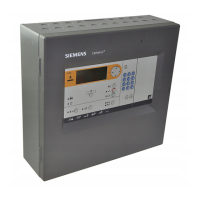
Switching off / Switching on
5
48 | 184
5.4.2 Switching a detector off / on
'Zone' are deactivated, the 'Zone' is indicated as deactivated.
You will find information on temporarily
switching off detectors in chapter
'Temporary switching-off [➙ 51]'.
↑ Switching off the 'Detector'
1. Select 'Main menu' > 'Topology'.
The 'Topology' window is open.
2. Select 'Detection tree' and click <ok>.
The elements of 'Detection tree' are displayed.
3. Select the element 'Area 1'.
The elements of 'Area 1' are displayed.
4. Select 'Area 1' and press 'Lower level' <softkey 2>.
All 'Sections' in 'Area 1' are displayed.
5. Select 'Section 1' and press 'Lower level' <softkey 2>.
All 'Zones' in 'Section 1' are displayed.
6. Select 'Zone 1' and press 'Lower level' <softkey 2>.
All detectors of 'Zone 1' are displayed.
7. Select 'Detect. 1' and press 'More Options' <softkey 3>.
The 'Select option' window is open.
8. Select 'Execute commands'.
The 'Select command' window is displayed.
9. WARNING! System parts that have been switched off make it impossible to
acquire and process alarms or faults! Select 'OFF'.
The command is executed.
The window with the command response is open.
The detector is switched off.
Exemplary representation of the aforementioned operation sequence for
↑ switching off a detector:
Topology
Exit with <C>
Access level 2.1
↑ Detection tree
Hardware tree
↑ Control tree
(1)
(2)
(3)
Function
On/Off
Function
All
LED
test
κ Select 'Detection tree', continue with <ok>