User Manual For - CONTROLLER/DATA RECORDER MultiCon CMC-99/141
5.
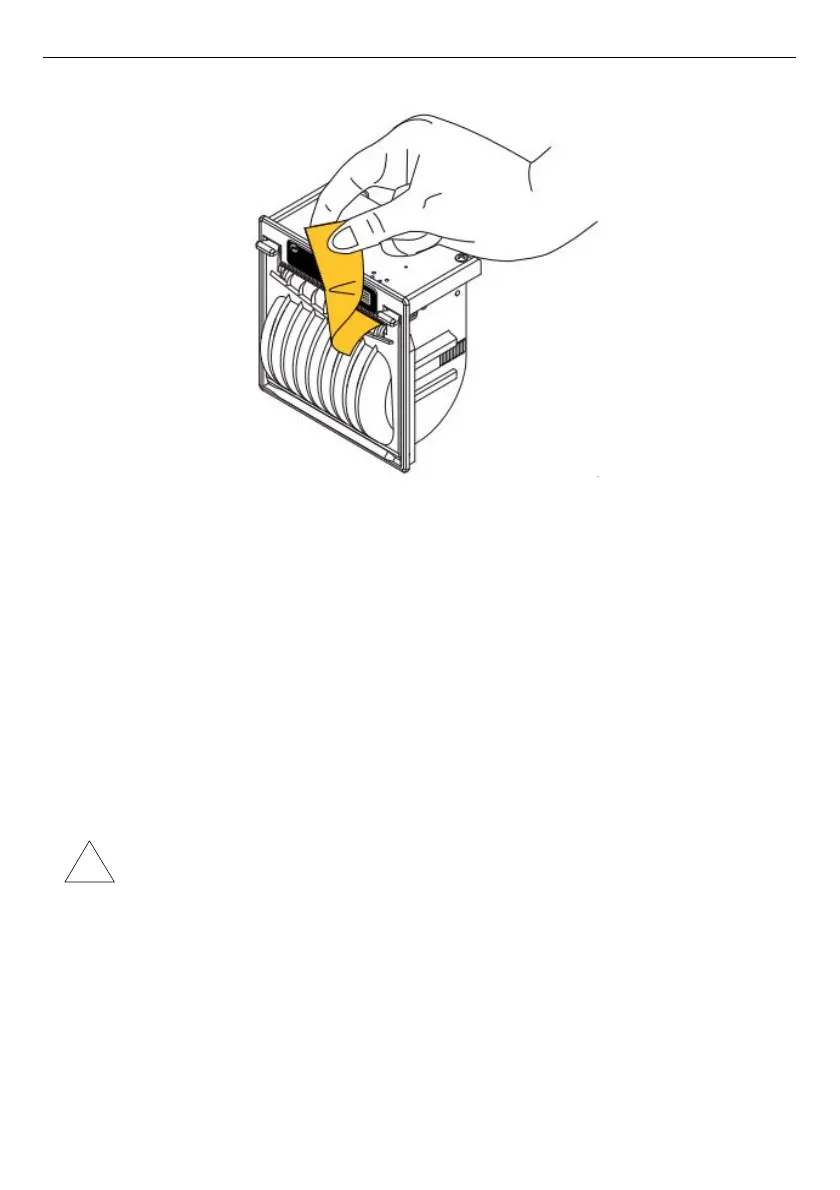
Tear the paper using jagged edge – the printer is ready to work now,
Fuse and its replacement procedure
In the device 3,15 A, FF, 5x20 mm fuse is used and It is placed in socket on back panel
of the device (see
Fig. 8.35
). Connecting 230 V AC instead 24 V DC (see
Chapter 8.16.2.
Technical data
) can be one of causes of blown fuse and when the fuse is blown it should be
replaced.
To replace the fuse:
1.
Disconnect power supply from the device,
2.
Using a screwdriver turn the cap counter-clockwise,
3.
Remove cap with the fuse,
4.
Replace blown fuse with new one,
5.
Place cap with fuse in the socket,
6.
Using a screwdriver turn the cap closkwise,
It is not allowed to supply MultiPrint using Sensor power supply output from
MultiCon CMC-99/141.
283
!