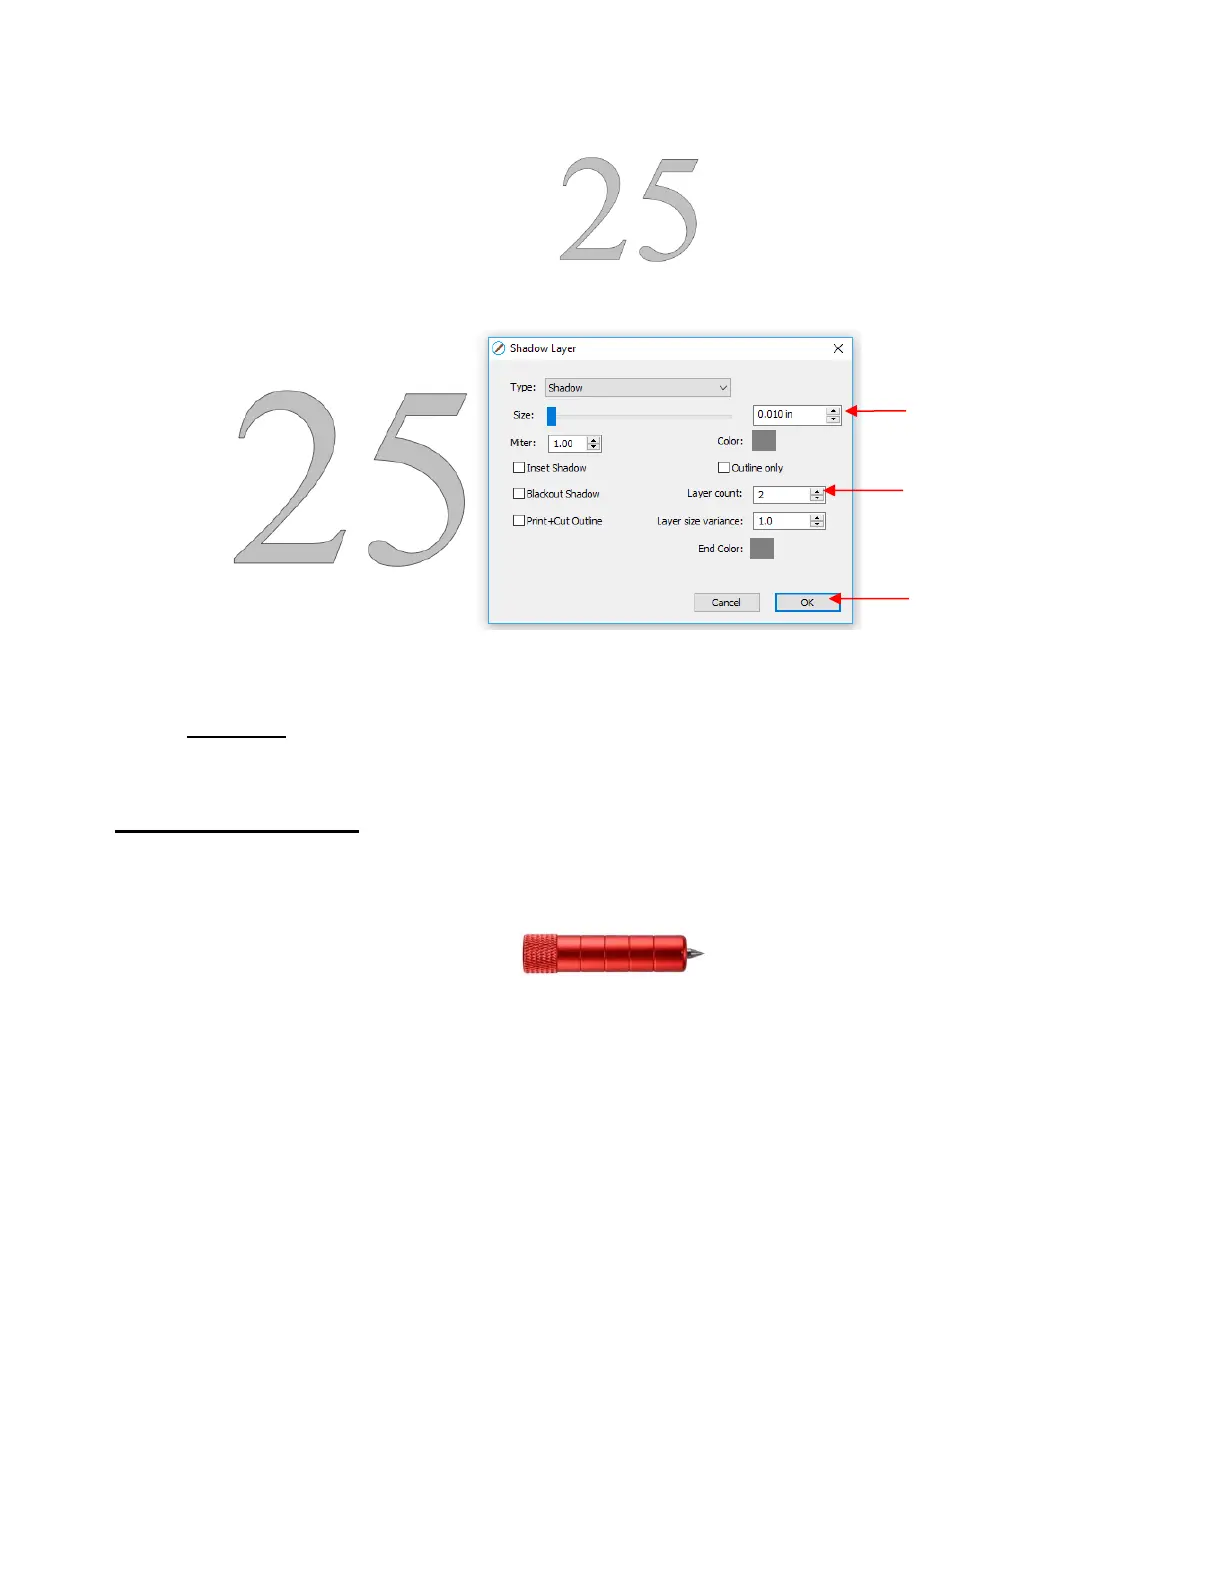
Create the shape you wish to emboss. In this example, the number 25 is used:
Select the shape and go to Effects>Shadow Layer function and perform the following:
Now you have three versions of the shape, each one slightly outset from the other. Thus, when using
the embossing tool, this will result in a thicker outline made of this shape.
Important: don’t forget to mark the Mirror H option in the Cut Settings window so that when you flip
over the cardstock, after embossing, the design will “read correctly.”
4.04 Scratch Engraving
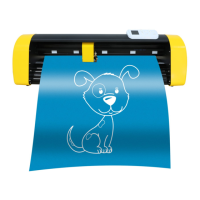
• The Skycut engraving tool can be used to engrave vellum, foils, acrylic, and most metals, including trophy
labels, dog tags, and jewelry charms.
• Similar guidelines apply to engraving as in drawing and embossing:
You will probably need to use WYSIWYG mode, especially when engraving on existing objects.
Make sure Overcut and Blade Offset are set to 0.
If you’re performing an engrave and cut project, refer to Section 4.02.1. If you’re engraving as part of a
print and cut project, refer to Section 4.03.2.
• Set the tool height using 35 Post-it notes, however always test first. On softer metals, you may not want the
engraving tip too far above the metal as it can leave pock marks when it drops to start engraving. If possible,
test on scraps first. If needed use 15 Post-it notes and increase the Force setting to compensate.
• To design an engraving fill pattern, use the Line Fill function. Refer to Section 12.09. Depending on the
application, open path fonts (refer to Section 8.11) can be used for faster engraving. They contain single
path lines and curves versus outlines. You may want to use more than one pass for a deeper engraving.


 To Next Page