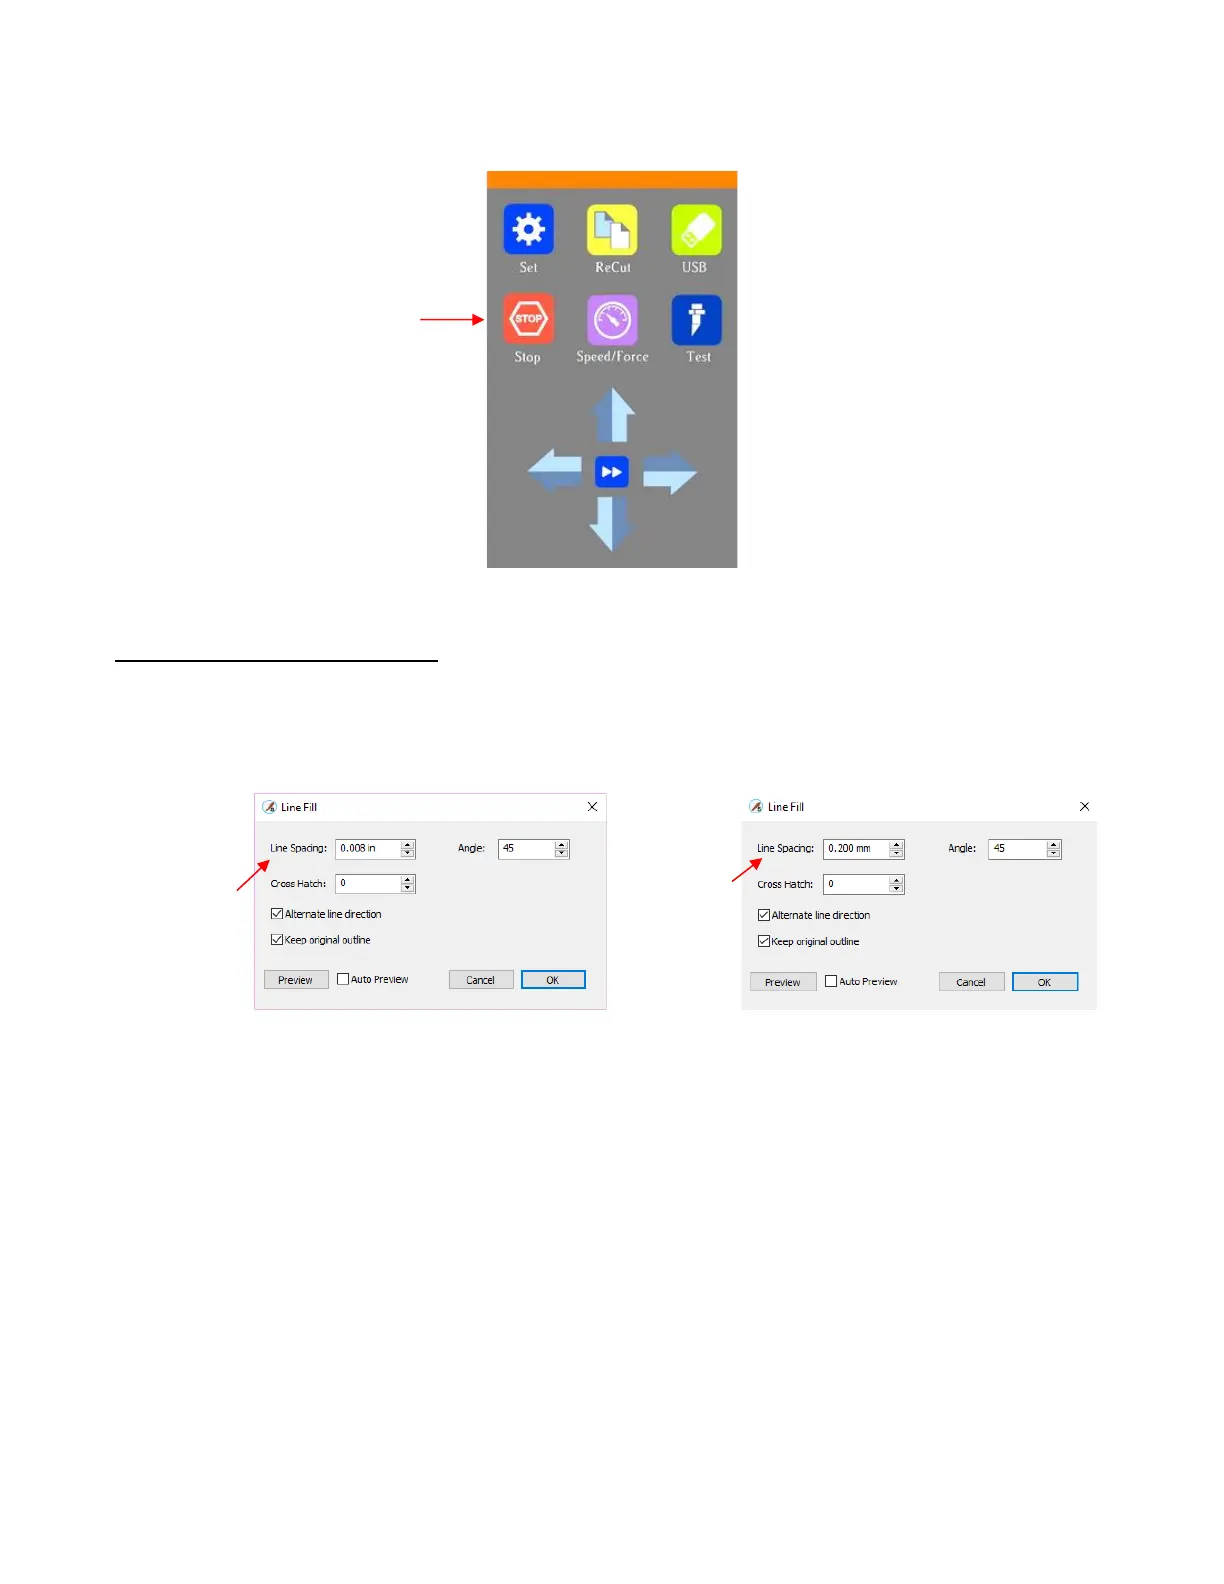
(11) Once the blue arrows appear, press the Home button and then press Stop on the Main Screen to save the
calibration and conclude the process:
4.02 Drawing with the Test Pen
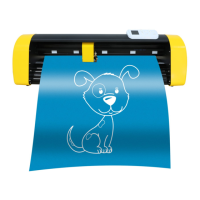
• With the Skycut, you can draw shapes and lettering with the test pen.
• If you wish to fill in a drawn shape, refer to Section 12.09 which covers how to add a Line Fill pattern to a
shape. Here is a suggestion on settings to try in the Line Fill window based on inches or mm:
If you want a more complete fill, two options will achieve that:
o Use a smaller Line Spacing, such as 0.004” (or 0.1 mm)
o Add a Cross Hatch which then fills in the shape from a different direction
Checking the option for Keep original outline will better define the shape, as it will also draw the
original shape.
• Do not have the pen positioned too low in the blade holder seat or the tip of the pen could drag across the
paper when moving from one shape to the next. Thus, use the 35 Post-It note method that was shown in
Section 2.01.3.
• Always make sure Blade Offset and Overcut are set to 0. These settings only apply to blades and not
accessory tools.
• Make sure your shapes will not be drawn where any of the pinch wheels travel over the material. Otherwise,
the ink might smear.
• For quicker drawing of lettering, open path fonts work well as they provide single drawn lines and curves
versus an outline form that usually then requires a fill. Refer to Section 8.11.


 To Next Page