6.06.2 Importing Raster Files
• There are several ways to import a raster file (JPG, BMP, GIF, PNG) depending on the intended purpose for
that file:
File>Import: will import PNG files with a transparent background, simultaneously adding a vector cut
line along the transparent border. This is very useful for PNC applications. This is the only raster format
that will work using this method.
File>Place Image: will import JPG, BMP, GIF, and PNG files for the purpose of printing or manually
tracing in the event the auto-tracing function doesn’t adequately perform due to the image quality. It’s
also another way to load an image for the Trace Image window. Refer to Section 9.03.
File>Trace Image (or click the Trace icon on the Toolbar): will import and auto-trace JPG, BMP, GIF
and PNG files. Various options and settings can be applied to obtain the desired results. Refer to
Section 9.03.
6.06.3 Importing Fonts
• SCAL will display and utilize all fonts currently installed on your computer. You can also open non-installed
fonts for temporary use. The formats supported include TTF, OTF, and OPF (open path / single line fonts).
For more details, refer to Section 8.02.3.
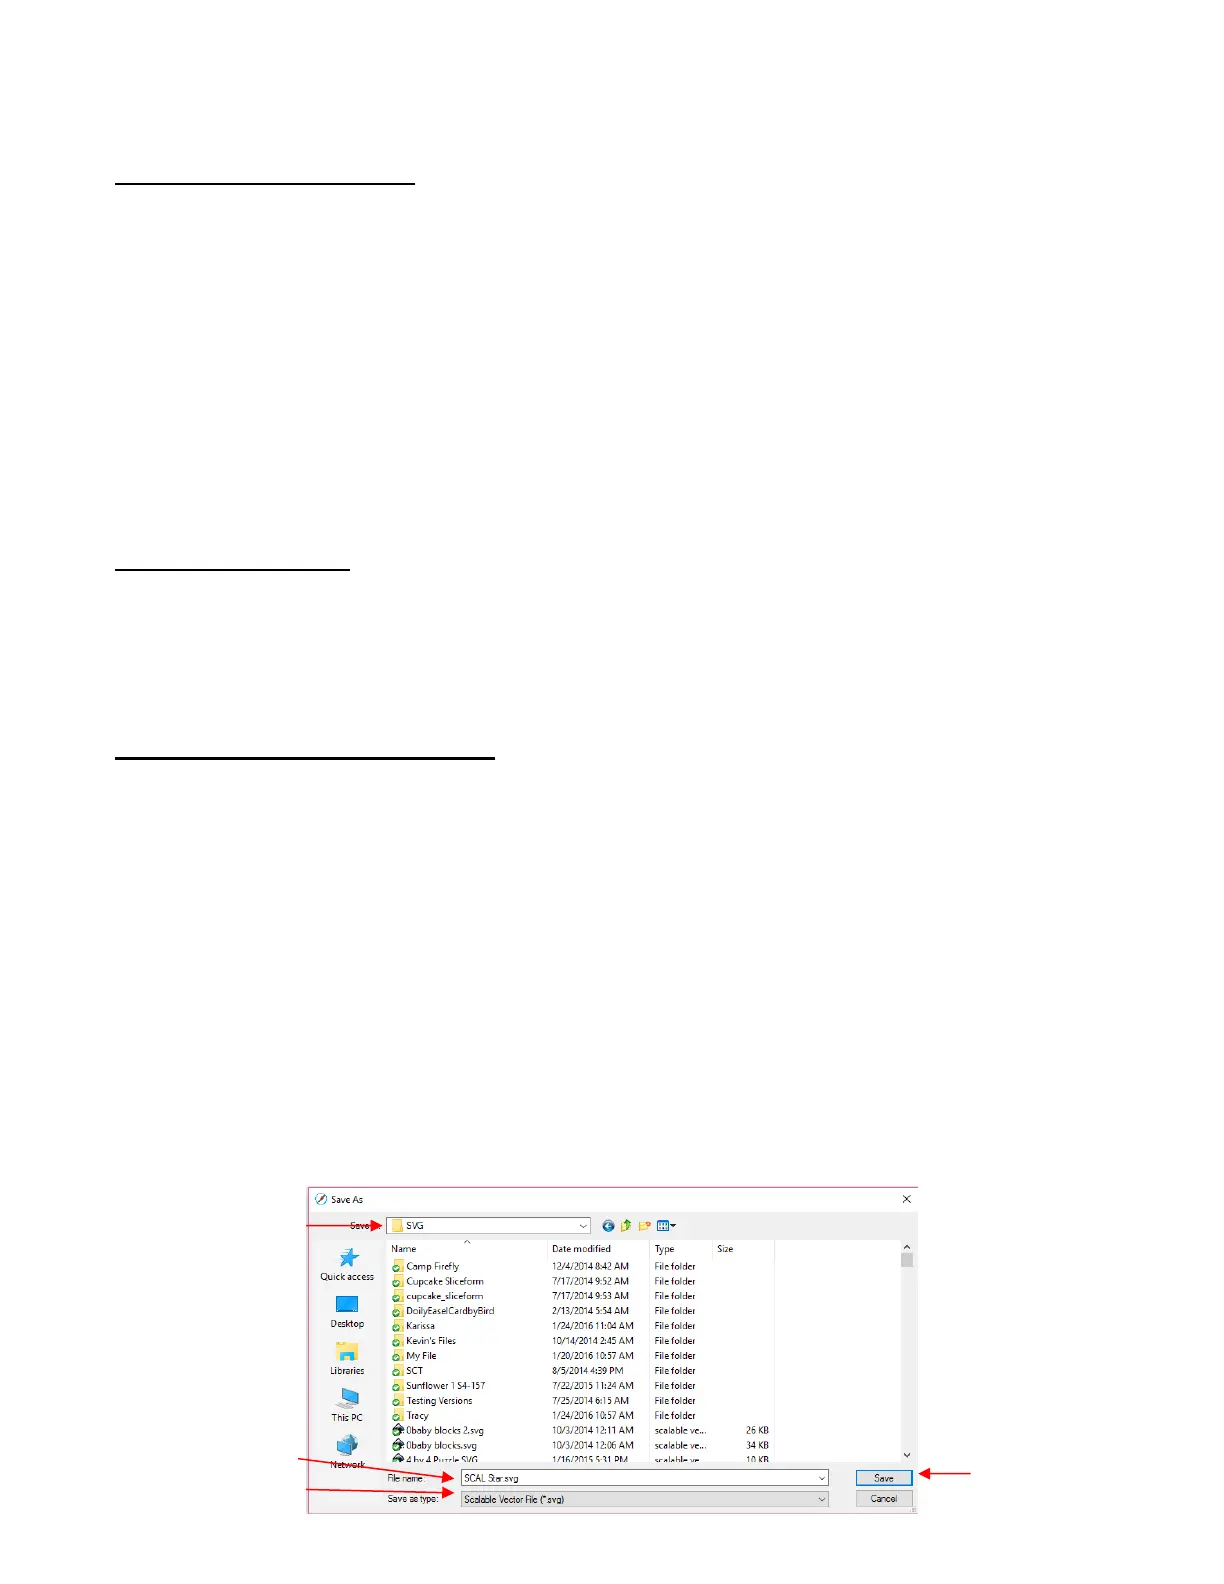
6.07 Exporting in Other File Formats
• Besides saving as a .SCUT5 file, you can also export in the following formats: SVG, JPG, BMP, PNG, PDF,
TIFF, FCM, and PLT. Only SVG, FCM, PDF, and PLT are vector formats. The others are raster.
• If there are only certain shapes in the file that you want to export, you have two options:
Select those particular shapes before exporting and then mark a box called Selection only in the export
window.
Place those shapes on one or more separate layers and hide them on the Layers Panel. Refer to
Sections 6.04.2 and 7.10.
• To export a file, use either of the following options:
Go to File>Export
Press Ctrl+Shift+E
• The following window will open where you can name the file, select the file format, and the location for
saving: