STEP 1: Bringing Signal into the Channel
I
n this step, we will simply learn how to bring signal into the channel from the D-connectors on the Matrix back panel.
‰ First, ensure that the desk is in Analogue Focus mode, not DAW Focus mode, by checking that the Focus
button (shown right) is lit.
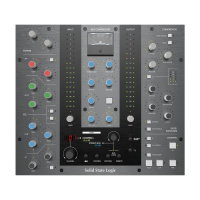
‰ Press the upper
& key on Channel 16. It will light to indicate that it is selected. The Master Channel is
now assigned to channel 16.
Note: There is a second & button in the channel, located a little lower on the channel strip, just above the fader. This button
is associated with DAW control, not assigning the Master Channel. The DAW & button is examined on Page 77.
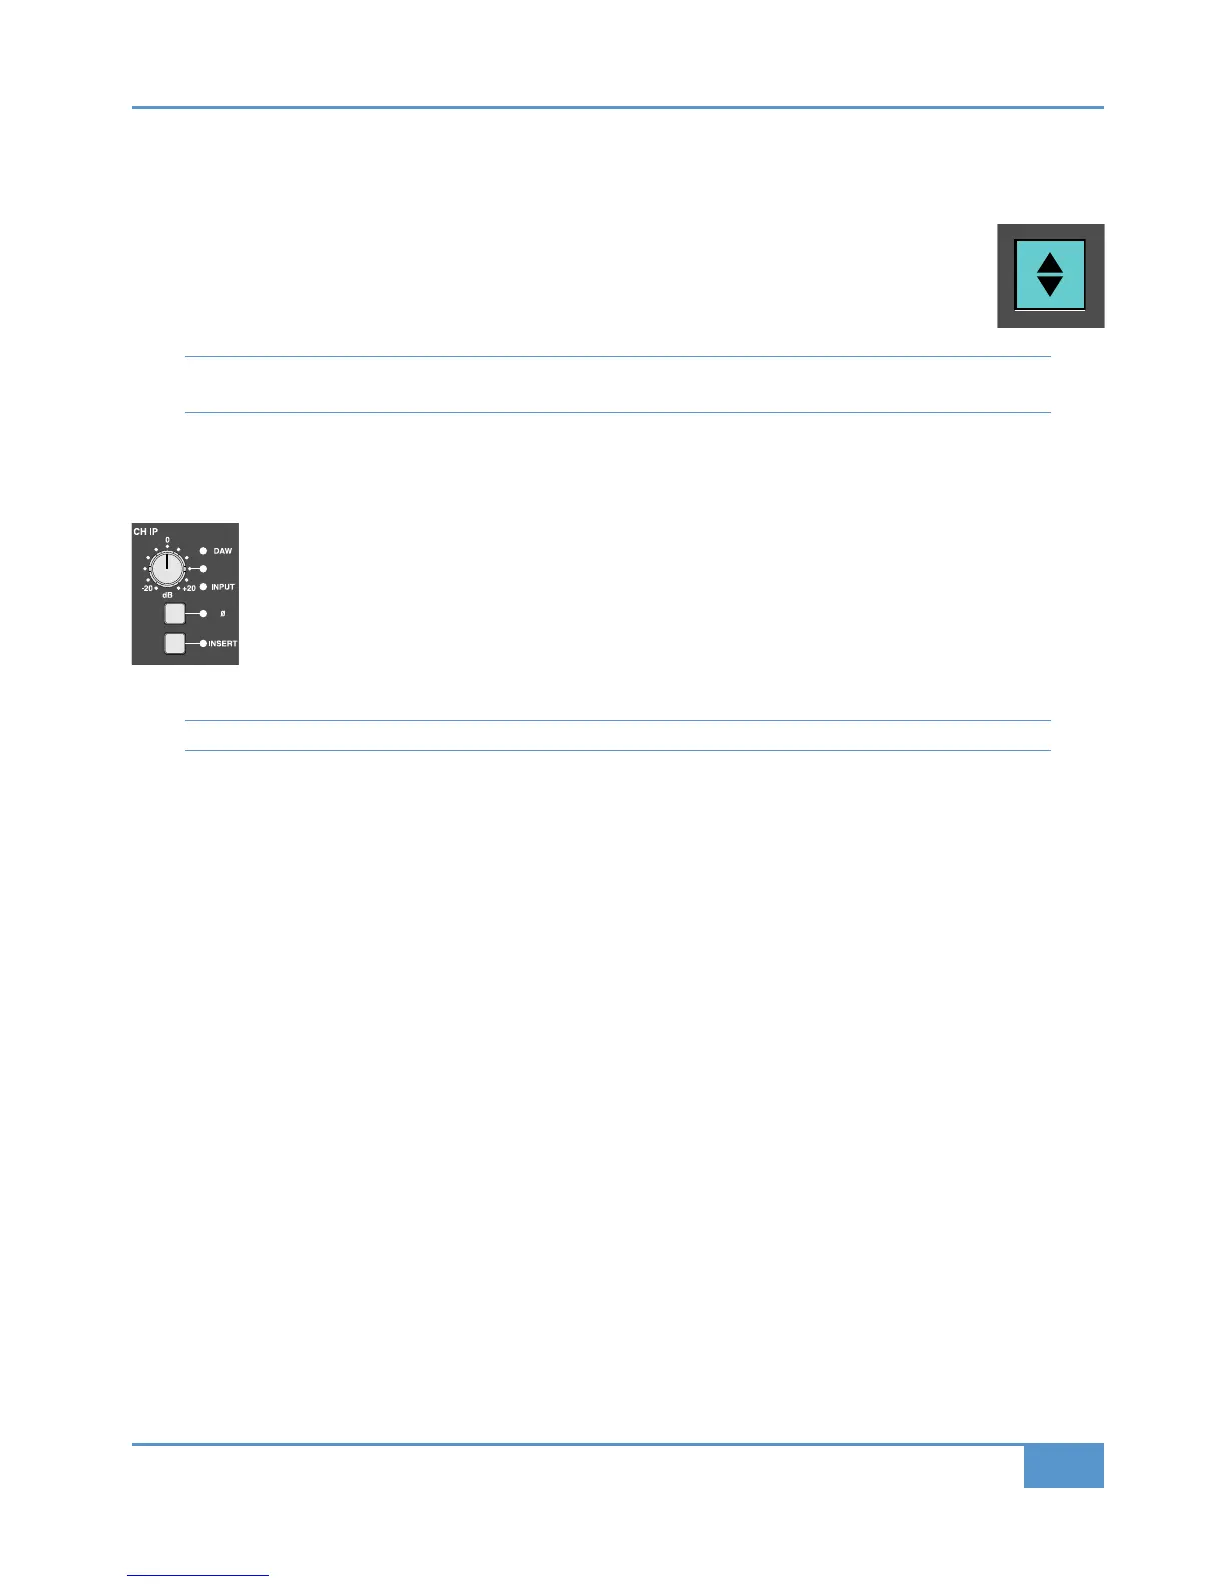
‰ Find the !#('# button at the top of the Master Channel. This button determines which of the two channel inputs is
feeding the channel: the main (line-in) input, or the DAW return. Make sure the button is lit green, indicating that the main
input is selected. If it is red, indicating that the DAW return is selected, press it to select the main input.
In the channel strip, the LEDs to the right of the grey gain pot labelled # (at the top of the channel) also
indicate the input selection: !#(' or *.
‰ Use the gain pot to adjust the gain of the input. Your CD signal should now be shown in the meter above
the channel strip, and you can use this to adjust its level.
‰ Lift the channel fader to 0dB and check that neither the &"" nor (' buttons above the fader are lit.
We will examine these controls in Step 7.
Note: You won’t hear your signal until Step 3.