STEP 2: Routing to the Main Busses
H
aving brought signal into the channel, we will now learn how to bring it out again. We will cover more of the channel output
options in Steps 4 and 7.
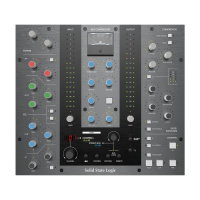
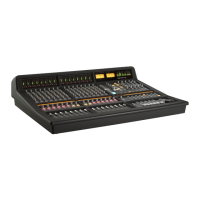
‰ Press the
%button in the (& area towards the bottom of the Master Channel.
T
his routes the signal to the record bus. The button will light red to indicate that
this routing is active. Your CD signal should now be shown in the
%meter, to
the right of the VU’s above the centre section.
‰ Adjust the level of the record bus using the grey gain pot in the main %bus controls, located in the top-
right of the centre section (shown left).
There are two ways to route the signal to both record and mix busses:
Firstly we will route just this channel to both busses:
‰ Press the
+ button, below the % button in the Master Channel. It will light yellow to indicate that this routing is active.
Your CD signal should now be shown in the + meter, to the right of the VU’s above the centre section.
Secondly, we will route the whole record bus to the mix bus:
‰ So as not to double the routing, deselect the mix bus routing from the channel by pressing + again.
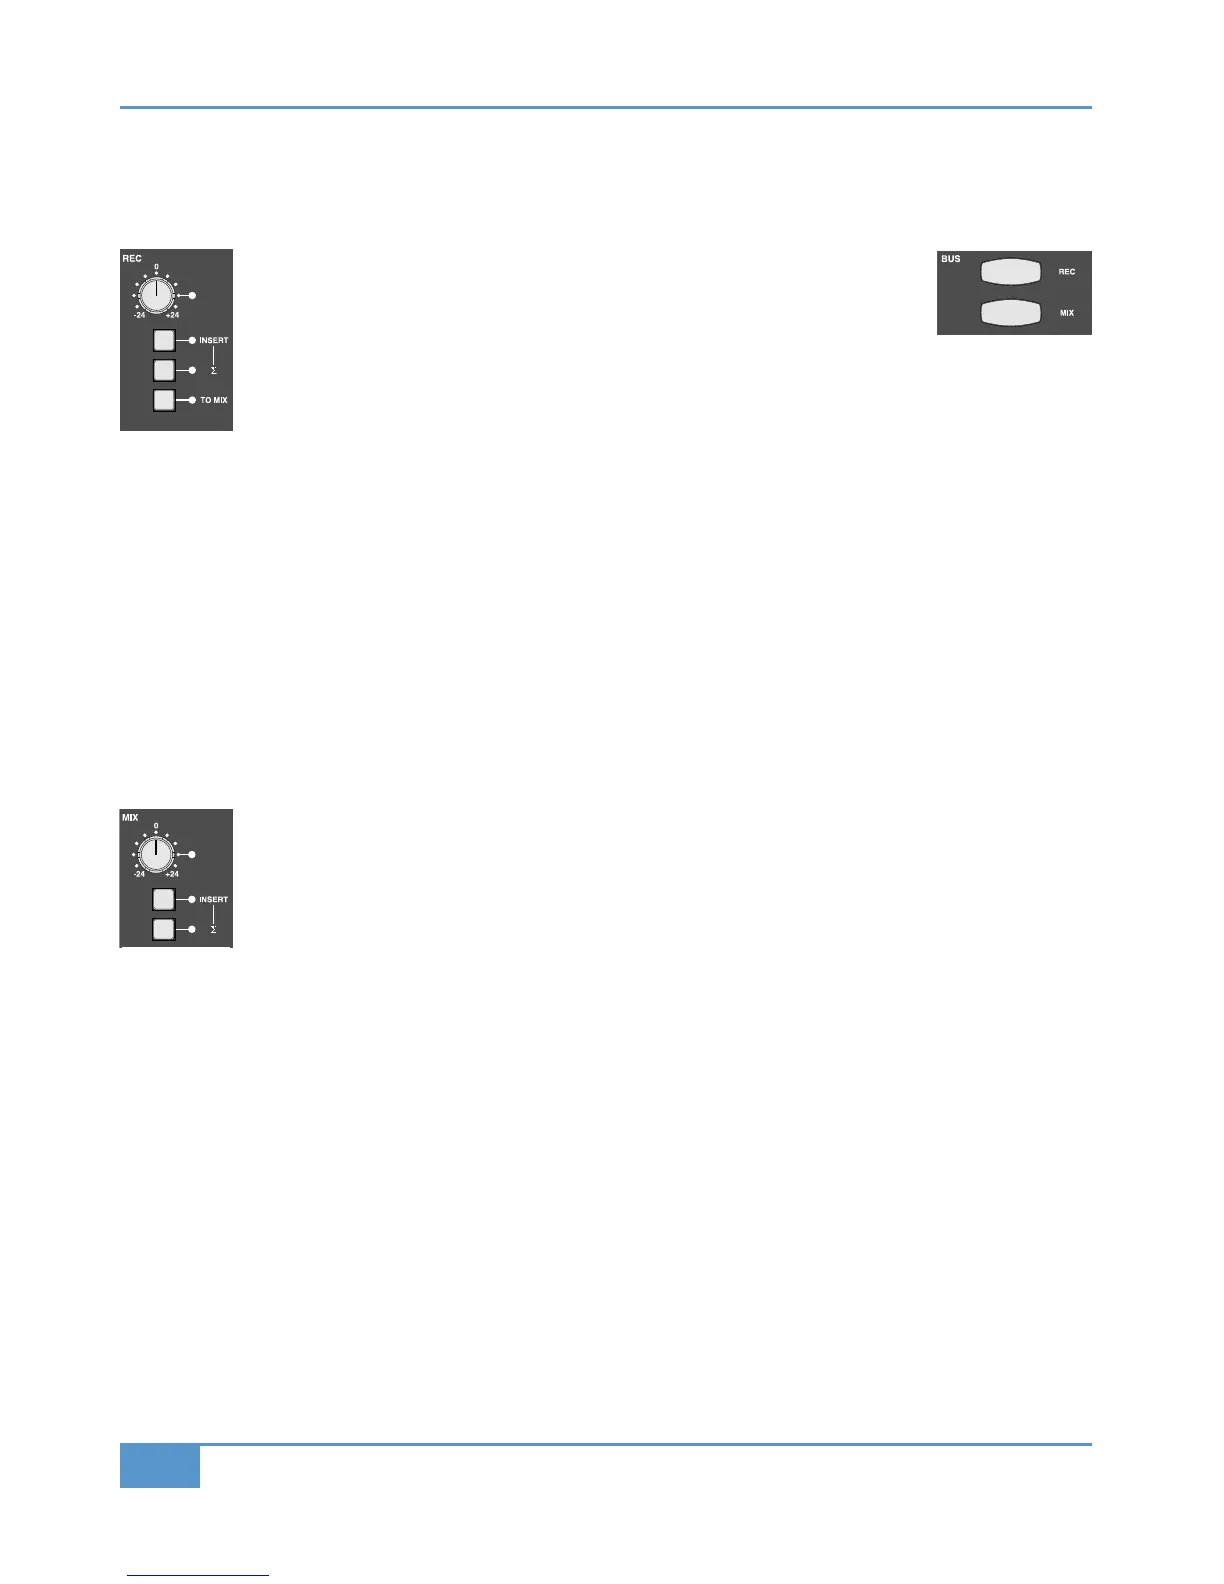
‰ In the %area of the centre section, press the '" + button. The LED next to it will light to indicate that this routing
is active.
The mix bus level is adjusted in two places:
‰ Lift the master fader, to the right of the channel faders, to 0dB.
‰ Turn the gain pot in the main
+bus controls, located to the left of the % bus controls. In order to
distinguish the mix bus from the record bus in the following step, leave the mix bus level about 20dB lower
than the record bus level.