STEP 7: Sending Signal from the Channel
Direct Output
N
ow that we can hear the signal and can control the DAW, we will return to examining the channel. In Step 2 we lifted the channel
fader, which defines the signal level with which the channel is feeding the main busses, so the channel is already sending signal.
‰ Press the Focus button again. It should now be lit, indicating that you have returned to Analogue Focus mode.
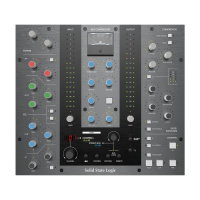
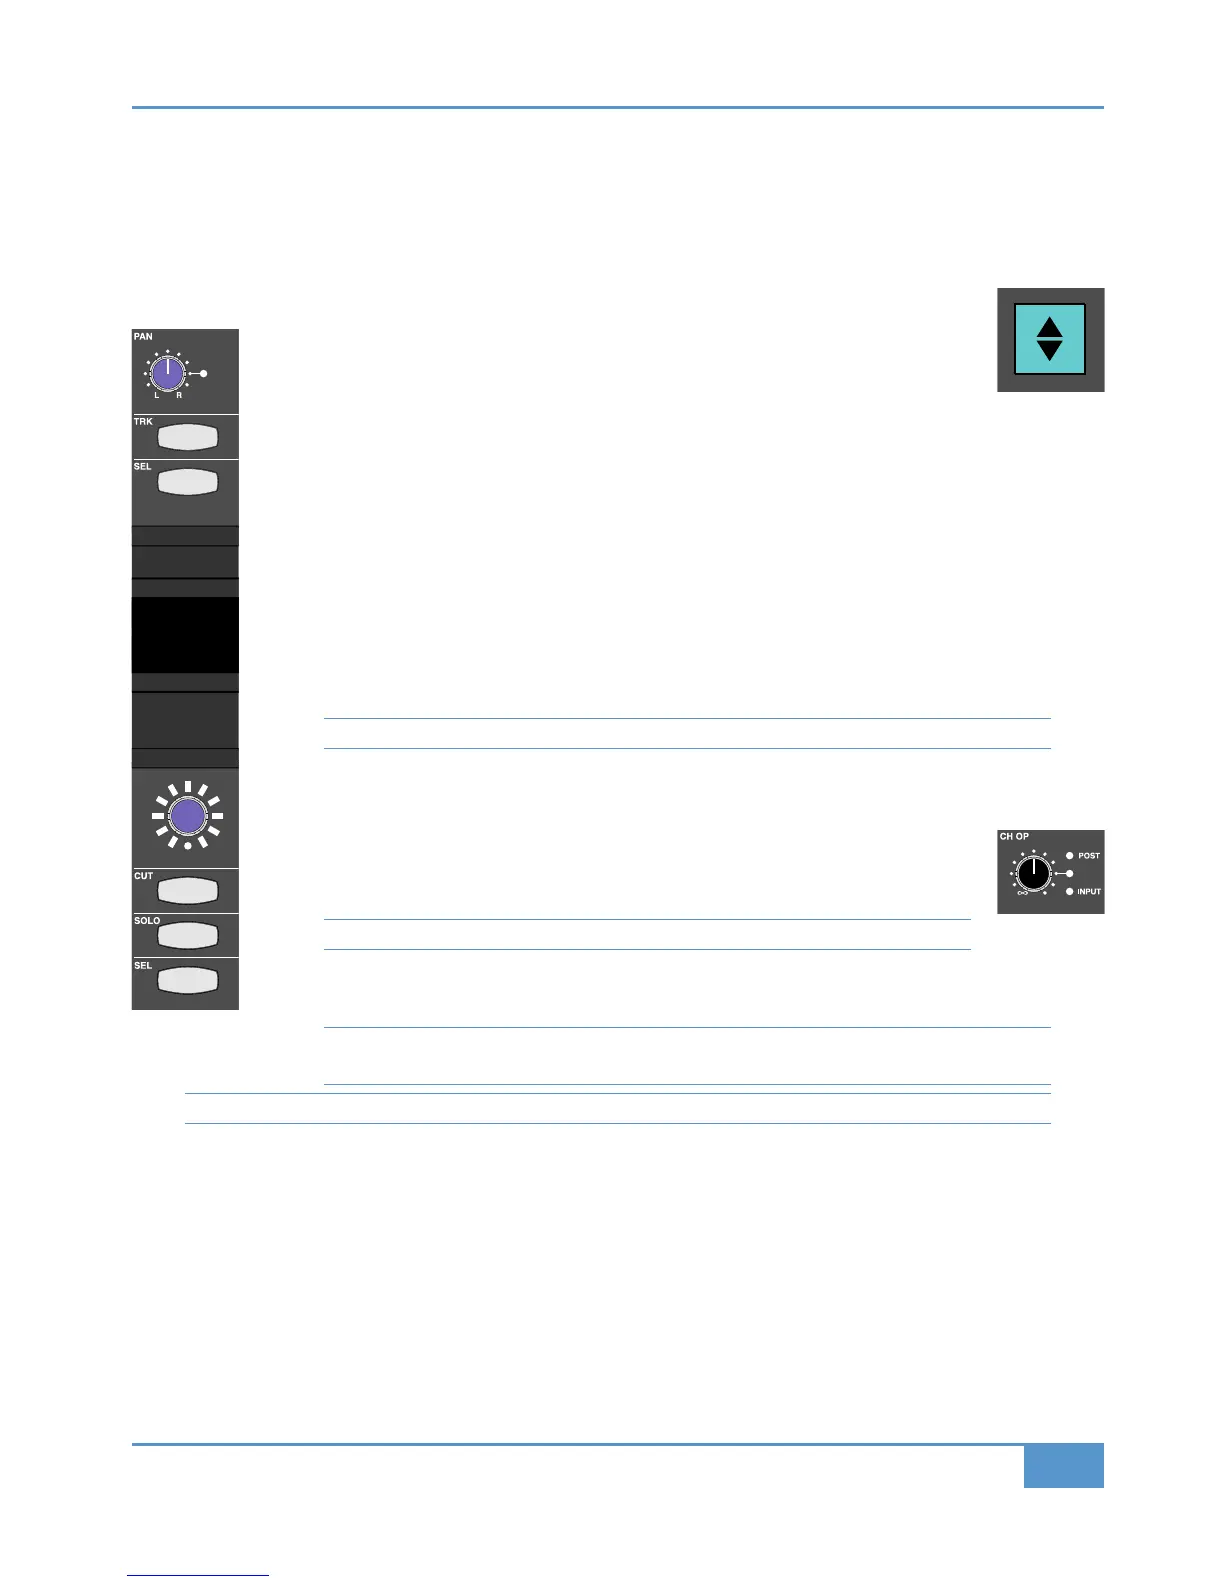
‰ Turn channel 16’s pan pot, located a little way above the upper
& key, at the top of the
graphic shown left, to pan the signal between the left and right speakers. The impact will
be both audible and visible in the bus meters to the right of the VU’s.
‰ Operate the (' and &""buttons below the digital scribble strip. Now that we are in Analogue Focus
mode, these buttons mute and solo the signal in the channel, and the buttons light to indicate that they are
active.
Notice that when the &"" button is pressed, both the &"" symbol above the VU meters and the &""
% button in the top right of the main monitoring area are lit, indicating that there is a &"" or
button selected somewhere on the desk. You will have noticed that the analogue and DAW solo functions have
separate centre section solo indicators.
‰ Leave the channel with neither the (' nor &"" lights lit.
‰ You can press the &""% button to cancel the solo.
See Page 45 for descriptions of more advanced configuration of the desk’s solo feature.
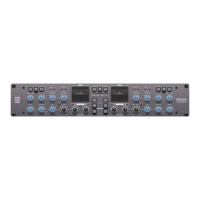
The channels also feed their own individual outputs, labelled CHANNEL OUT on the Matrix back panel, which
you should have connected to the inputs of your DAW.
‰ Adjust the channel output gain using the "# (channel output) pot, located below the
# pot. As you have left the '4ABtrack record-armed, you can use the input metering
in your DAW to meter the signal level you are sending.
Note that you can also meter the "# signal within the Matrix. See Page 46.
‰ Using the transport controls at the bottom of the centre section, record a few seconds of the audio coming
from CHANNEL OUT 16 onto the
'4AB track. Once finished recording, leave the track record-armed.
Note that you may not have permission to record more than eight seconds of audio from the CD you are
playing.
For information regarding how to alter the point within the channel from which you feed the channel outputs, see Page 32.