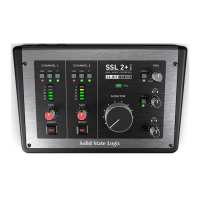
STEP 6: Channel Control of your DAW
I
n this step we will turn our attention to control of the DAW track.
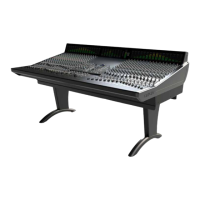
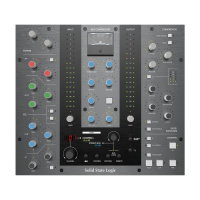
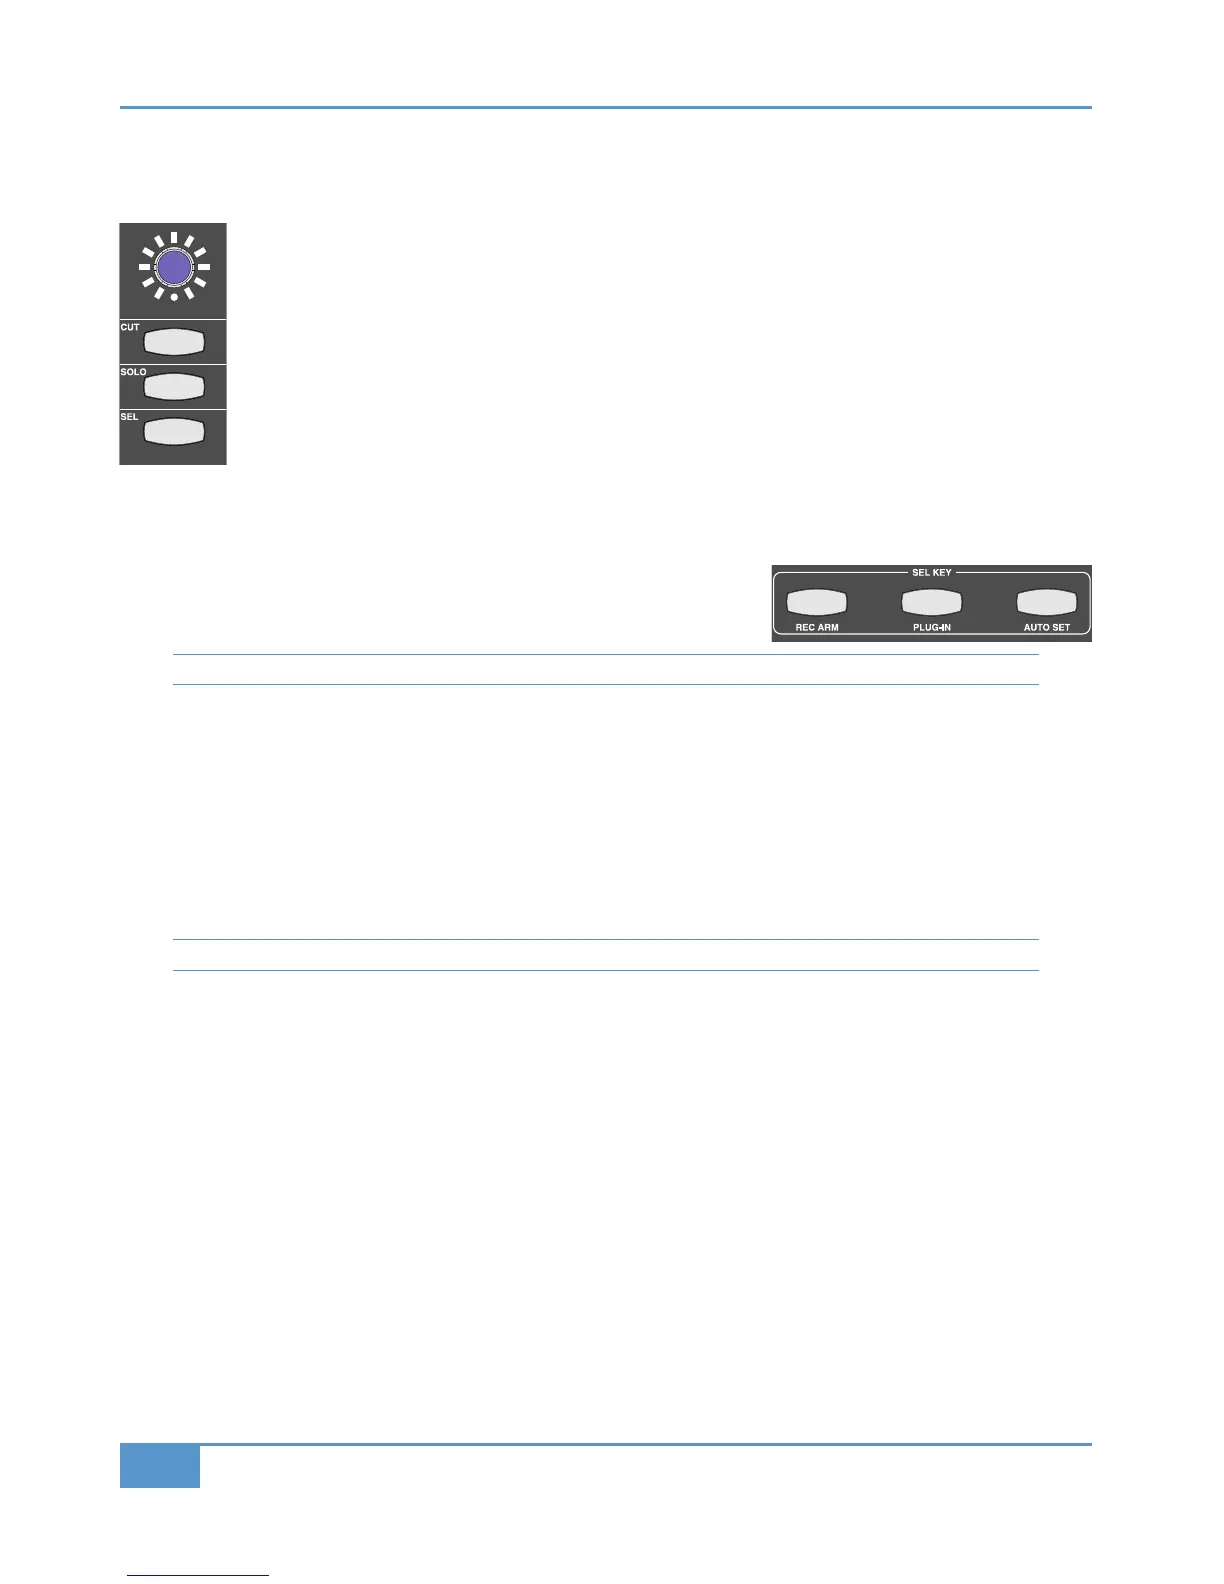
‰ Still on the Matrix console, press the
(' button in the channel controlling the '4AB track, located above
the channel fader. You will notice that the '4ABtrack will cut in the DAW. On Matrix, the channel ('
b
utton will light. Press the
('
b
utton again to deactivate it.
‰ Press the
&"" button in the channel controlling the '4AB track, located below the (' button. You will
n
otice that the
'
4AB
t
rack will solo in the DAW. On Matrix, the channel
&
""
b
utton will light and the
(' buttons in all the other channels will flash.
Notice that the &"" LED below the monitoring section is flashing, indicating that there is a solo button
selected in the DAW.
‰ Press the &"" button again to deactivate it.
‰ Move the fader at the bottom of the Matrix channel. You will notice that the DAW’s '4AB track fader is moving.
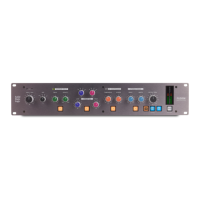
‰ Find the &, area of the centre section, located below the *,%
&' buttons. These buttons define the function of the lower & key
which is concerned with DAW control.
Note that the &, modes have nothing to do with the upper, analogue & key.
‰ Ensure that all the &, buttons are unlit, indicating that the lower & keys are in default mode. If any buttons are lit,
press them to return to default mode.
In default mode, the lower & keys function as DAW track selectors:
‰ Press the & key in the channel controlling the '4AB track. You will notice that you have selected the '4ABtrack in the
DAW.
‰ Press the left hand &, button marked %% and press the & key in the channel controlling the '4AB track
again. You will notice that this time you have record-armed the '4AB track in the DAW. Leave the track record-readied.
See Chapter 5 for details of other in-channel DAW control functions.