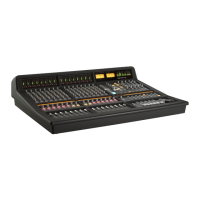
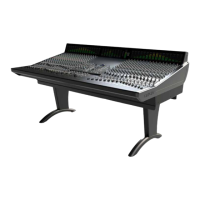
STEP 8: Setting up Artist and Control Room
Headphones
Y
ou can control the mix your musicians hear from the
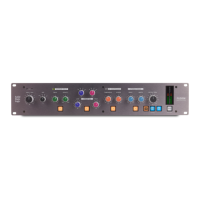
%'&' "!'"%
a
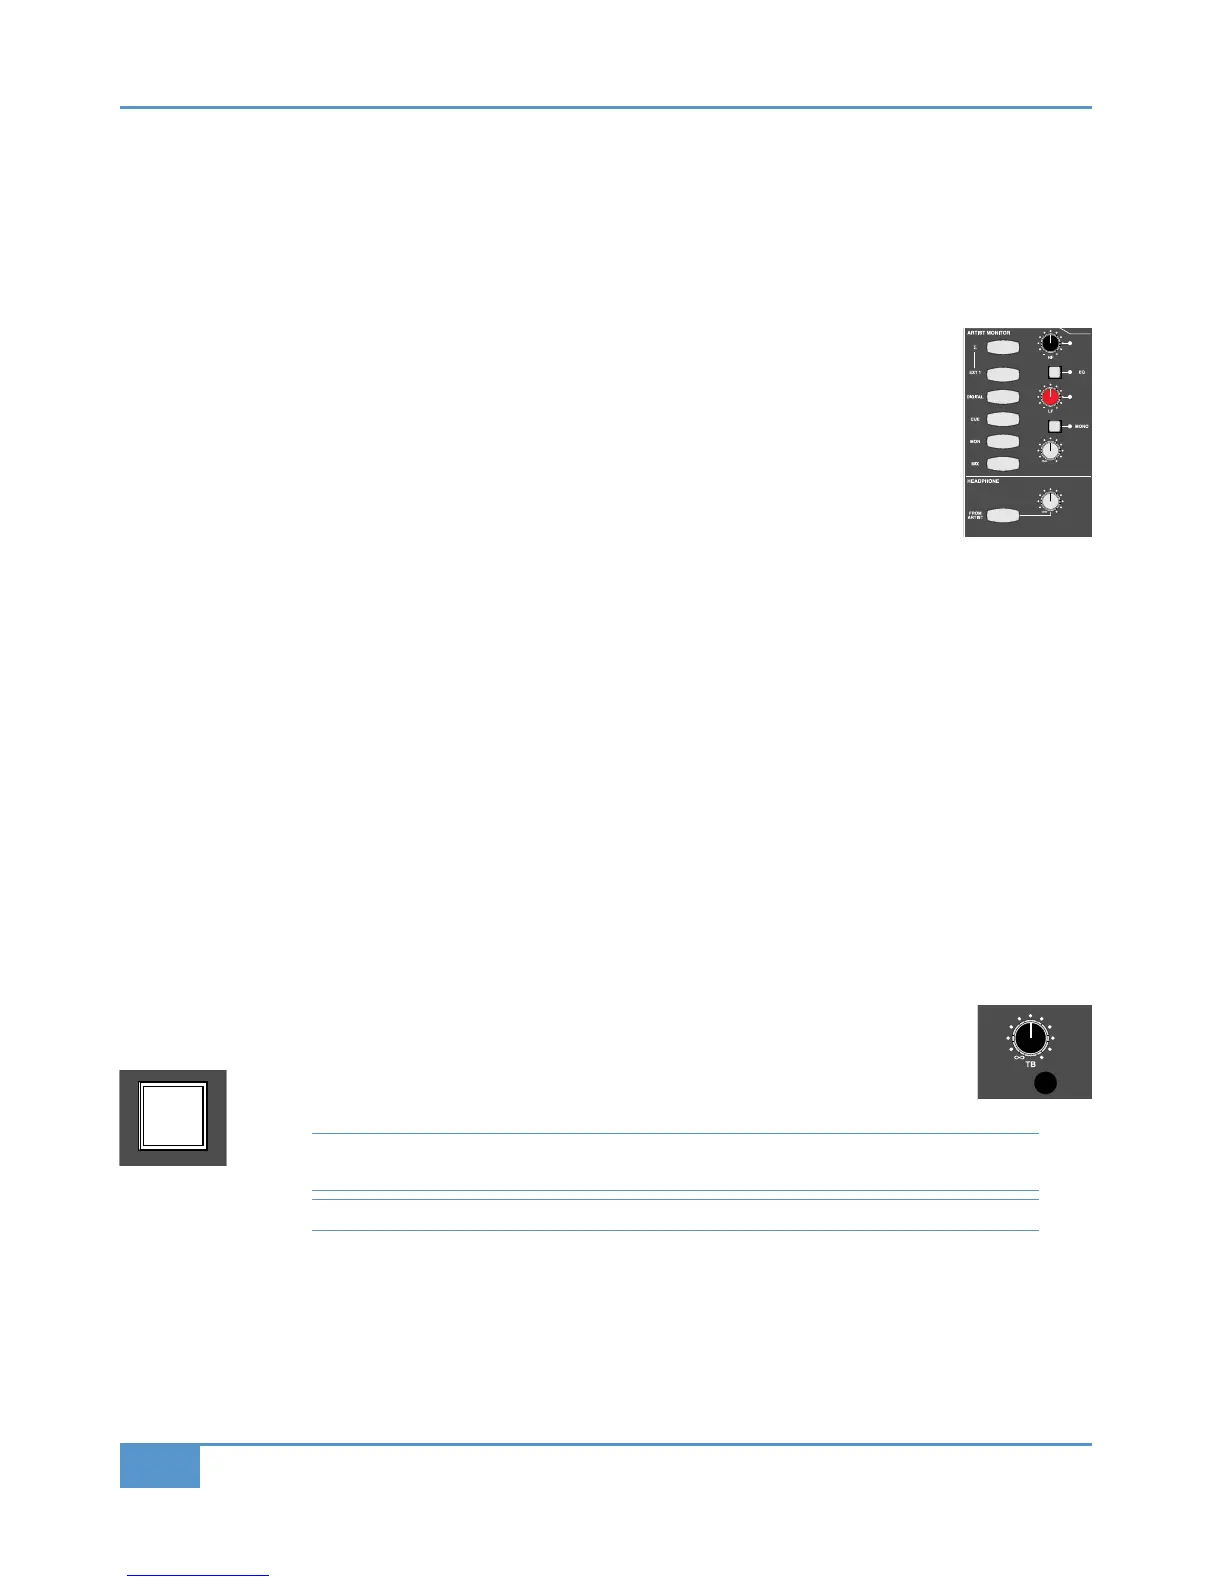
rea, located to the right of the
! "!'"%
area, shown below.
You can listen to the artist’s mix using the desk’s own headphone output:
‰ Plug your headphones into the desk’s headphone socket, located in the trim on the right-hand side of
the desk.
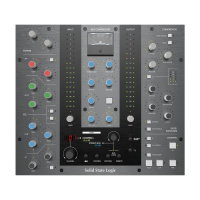
‰ In the #"! area below the %'&' "!'"% area, press the %" %'&' button.
This routes the artist’s mix, rather than the main monitor mix, to the desk’s headphones and it will light
to indicate that this routing has been selected.
‰ You can adjust the headphone level using the #"! pot next to the %" %'&' button.
We will use the stereo cue bus to create our artist’s headphone mix:
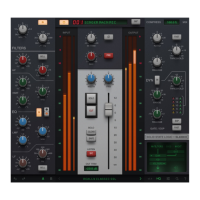
‰ In channel 16, press the (&' gain pot (the lower of the two (&'pots) to switch on the send. The LED below it and
to the right will light to indicate that it is on.
‰ Use the pot to adjust the gain, using the (&' meter to the right of the VU’s as a reference, and pan the signal using the
upper pot.
‰ In the %'&' "!'"% area, press the ( button (the fourth one down on the left-hand side). This selects the (
&' output as the send to the artist’s headphones. You will see the other source options available, shown above and below
the ( button.
‰ Adjust the artist’s headphone level using the grey gain pot in the lower right-hand corner of the %'&' "!'"% area.
‰ Press the button marked $, towards the top right, which inserts a 2-band EQ into the artist’s send.
‰ Adjust the EQ using the and pots, located above and below the $ button.
‰ Press the "!" button to sum the send to mono. Press it again to restore the send to stereo.
You can talk to your musicians using the talkback mic. You can adjust the level of the talkback mic using the
'
pot, located above the ! "!'"% area (shown right). The talkback mic itself is just below the pot.
‰ Holding down the %'&' button, located in the bottom right-hand corner of the centre
section, routes the talkback mic to the artist’s headphones.
Note that you will not hear the talkback mic on the desk headphone output, even though %"
%'&' is pressed, as the pick off point is pre level and TB injection.
Note that the main monitoring automatically dims when the talkback button is selected.