64 Netra T2000 Server Installation Guide • September 2006
The size of the screws varies, depending on your rack.
5. (Optional) If your environment contains especially high vibrations, use the rear
plates to further secure the server to the rack (
FIGURE 4-8).
The rear plates attach to the rear of the post and to one of the three sets of eyelets on
each side bracket, depending on the thickness of the post.
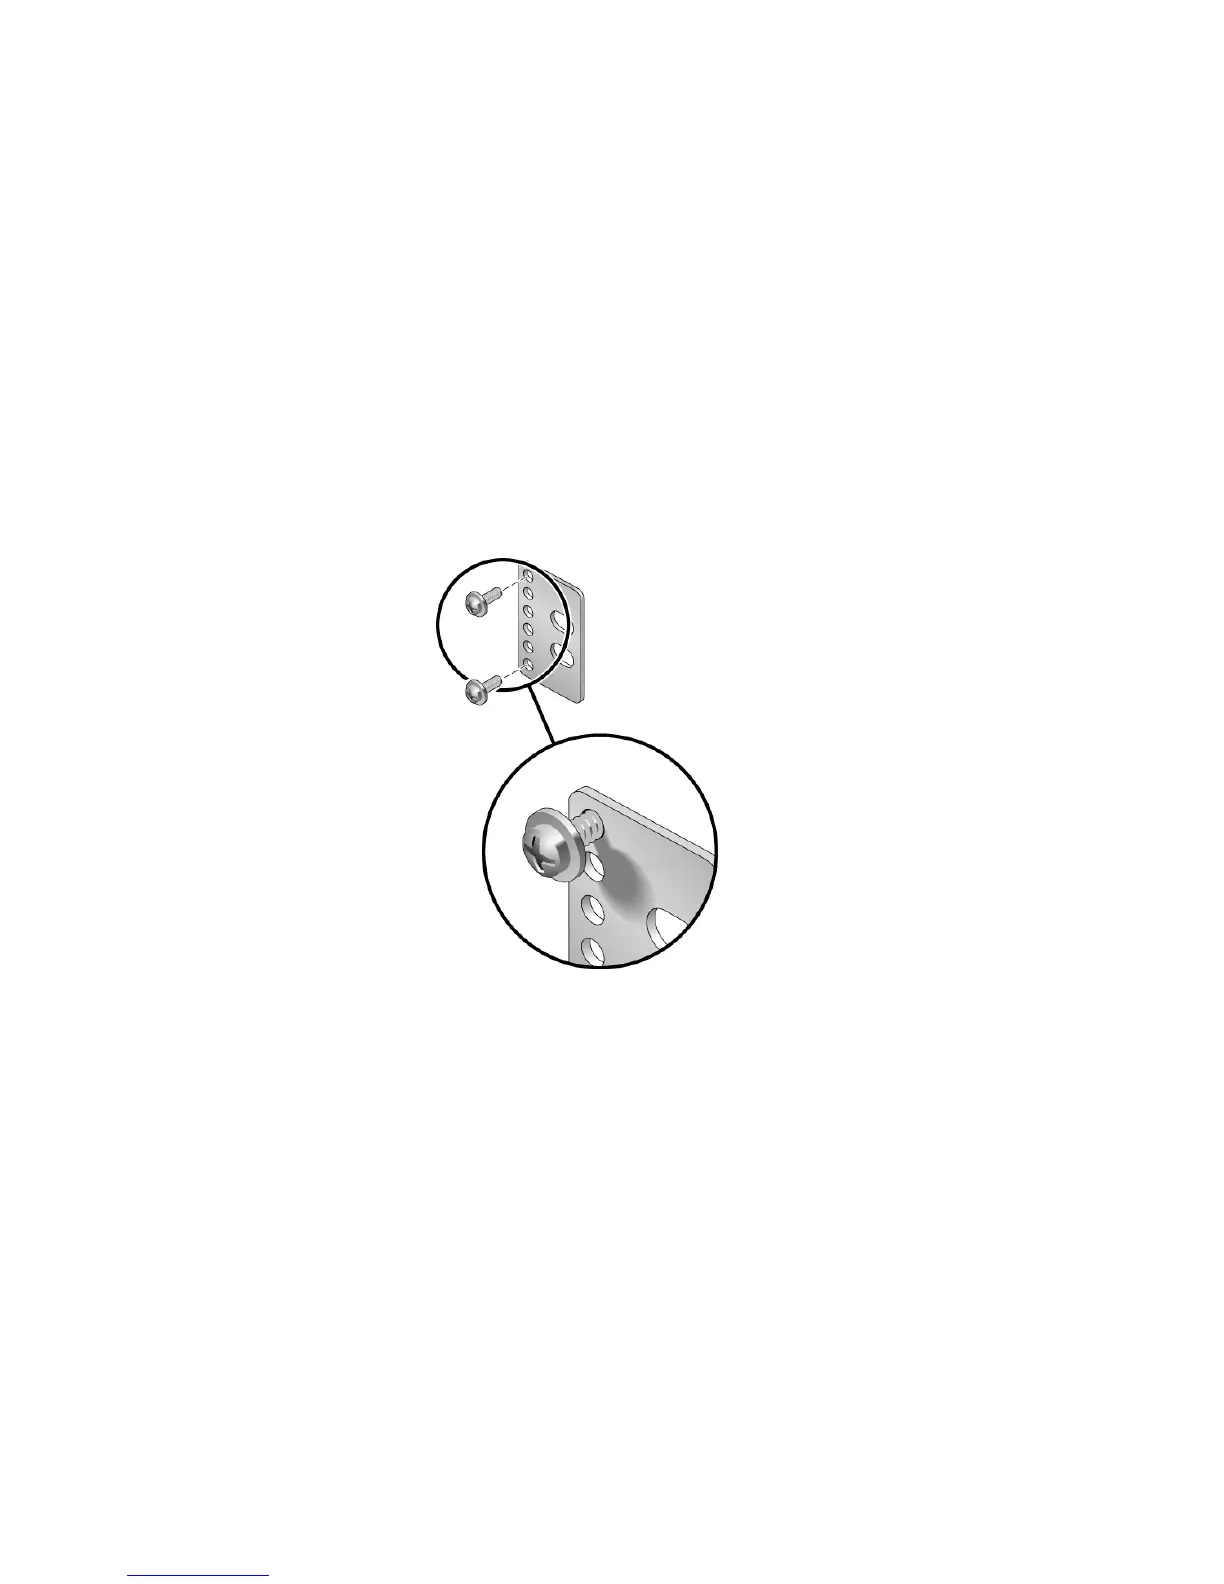
a. Using two of the M3 × 8 SEM screws for each rear plate, loosely install the
screws in one of the six positions on the rear plate (
FIGURE 4-11).
The position varies depending on the thickness of the rail in the rack. For
example,
FIGURE 4-11 shows where you would install the screws for the optimum
rack position on the rear plate.
FIGURE 4-11 Installing Screws on the Optimum Rack Position on the Rear Plate
b. Slide the rear plate in so that the screws slide into position into one set of the
eyelets.
The screw heads should be facing the rear of the server and the other side of the
rear plate should be in front of the rack post (
FIGURE 4-12).