14 Netra T2000 Server Installation Guide • September 2006
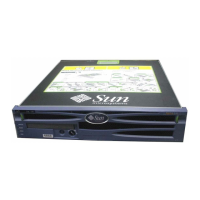
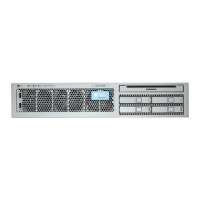
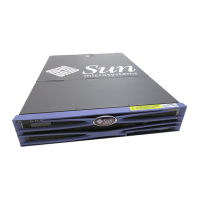
Verify that you have received all the parts of your server.
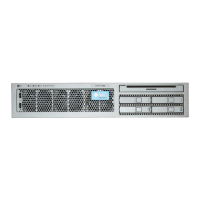
■ Server chassis
■ 19-inch, 4-post rackmount kit and a slide rail assembly
■ Package of mounting screws and nuts in assorted sizes to fit various types of
racks and cabinets
■ Miscellaneous hardware, cables, connectors, etc
■ Cable management arm with six preinstalled cable clips
■ Manufacturer’s instruction sheet for the cable management arm
■ Any optional components that were ordered with the server
Installation Overview
This installation guide provides procedures that must be performed in the following
order.
1. Verify that you have received all of the components that ship with your server, as
described in the preceding section.
2. Gather configuration information for your server. See your system administrator
for specific details, including these parameters:
■ Netmask
■ IP address for the system controller
■ Gateway IP address
See “Software Configuration Worksheet” on page 93.
3. Remove the shipping insert from the bezel and install the air filter. See “Installing
the Air Filter” on page 16.
4. Install any optional Sun components into your server before rackmounting. See
the server service manual for instructions.
5. Mount the server into a rack or cabinet. See “4-Post Rackmounting Options” on
page 22 and “2-Post Rackmounting Options” on page 56.
Note – In the rest of this manual, the term rack means either an open rack or a
closed cabinet.
6. Connect the chassis grounding cable.
7. Connect the serial, network, and all other data cables to the server. See “Cabling
the Server” on page 67.
 Loading...
