7.
Connect the power cord to the instrument, press the power switch to the ON
position, then wait for it to start (~30 seconds).
The instrument is ready to congure when the touchscreen displays the End
User License Agreement.
IMPORTANT! If the instrument does not start, contact customer support or
your service representative for assistance.
8.
In the End User License Agreement screen, touch Accept to accept the
agreement.
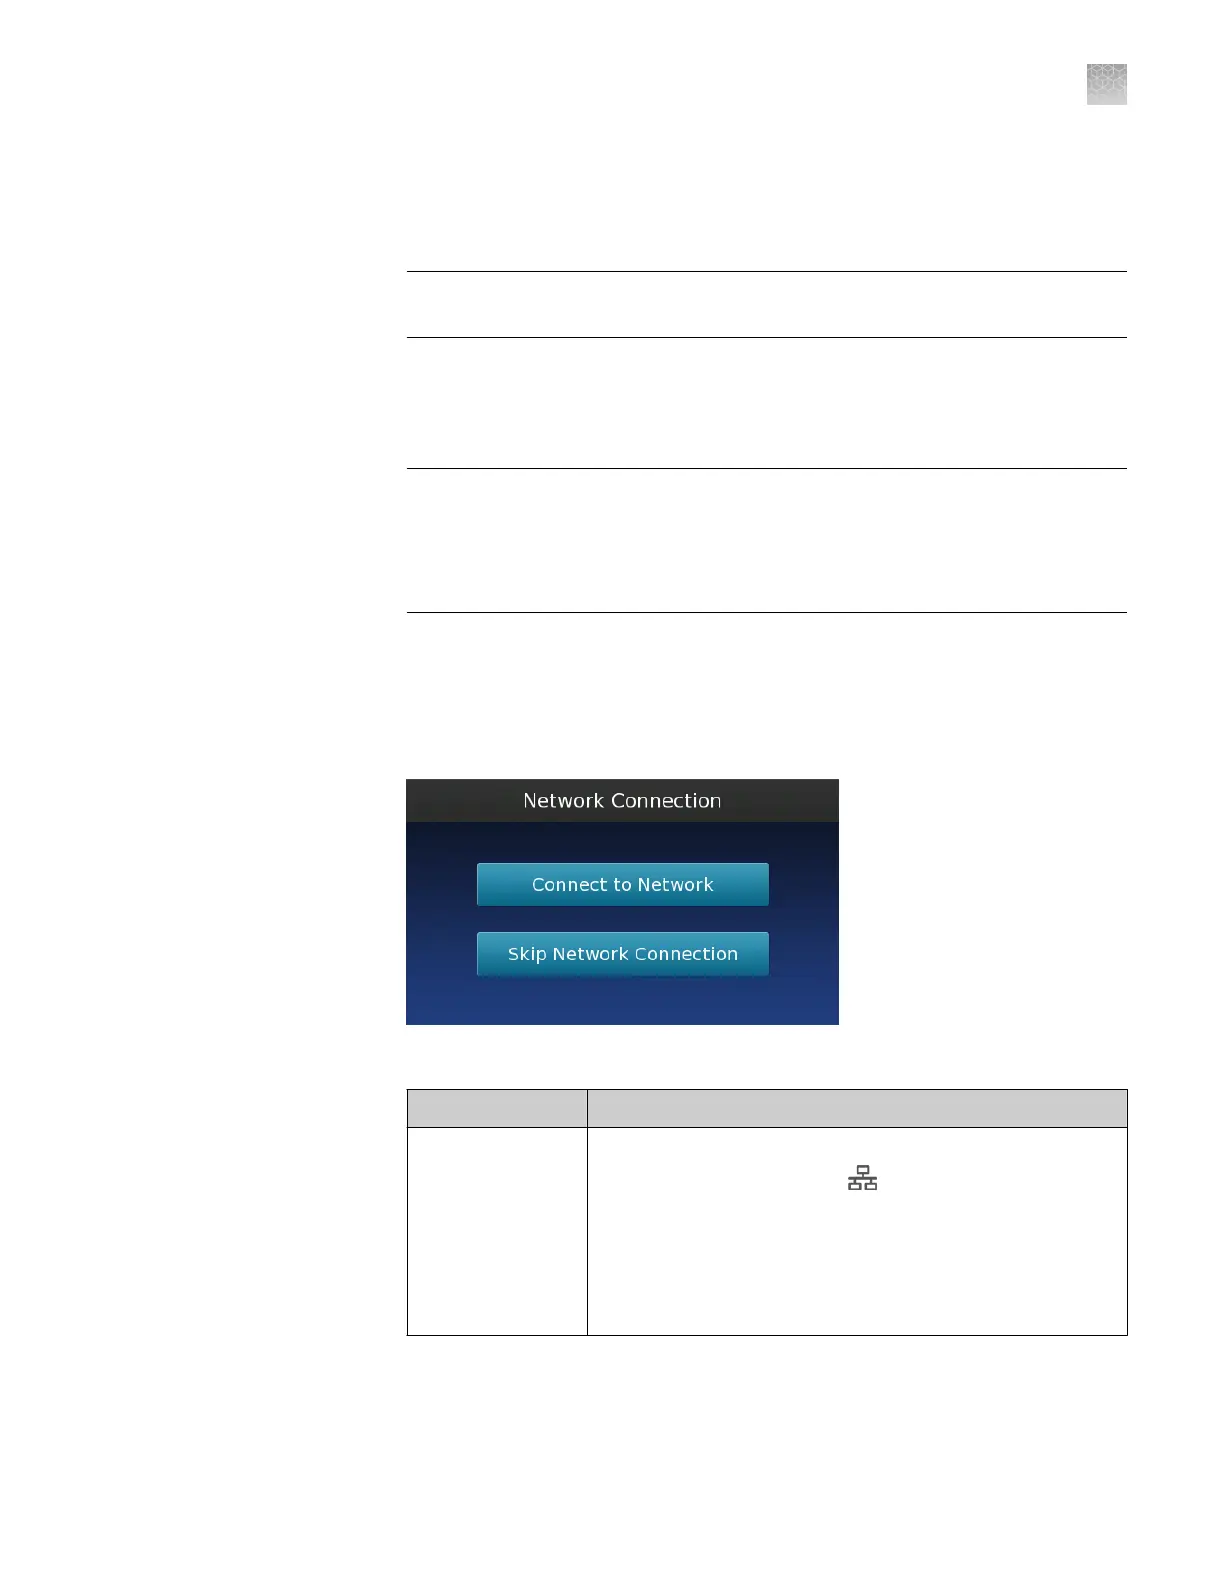
9.
In the Network Connection screen, select the appropriate action:
IMPORTANT! The QuantStudio
™
3D Instrument is pre-congured for DHCP
network operation. If connecting your instrument to a network that requires
static IP assignment or advanced network conguration, touch Skip Network
Connection and connect your instrument to the network following the
installation.
•
Touch
Connect to Network
to connect the instrument to a wired or
wireless network that supports DHCP. Go to the next step.
•
Touch Skip Network Connection if you do not want to connect to a
network, if you want to connect the instrument at a later time, or if your
network requires static IP assignment or advanced network settings.
10.
In the Choose Connection Type screen, select the appropriate connection:
Connection Action
Wired Do one of the following:
•
LAN connection—Touch LAN, then wait for the
instrument to connect to the network.
•
Server connection—See the QuantStudio
™
3D
AnalysisSuite
™
Server System Quick Reference
(Pub. No. 4486248) for instructions on setting up a wired
server connection.
Appendix A Install the QuantStudio
™
3D Digital PCR System
Install the QuantStudio
™
3D Digital PCR Instrument
A
QuantStudio
™
3D Digital PCR System User Guide
65