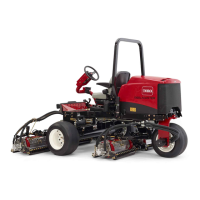
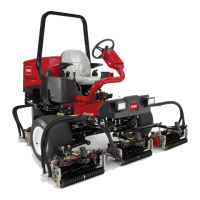
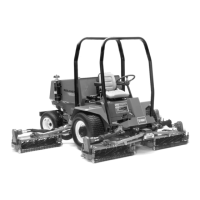
Figure99(continued)
1.Checkpoppet
11.Valvebody21.Plunger
2.Groovedplunger12.O-ring
22.Plungerdetent
3.Spacer
13.Retainingring23.Detentspring
4.Spool
14.Washer
24.O-ring
5.Seat15.Seatretainingplug25.O-ring
6.Solidplug16.Spoolspring
26.Back-upwasher
7.Seatretainingplugwithport
17.Disc
27.O-ring
8.Bushing18.Plug
28.O-ring
9.Checkspring
19.Detentplug
29.O-ring
10.Spoolcap
20.Wiperseal30.Back-upwasher
DisassemblingtheControlValve
1.Plugallportsandcleantheoutsideofthevalvethoroughly.
IMPORTANT
Matchmarkspoolstotheirassociatedbores.Spoolsmustbe
reinstalledtotheborefromwhichtheywereremoved.
2.Removebothspoolcapsandslidethespoolassembliesfromtheirbores.
3.RemoveO−ringandbushingfromeachspoolassembly.
4.RemovewipersealsO−ringsfromthespoolboreendsthatareopposite
thespoolcaps.
Note:Disassemblespoolassembliesonlyiftheretainingring,spacer,spring,
orwasherneedreplacing.
5.Removeseatretainingplugs,back−upwashers,O−rings,andchecksprings
fromthevalvebody.
6.Removecheckpoppets,seats,O−rings,andplungersfromthevalvebody.
7.Removesolidplug,back−upwasher,andO−ringfromtheoppositeendof
theplunger.
8.RemoveplugandO−ringfromthetopofthevalvebodynexttothedetent
plug.
9.RemovedetentplugandO−ringfromthevalvebody.Removediscspring,
anddetentplungerfromthebody
InspectingtheControlValve
1.Inspectspoolsandspoolboresforwear.Ifwearisexcessive,replacevalve
withnewone.
2.Inspectspringsandreplaceasnecessary.
3.Inspectplunger,detentplunger,andcheckpoppetforwear.Replaceas
necessary.
4.Inspectseat,spacer,andbushingforwear.Replaceasnecessary.
5.Inspectdiscandwasher.Replaceasnecessary.
6.InspectcapandplugsfordamagedthreadsandO−ringsealingsurfaces.
Replaceasnecessary.
Reelmaster
®
3100-D/3105-D
Page5–129
HydraulicSystem:ServiceandRepairs
20252SLRevA

 Loading...


