3-42 Using the Detector
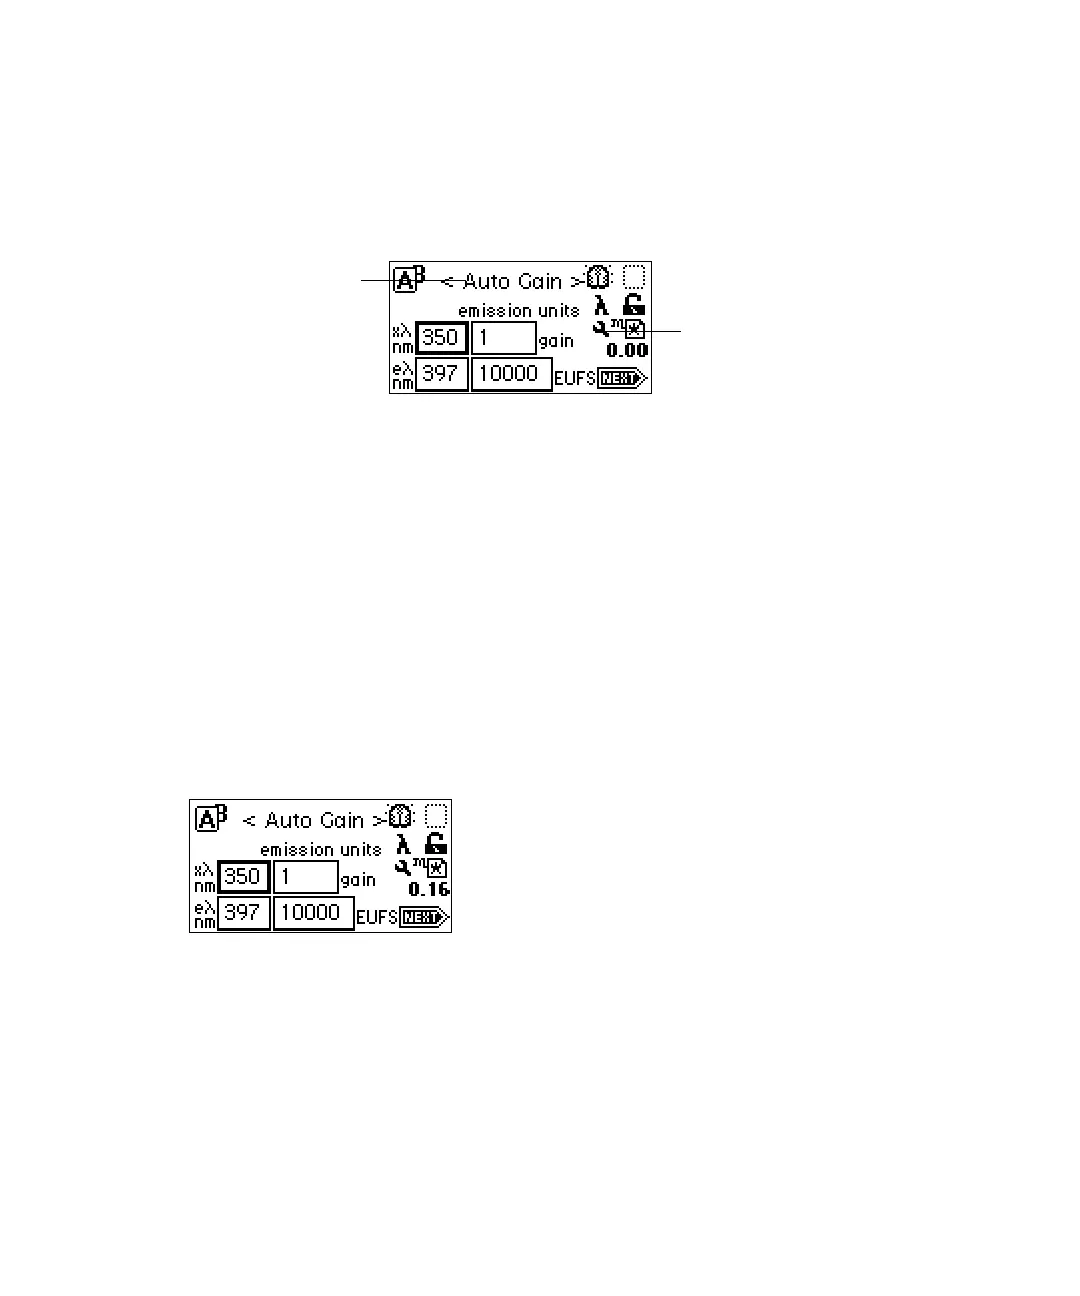
Selecting Auto-Optimize Gain prepares the diagnostic to be executed on the
next injection. The sticky diagnostic (wrench) icon appears on the home
screen, and <Auto Gain> appears in the emission field.
Auto-optimize gain diagnostic test is implemented
You can start the injection after you arm the diagnostic with a start pulse
trigger from an injector input to the inject event terminal on the detector rear
panel. You can also press Run/Stop on the front panel as the sample is injected
into the fluid stream.
Tip: You must synchronize the start trigger with the chromatography so that
the timed events occur at proper times relative to the peaks.
Select Make Injection if you are running under Empower or Millennium
32
control, or start the injection through other devices (such as an Alliance 2695
Separations Module).
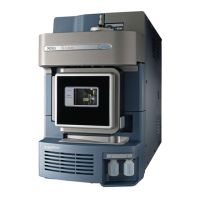
Tip: The gain setting appears as 1 during the auto-optimize gain run.
Gain set to 1 automatically during the auto-optimize gain run
The detector runs the programmed timed events and displays the ideal gain
table at the end of the run (see the next figure). Use the arrow keys to advance
through the table.
The run timer is automatically stopped and reset when running under
Empower or Millennium
32
control. In standalone mode, the detector runs for
an unspecified duration, so you must stop the run by pressing Run/Stop, and
then select Reset (Shift, Stop) on the detector’s front panel.
Auto Gain diagnostic
Sticky diagnostic tool