03/2003
4-80
8850/ 510DP
REP 9.8
Repairs and Adjustments
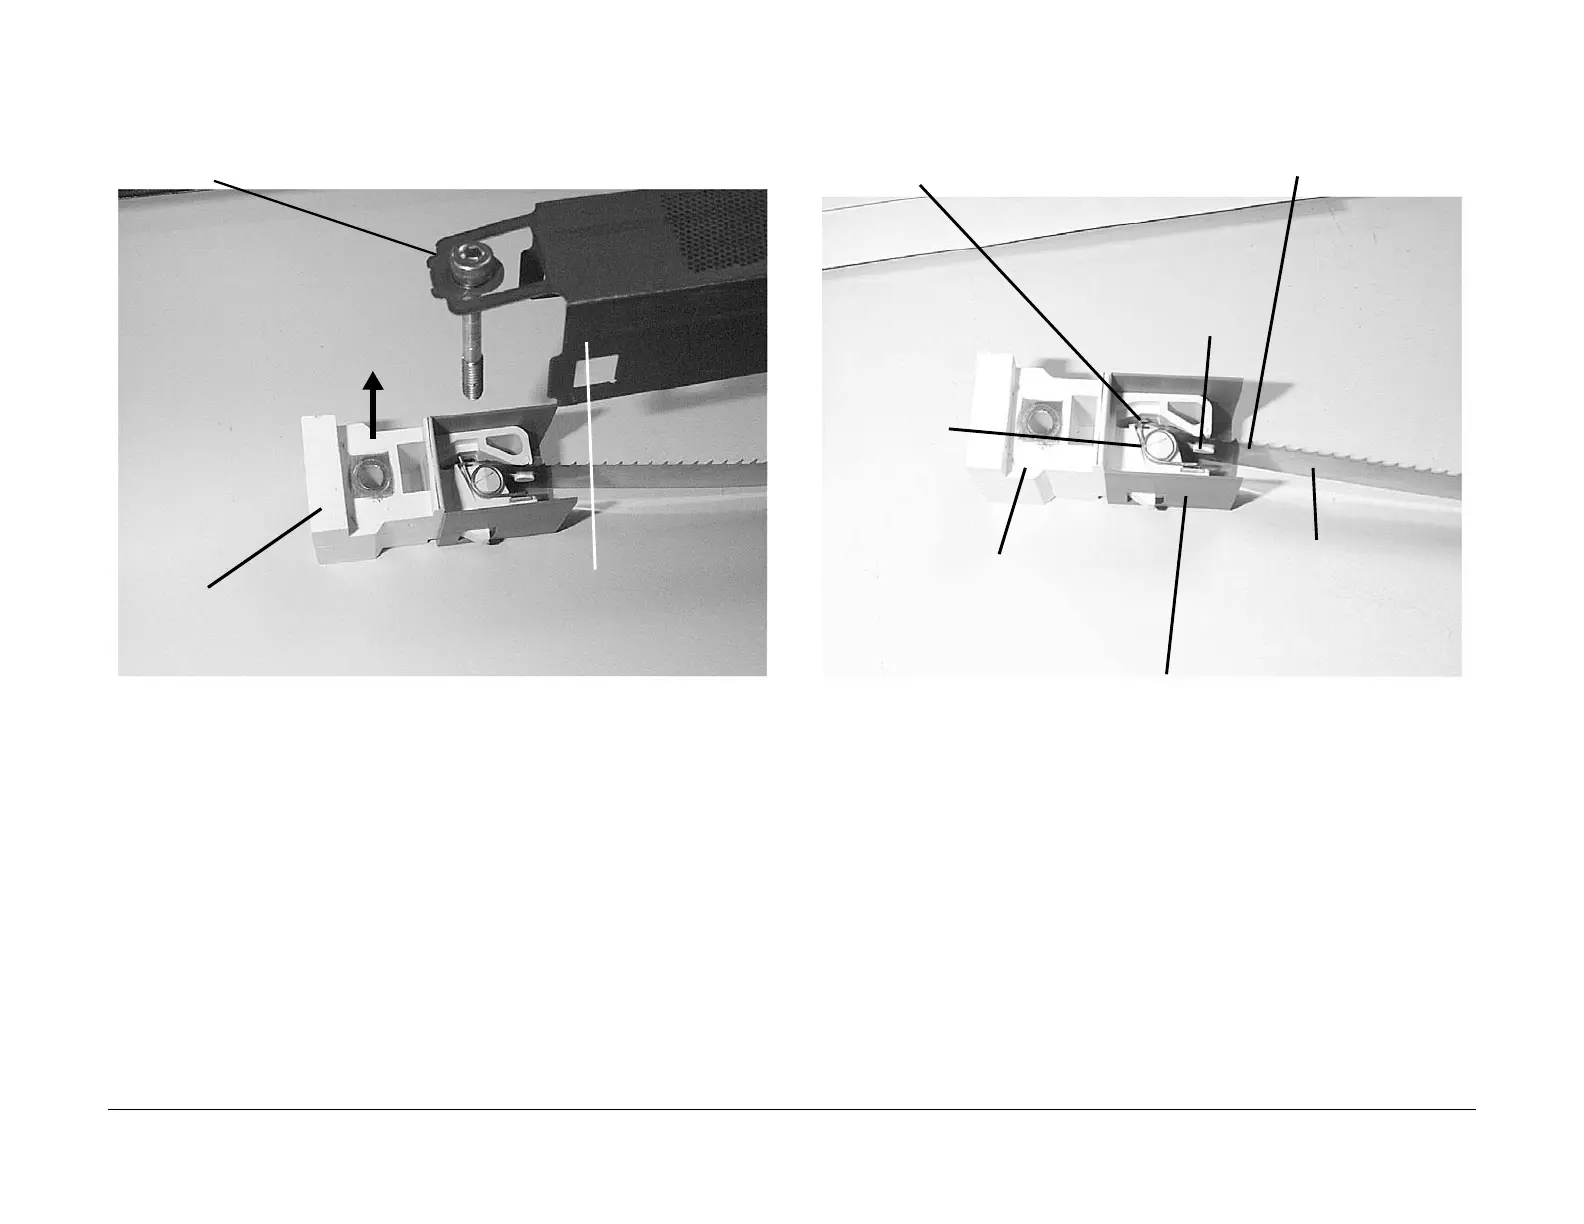
5. (Figure 2): Remove the Scorotron Grid.
Figure 2 Removing the Scorotron Grid
WARNING
Exercise extreme care when handling the Pin Array. It contains very sharp pins and can
cause cuts or punctures if handled carelessly.
6. (Figure 3): Remove the Scorotron Pin Array.
Figure 3 Removing the Scorotron Pin Array
7. Remove the Torsion Springs from the End Blocks.
1
Remove the mount screw
from the end block (one at
each end)
2
Separate the Scorotron Grid
from the End Blocks
End Block
Scorotron Grid
4
Repeat Steps 1-3 at the oppo-
site end and remove the Pin
Array
3
Remove the Pin Array from the
two prongs on the Torsion Spring
2
Push the Pin Array off
the stud
1
Spread open the plastic Scorotron
Shield and remove it from the End
Block
Stud
End Block
Torsion Spring
Pin Array
 Loading...


