03/2003
4-155
8850/ 510DP
ADJ 10.1, ADJ 10.2
Repairs and Adjustments
a. Use the Previous button to decrease the Set Point, lowering the fusing temperature.
b. Use the Next button to increase the Set Point, raising the fusing temperature.
c. Press the Enter button in order to store the value in NVM.
d. Press the Exit button two times.
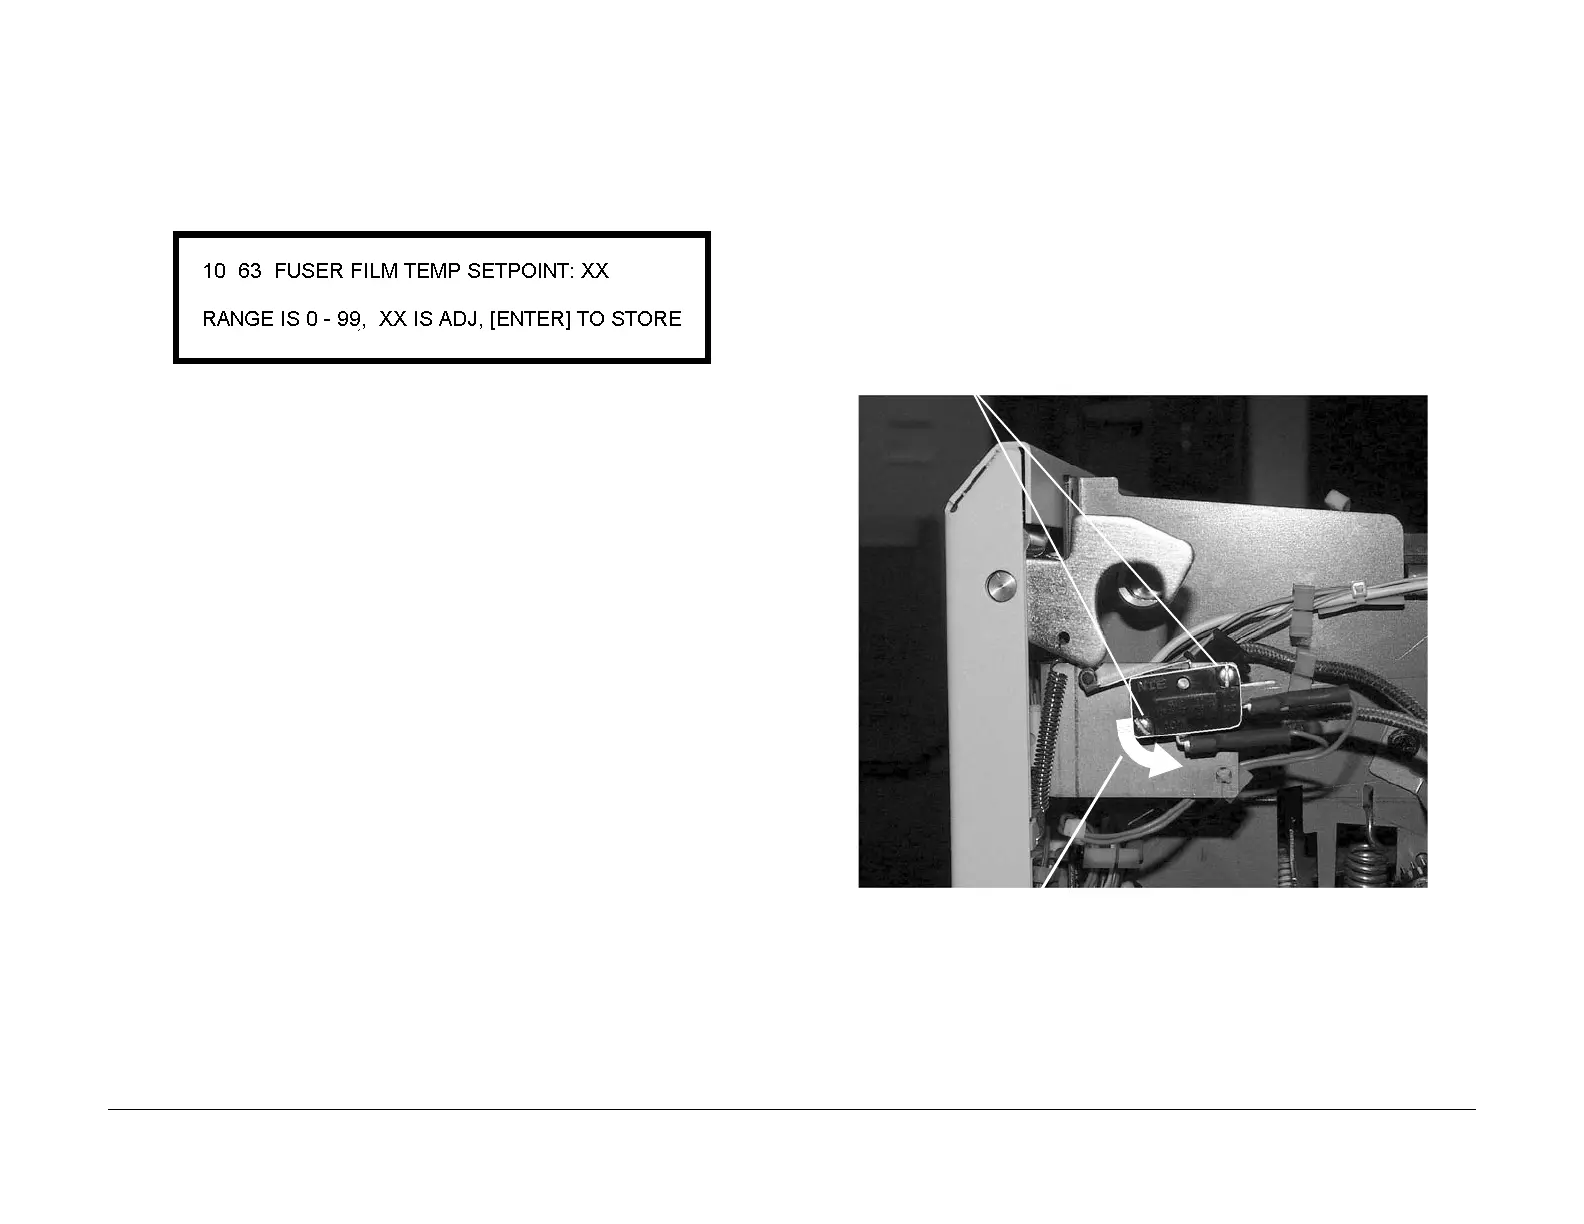
5. (Figure 4): Enter code [1063] in order to adjust the Fuser Temperature for film to 350. The
following message is displayed.
Figure 3 Film Temperature
a. Use the Previous button to decrease the Set Point, lowering the fusing temperature.
b. Use the Next button to increase the Set Point, raising the fusing temperature.
c. Press the Enter button in order to store the value in NVM.
d. Press the Exit button two times.
6. Check the following:
a. Lead Edge Registration (ADJ 8.2)
b. Cut Length (ADJ 8.3)
ADJ 10.2 Fuser Drive Interlock Switch 8850 W/O Tag 8
Adjustment
WARNING
Switch off the Main Power Switch. Disconnect the Power Cord
NOTE: In the following procedure the terms “left” and “right” describe machine locations as
observed when facing the Printer from the Roll Media Supply Drawer side.
1. Pull out the Fuser Drawer. The Fuser Drive Interlock Switch is located on the right side of
the drawer.
2. (Figure 1): Prepare the switch for adjustment.
Figure 1 Preparing the Switch for Adjustment
Loosen the two mount screws
Pivot Point
2
Pivot the switch downward prior to adjustment
 Loading...


