03/2003
4-81
8850/ 510DP
REP 9.8, REP 9.9
Repairs and Adjustments
Replacement
1. Install the Torsion Springs from the repair kit onto the End Blocks.
CAUTION
Be careful not to damage the tips of the new Pin Array. Bent tips can cause Print Quality prob-
lems.
2. Install the Pin Array from the repair kit into the End Blocks.
NOTE: Hold the Pin Array by the left and right End Blocks and stretch the Pin Array to its
maximum width prior to reinstalling it on the Scorotron Grid.
3. Reinstall the End Blocks and Pin Array into the Scorotron Grid.
4. Reinstall the Scorotron Grid onto the Image Module.
5. After completing the reassembly, package the old Pin Array for return.
REP 9.9 Detack Corotron
Parts List on PL 8.3
WARNING
Switch off the Main Power Switch. Disconnect the Power Cord.
NOTE: In the following steps, the terms “left’ and “right” describe machine locations as
observed when facing the Roll Media Supply Drawer of the Printer.
Removal
1. Open and latch the Top Cover.
2. Remove the Xerographic Module. Perform REP 9.1 Xerographic Module.
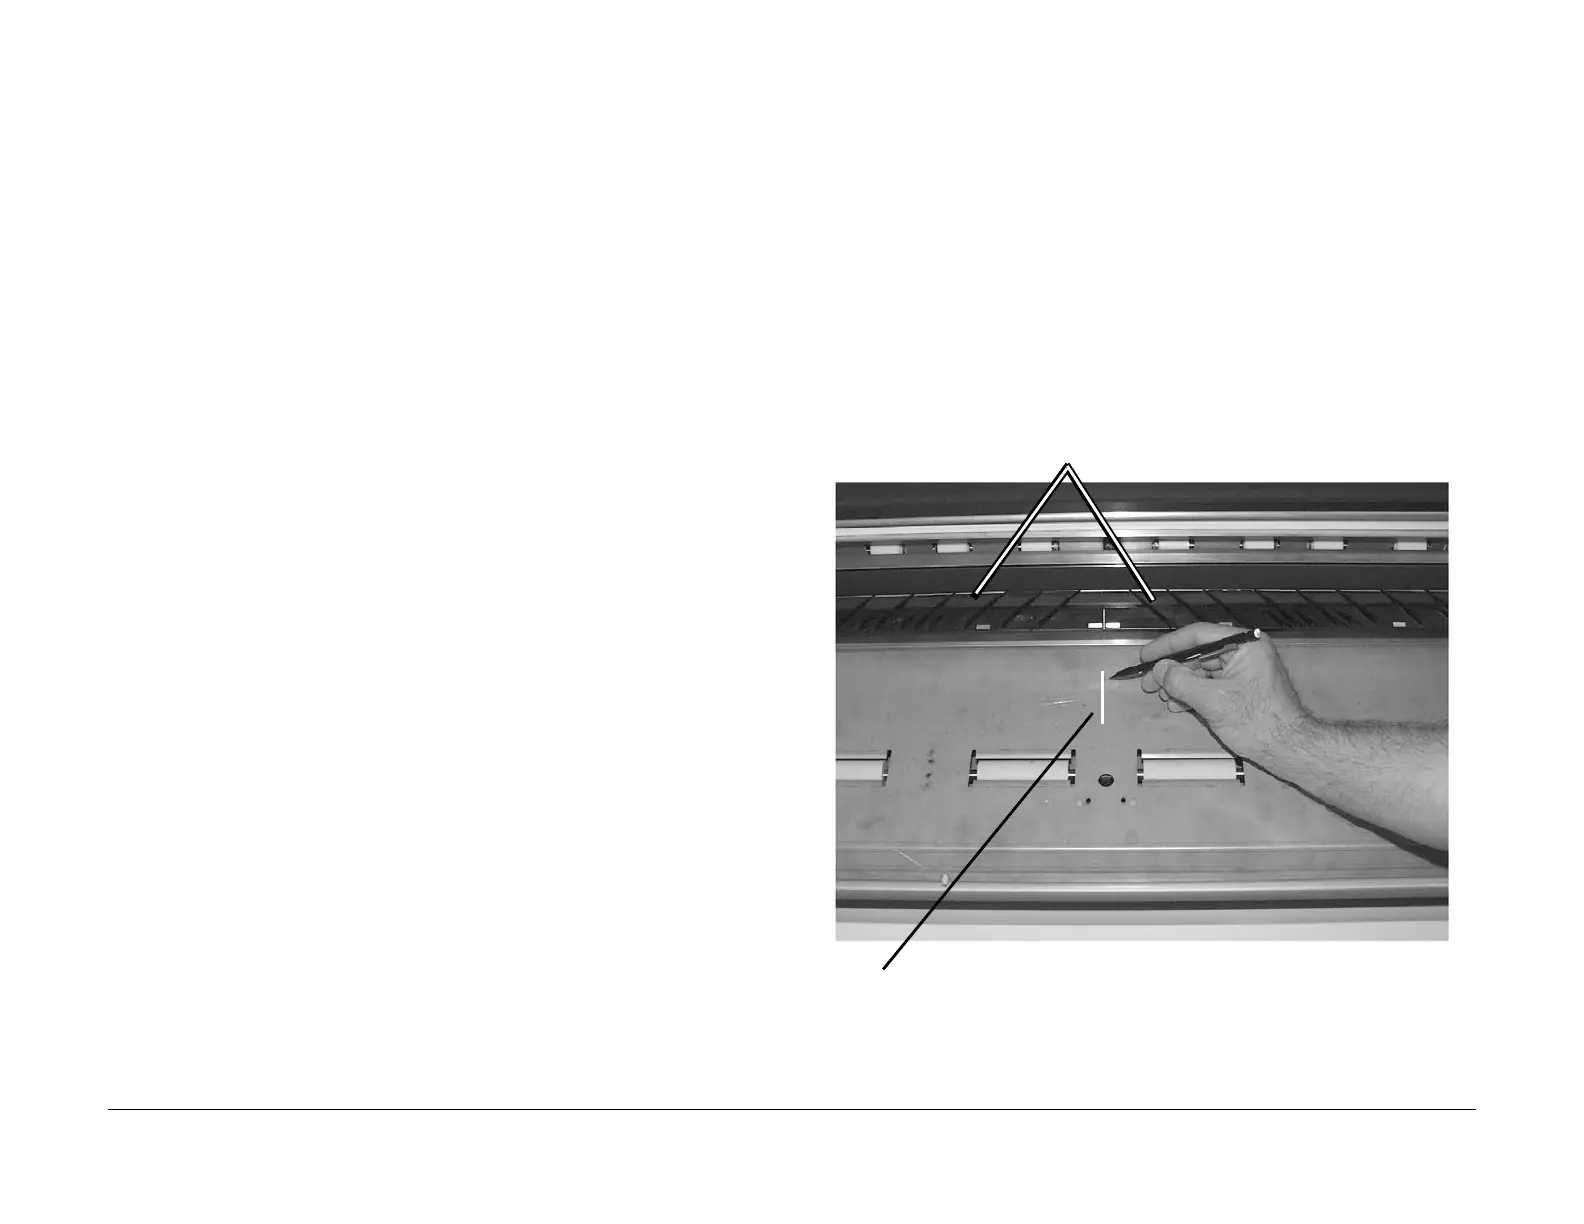
3. (Figure 1): Place a small pencil mark on the Lower Sheet Feed Assembly at the point
where the plastic Media Shields meet. This mark will prove helpful when reinstalling the
shields.
Figure 1 Marking the Location of the Media Shields
Plastic Media Shields (2)
1
Place a pencil mark where
the Media Shields meet
 Loading...


