03/2003
4-150
8850/ 510DP
ADJ 9.3
Repairs and Adjustments
ADJ 9.3 Image Density
Purpose
The purpose is to set the toner concentration to maintain good print quality as specified in Sec-
tion 3 of this Service Manual.
Prerequisite
Perform the Electrostatic Series (ADJ 9.2).
Check
1. Enter diagnostics.
2. Enter [0907] and check if the Printer is in STANDARD or RECOVERY mode. If the Printer
is in RECOVERY, run [0955-5] until Printer returns to STANDARD.
3. Enter code [0955] and make one print of Test Pattern #5.
4. Using S.I.R. 495.01 (82P520), evaluate the darkness squares at the lower right center
and the upper left from the lead edge.
5. If the darkness squares are not between 1.2 and 1.4, perform the adjustment.
Adjustment
1. Enter diagnostics.
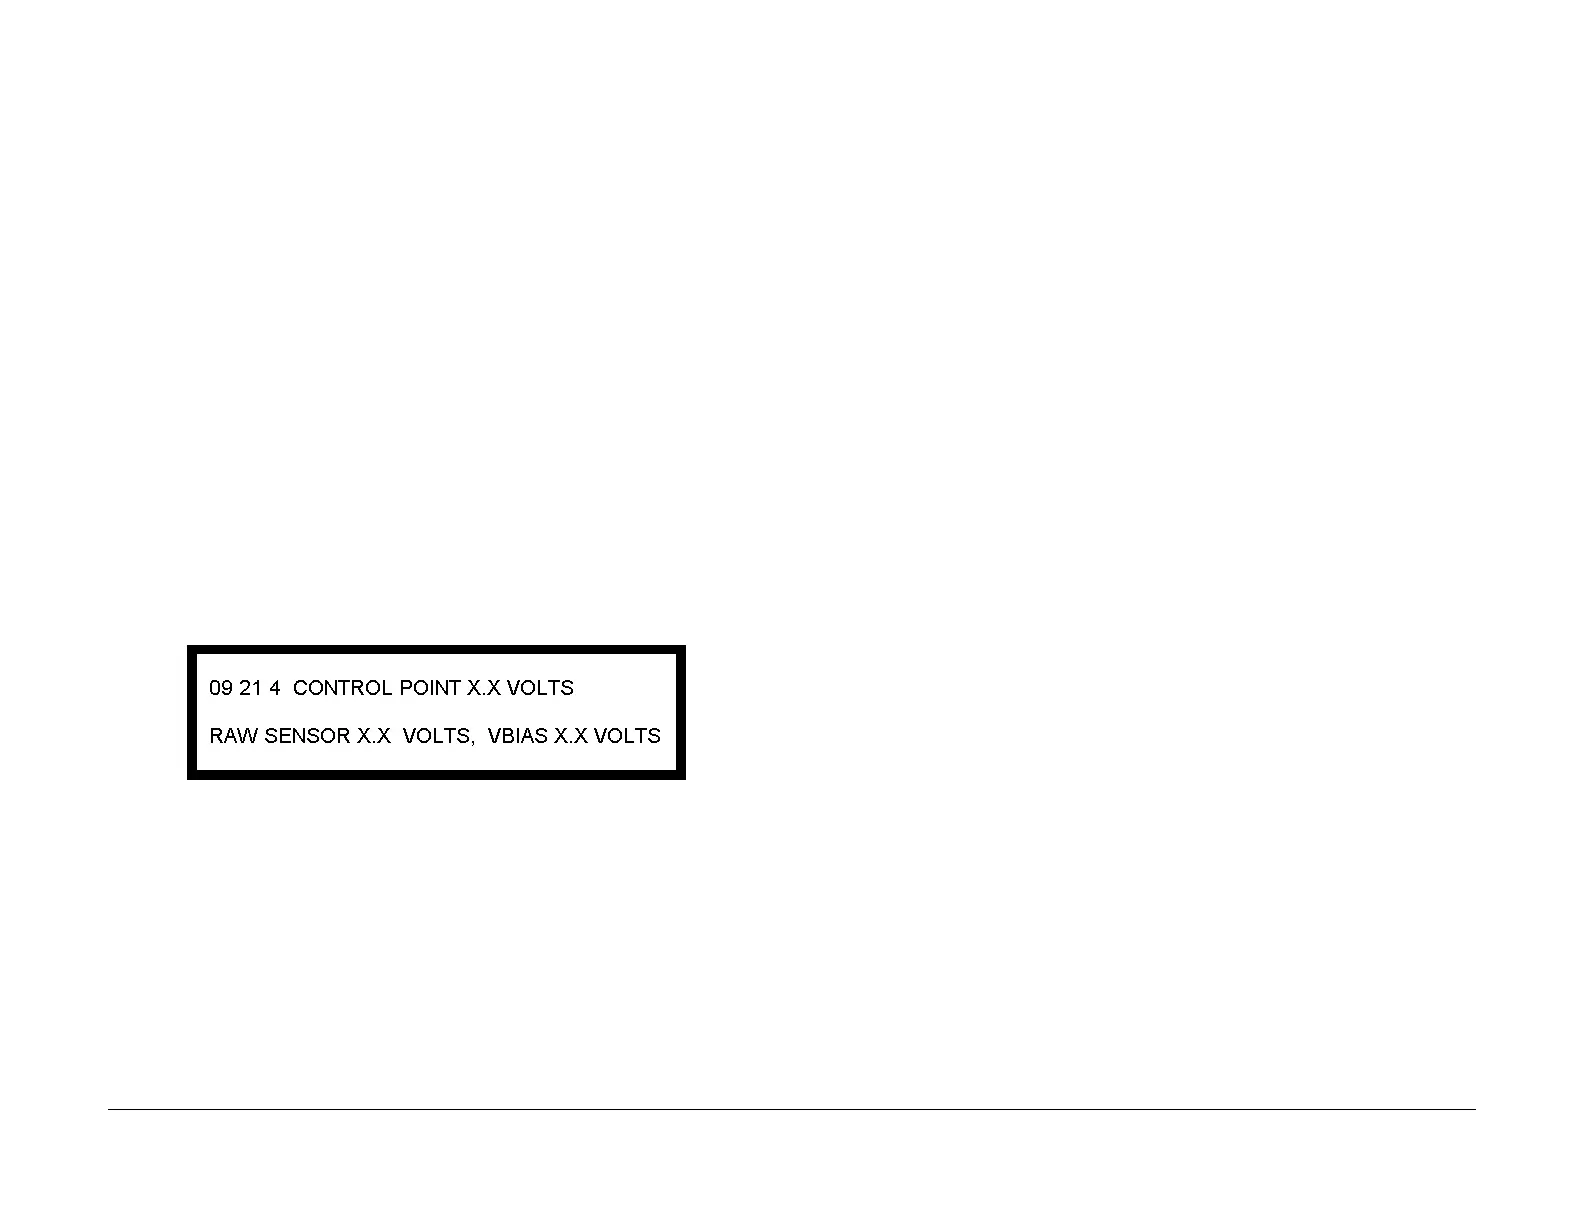
2. (Figure 1): Enter code [0921-4]. The following message is displayed.
NOTE: RAW SENSOR X.X VOLTS is the sensor output voltage and VBIAS X.X VOLTS is
the sensor input voltage. These values will change as the CONTROL POINT voltage is
changed. The CONTROL POINT voltage has an inverse relationship to the image density.
As the CONTROL POINT voltage increases, the density and the RAW SENSOR voltage
decreases.
Figure 1 Adjusting the Image Density
a. Use the Next key to increase the CONTROL POINT voltage which will decrease the
image density.
Use the Previous key to decrease the CONTROL POINT voltage which will
increase the image density.
b. Make 20 D-size prints then perform the Check again. Then repeat Steps a and b
until the density is within specification
3. To increase or decrease the density to meet customer requirements do the following:
Printer Offline > Printer Menu > Printer Adjustments > Density (Range 1-10) Default
5 and adjust the range higher to increase the density or lower the range to decrease the
density. This will affect the density of the output plots in [0955]. This step can also be
done using the WebPMT with out affecting the output plots in [0955]. The adjustment will
be done in the AccXES Controller.
 Loading...


