03/2003
4-57
8850/ 510DP
REP 9.1, REP 9.2
Repairs and Adjustments
REP 9.1 Xerographic Module
Parts List on PL 9.1
WARNING
Switch off the Controller and the Printer Main Power Switches. Disconnect the Printer
Power Cord.
Removal
1. Perform REP 9.2 Drum Assembly.
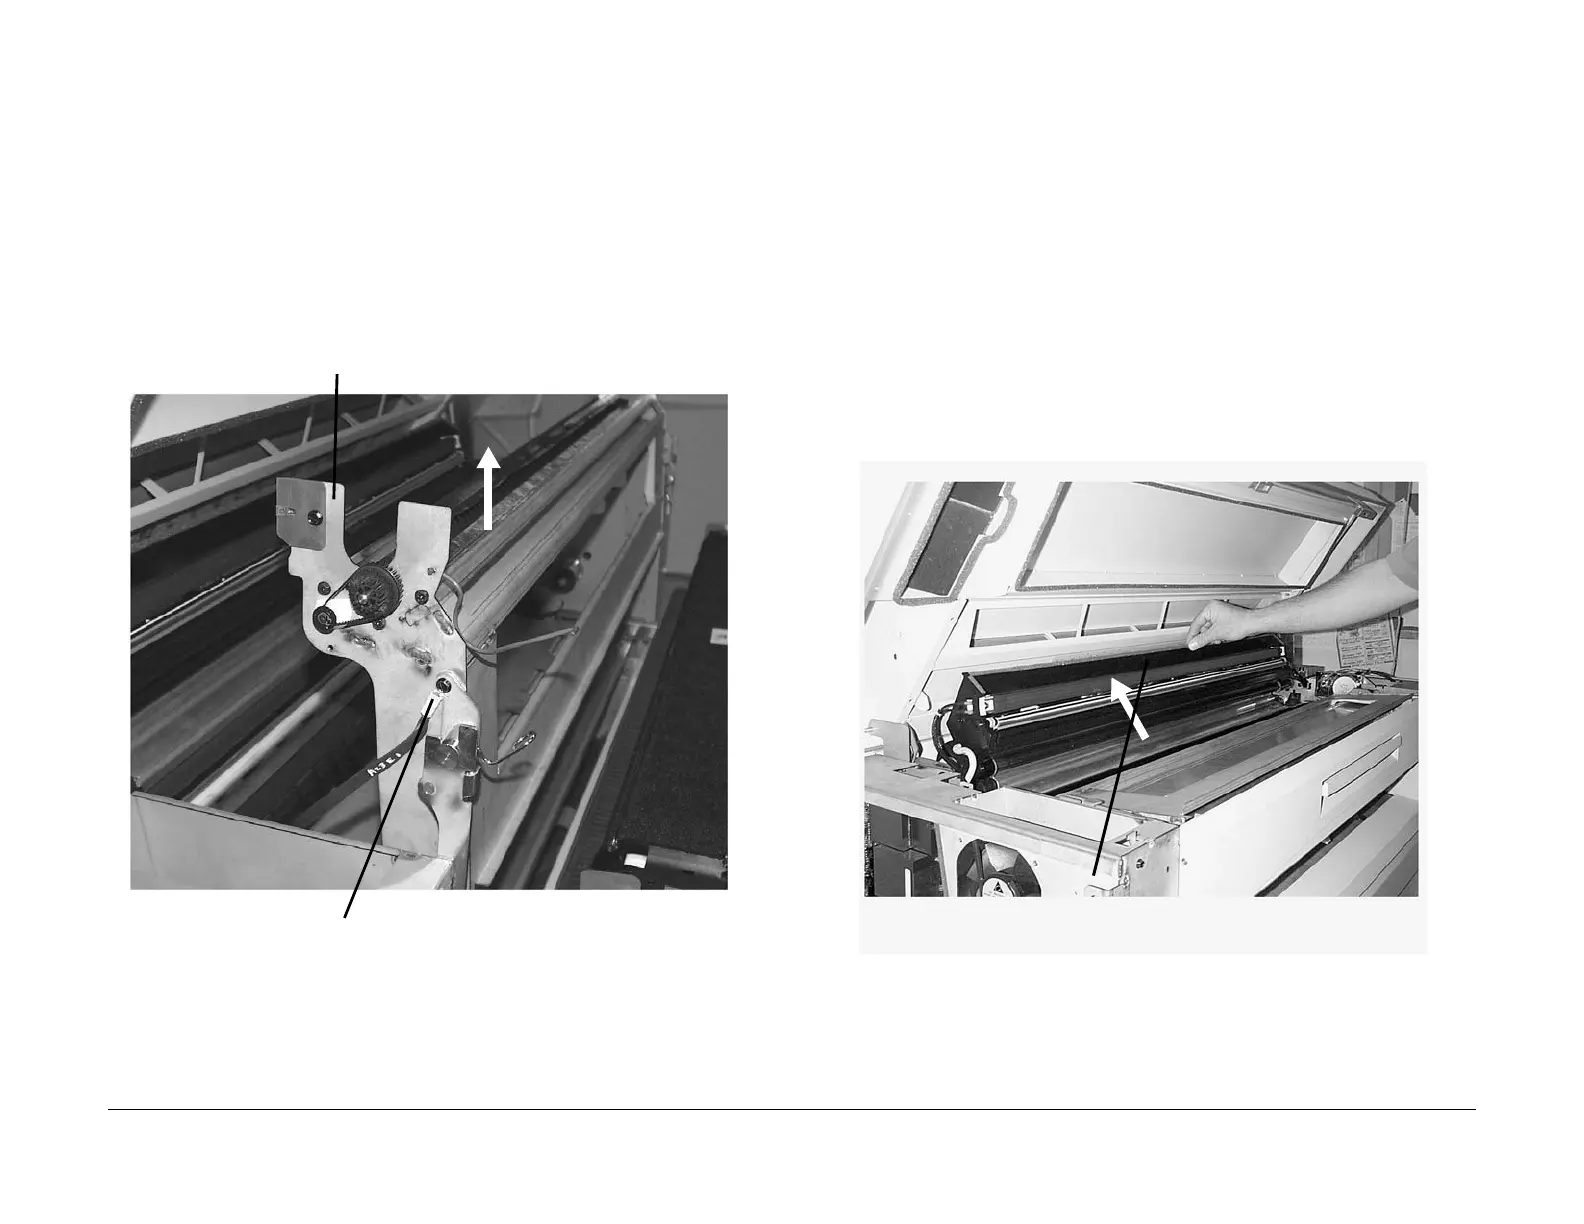
2. (Figure 1): Remove the Xerographic Module from the Printer.
Figure 1 Removing the Xerographic Module
REP 9.2 Drum Assembly
Parts List on PL 9.1
WARNING
Switch off the Controller and the Printer Main Power Switches. Disconnect the Printer
Power Cord.
NOTE: When cleaning the Xerographic area with a vacuum hose ensure that the hose does
not accidentally come into contact with the Drum, as this will cause image deletion problems. If
the vacuum hose DOES accidentally come into contact with the Drum, use film remover to
remove the smudges.
NOTE: If a simple cleaning of the Xerographic area is all that’s desired, perform the first five
steps of this REP, lift out the entire Xerographic Module and vacuum the Xerographic area.
Removal
1. Open the Printer Top Cover. Perform REP 14.1 Top Cover.
2. (Figure 1): Lift the Printer Image Module.
Figure 1 Lifting the Image Module
2
Lift the Xerographic Module from the
Printer
1
Remove the ground strap from the
frame
1
Lift Image Module to fully opened
position
 Loading...


