03/2003
4-116
8850/ 510DP
REP 10.2
Repairs and Adjustments
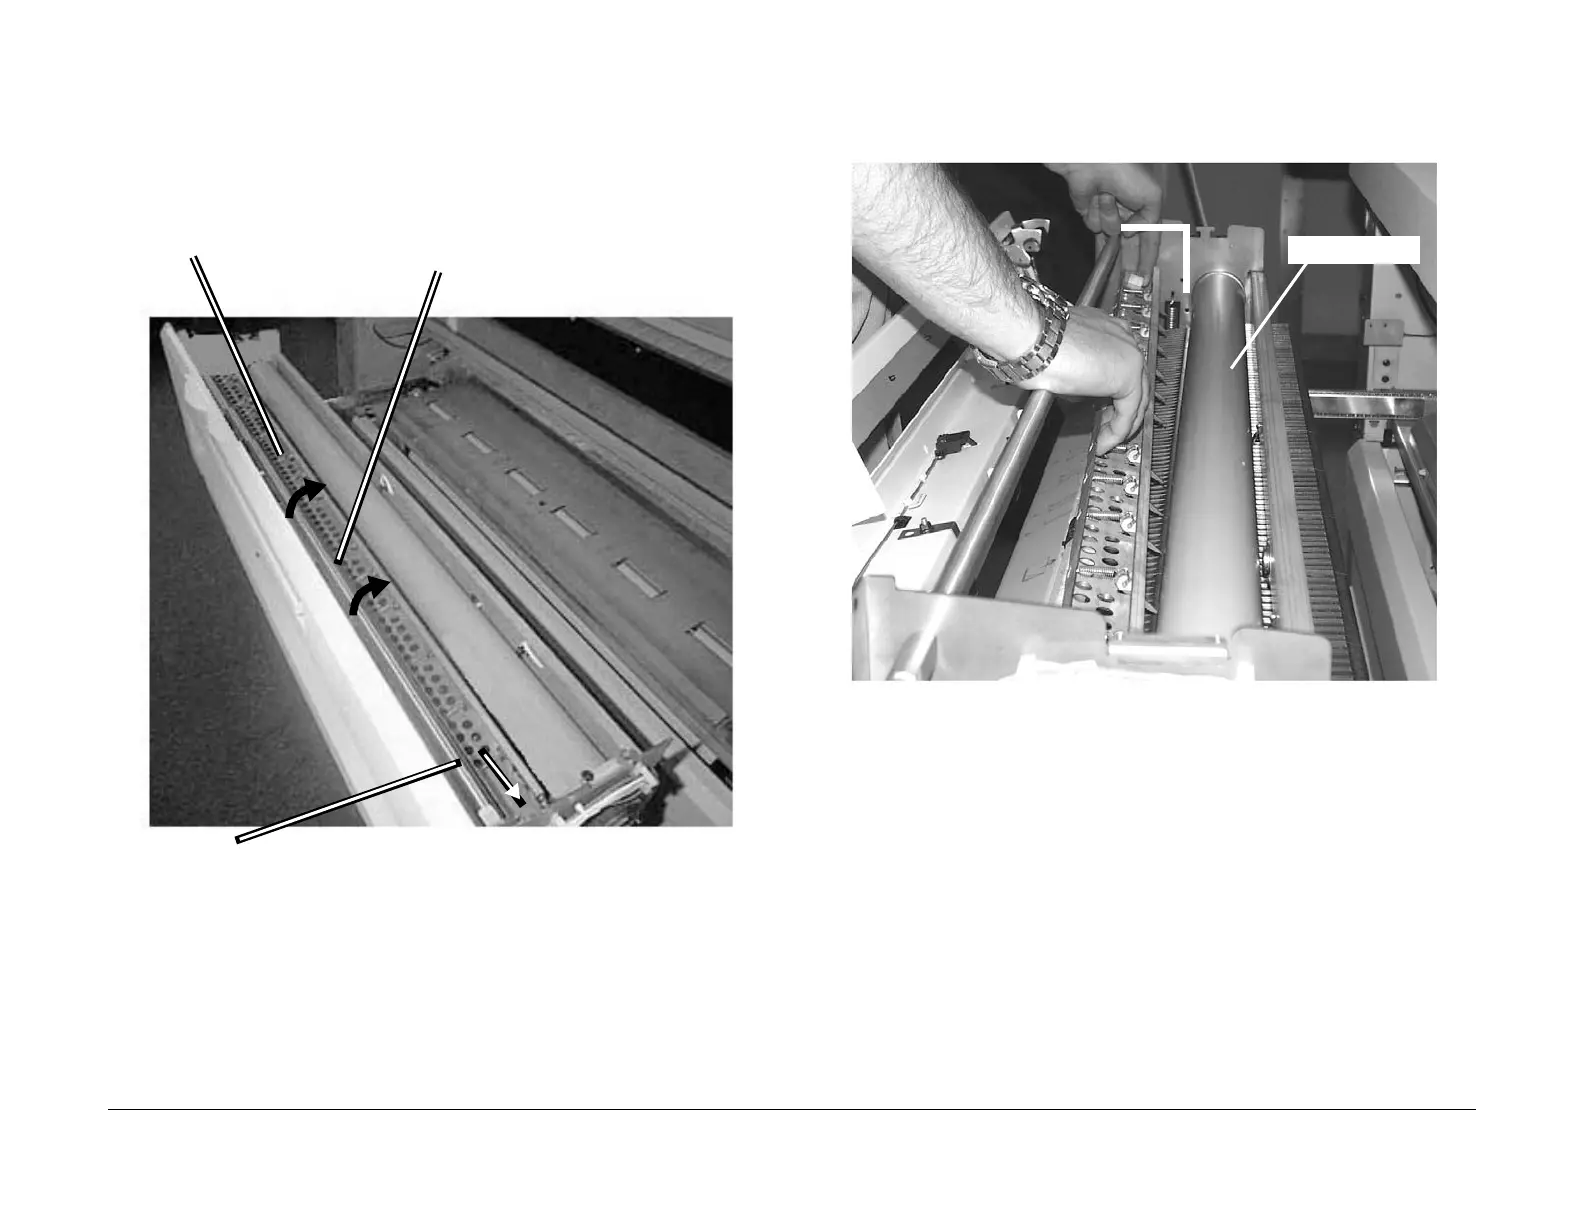
CAUTION
In the following procedure care must be taken to remove the Stripper Finger Assembly exactly
as described. Damage to the Fuser Heat Roll may result if this procedure is not followed.
4. (Figure 3): Prepare to remove the Stripper Finger Assembly.
Figure 3 Preparing to Remove the Stripper Finger Assembly
5. (Figure 4): While maintaining the pressure on the right side of the Stripper Finger Assem-
bly, remove the assembly from the Printer.
Figure 4 Removing the Stripper Finger Assembly
1
Pivot the outer edge of the Stripper Finger
Assembly upwards to move the Stripper Fin-
gers away from the Fuser Heat Roll
2
Bias the Stripper Finger Assembly to
the right until the springs compress
completely, freeing the left side from
the frame
Stripper Finger
Assembly
1
Raise the left side of the Stripper Finger Assembly and pull
it away from the Fuser Heat Roll
2
Remove the Stripper Finger Assembly from the Printer
Fuser Heat Roll
 Loading...


