Spring
preload
adjusting
positions
Minimum
19.0
mm
(0.75 in)
Standard
16
.0
mm
(0.63 in)
Maximum
4.0
mm
(0.16
in
)
••••••••••••••••••••••••••••••••
Rebound
damping
(right
side
only)
NOTICE
~~~~~~~~~~~~~
Never
go
beyond
the
maximum
or
minimum
adjustment
positions.
1. Adjus
t:
• Rebound damping
YYTTTYTTTYYTTTYTTTYYTTYYTTTYTTTY
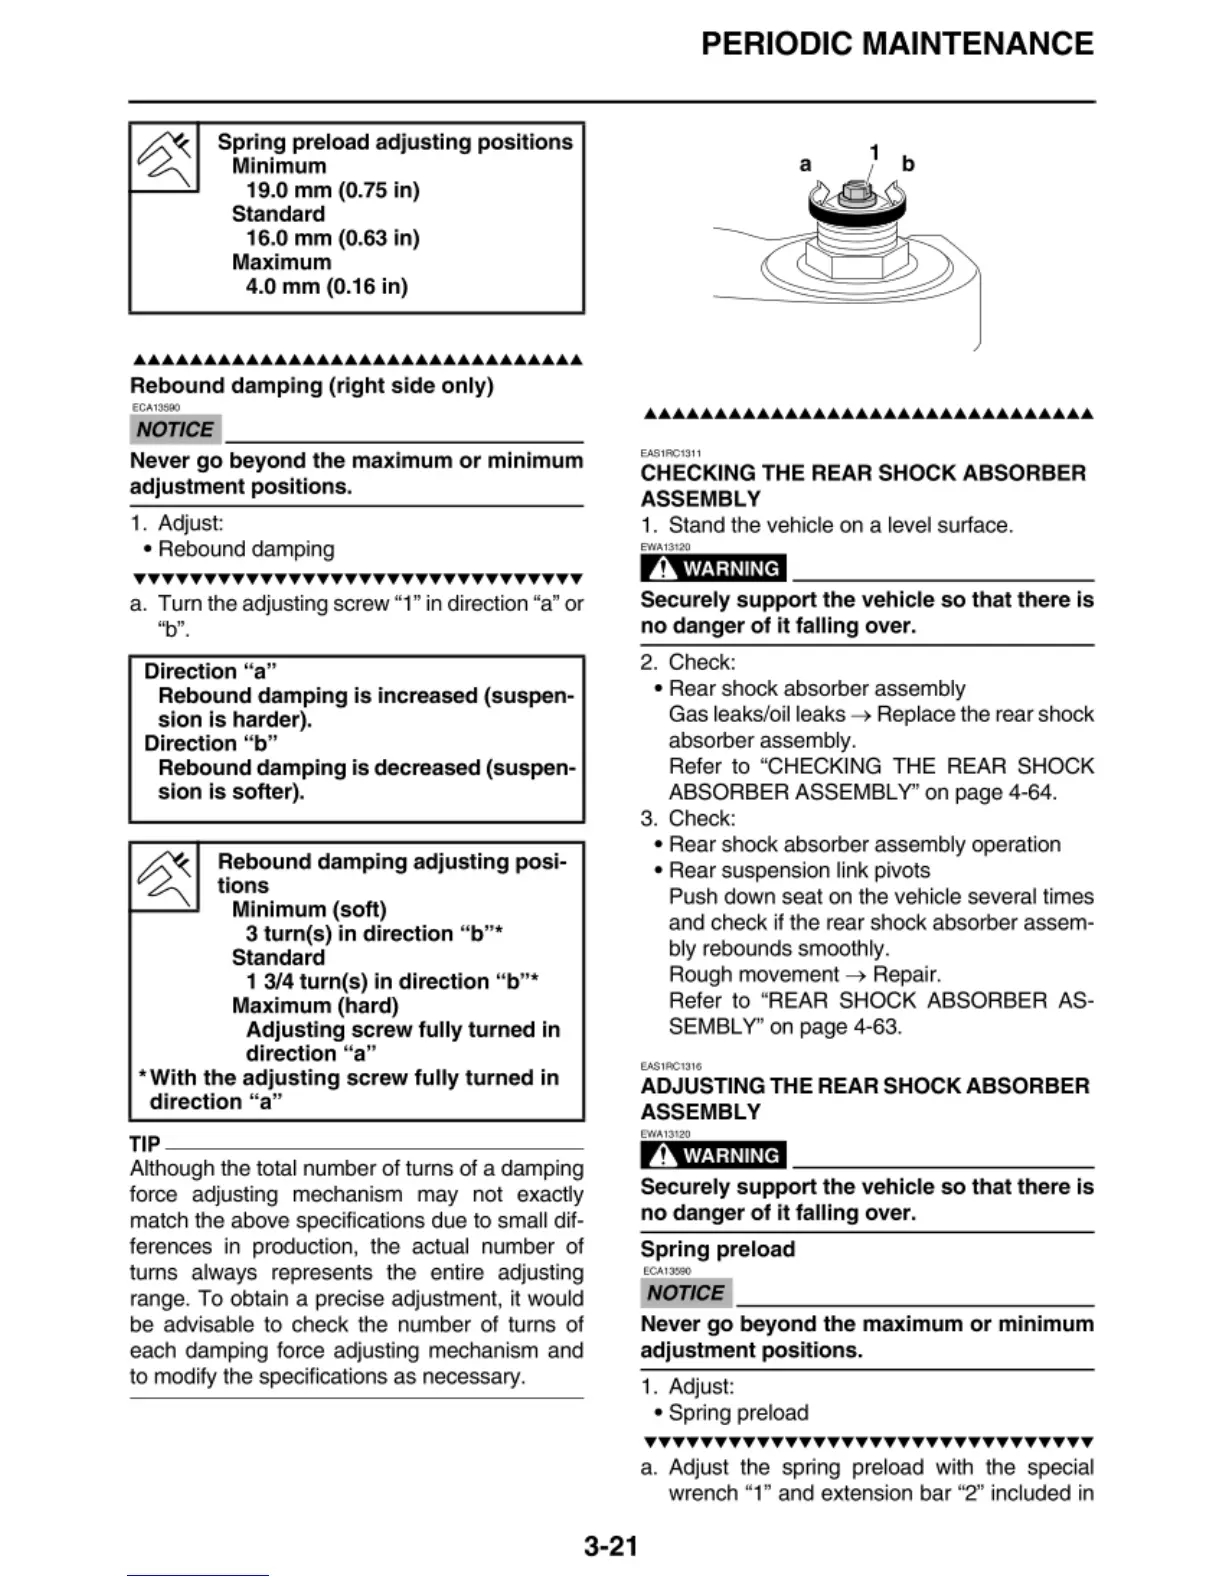
a. Tum the adjusting screw "1"
in
direction "a" or
Direction "a"
Rebound
damping
is
increased (suspen-
sion
Is
harder).
Direction " b"
Rebound
damping
is
decreased (suspen-
sion
Is
softer).
A Rebound
damping
adjusting
posi-
v
~
t
ions
Minimum
(soft)
3 turn(s)
in
direction
" b" *
Standard
1
3/4
turn(s
)
in
direction
"
b"*
Maximum
(hard)
Adjusting
screw
fully
turned
in
direction
" a"
*
With
the
adjusting
screw
fully
tu
rned
in
direction
"a"
TIP
~~~~~~~~~~~~~~~
Although t
he
total number
of
tu
rns
of a damping
force adjusting mechanism may not exactly
match t
he
above specifications due to sma
ll
dif-
ferences
in
production, the actual number
of
turns always represents the entire adjusting
range.
To
obtain a precise adjustmen
t,
it would
be advisable
to
check the number
of
tu
rns
of
each damping force adjusting mechanism and
to modi
fy
the specifications as necessary.
3-21
PERIODIC MAINTENANCE
E.A$1AC1311
CHECKING THE REAR SHOCK ABSORBER
ASSEMBLY
1. Stand the vehicle on a level surface.
E'WA13!'.20
A wARNING
Securely
support
the
vehicle
so
that
there
is
no
danger
of
it
falling over.
2. Check:
• Rear shock absorber assembly
Gas l
ea
ks/oil leaks 4 R
ep
lace the
re
ar shock
absorber assembly.
Refer to "CHECKING THE REAR SHOCK
ABSORBER ASSEMBL
Y'
' on pa
ge
4-64.
3. Check:
• Rear shock absorber assembly ope
ra
tion
• Rear suspension link pivots
Push down seat on the ve
hi
cle several times
and check if the rear shock absorber assem-
bly rebounds smoothly.
Rough movement
4 Repair.
Refer to "REAR SHOCK ABSORBER AS-
SEMBLY" on page
4-63.
eASIAC131G
ADJUSTING THE REAR SHOCK ABSORBER
ASSEMBLY
A
wARN
I
NG
Securely
support
the
vehicle
so
that
there
is
no
danger
of
it
falling over.
Spring
preload
NOTICE
Never
go
beyond
th
e
maximum
or
minimum
adjustment
positions.
1.
Adjust:
• Spr
in
g preload
••••••••••••••••••••••••••••••••
a. Adjust the spring preload with the special
wrench "1" and extension bar "
2"
in
cluded in



 To Next Page