Product Manual - ZMORPH FAB back to table of content
>>
153
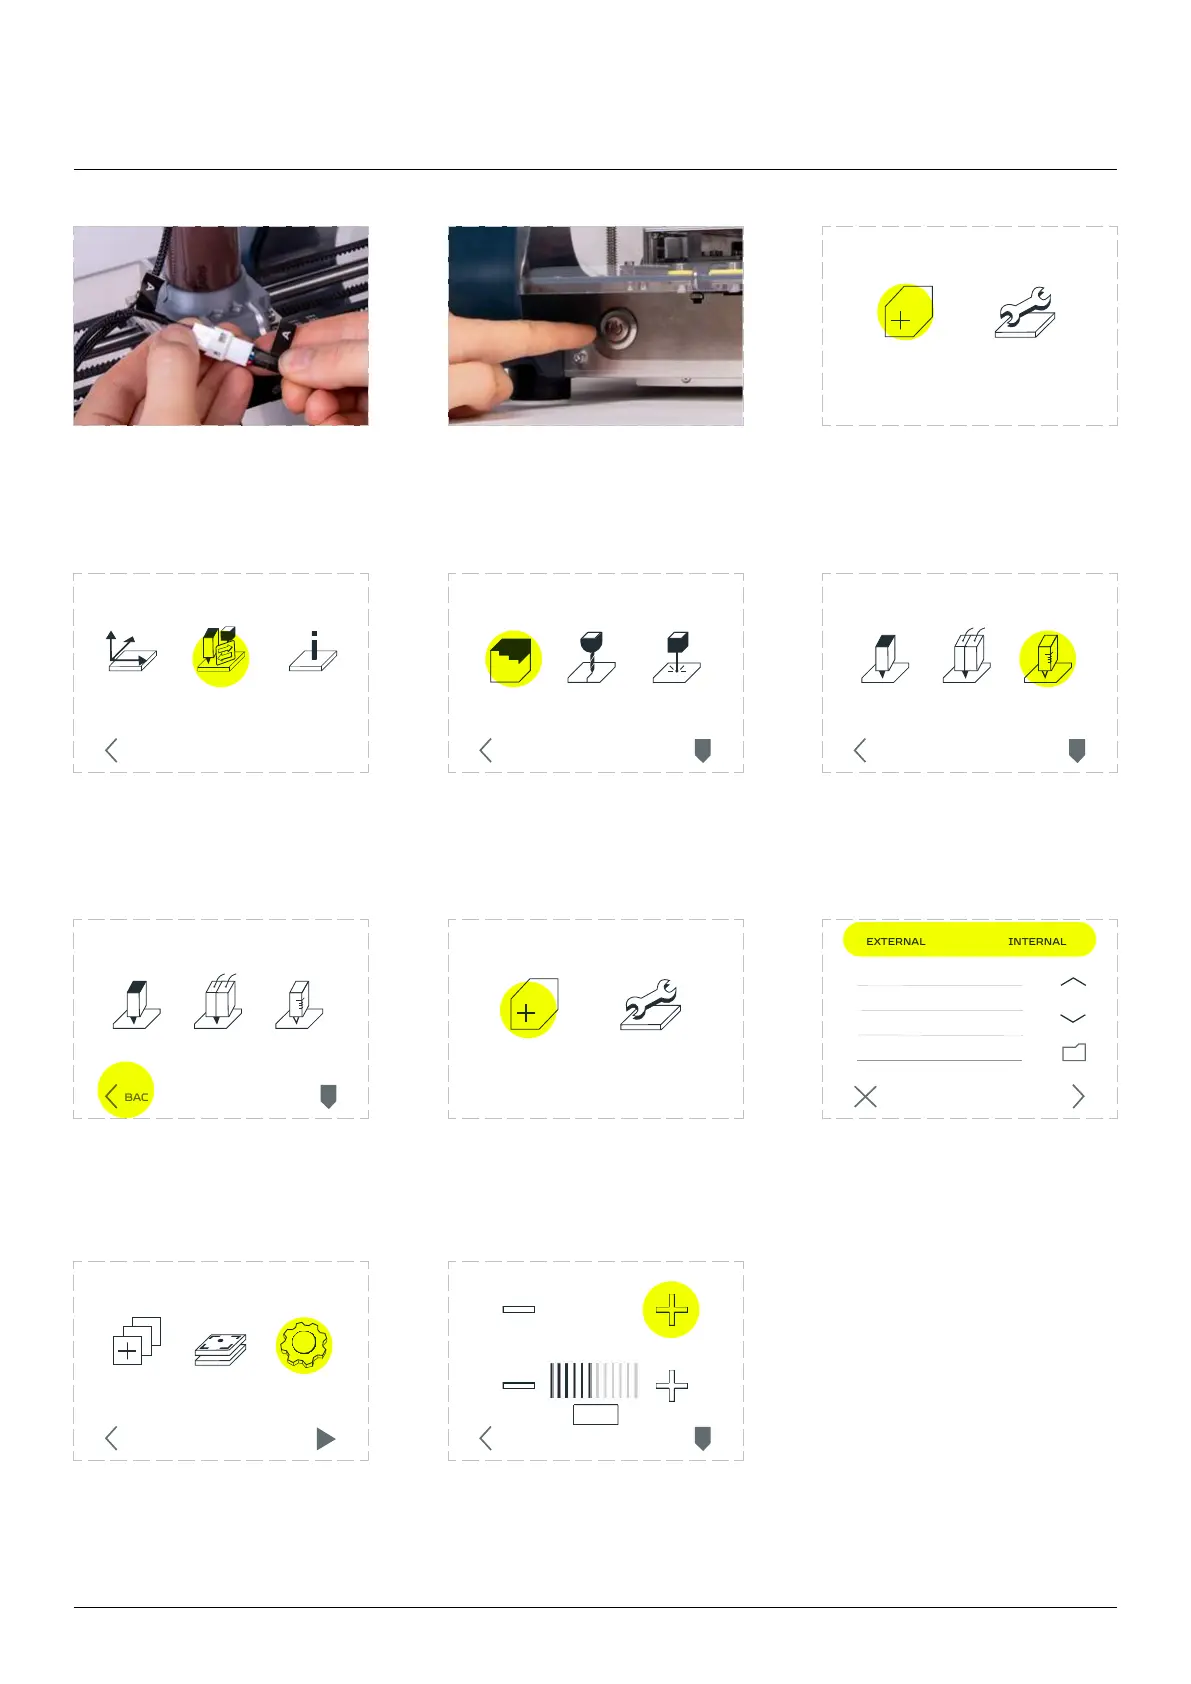
Connect the ‘A’ cable to
the A cable from X-carriage.
Turn on the machine. Enter the ‘MAINTENANCE’
menu.
Go to the ‘CHANGE TOOL’
option.
Go to the ‘3D PRINTING. Choose ‘THICK PASTE
PRINTING’ option.
Go back to the ‘MAIN
MENU’ screen.
Enter the ‘NEW JOB’. Press the ‘NEXT’ button.
Go to the ‘SETTINGS’ option. Push the ‘EXTRUDE/EXTRACT
PASTE’ button until the paste
INFOMOVE
AXIS
CHANGE
TOOL
BACK
CALIBRATE SETTINGSCHOOSE
FILE
STARTBACK
3D PRINT
CHANGE TOOLHEAD
CNC LASER
PARK
TOOL
BACK
EXTRUDE PASTE
JOB SPEED
PARK
TOOL
BACK
NEW JOB MAINTENANCE
NEW JOB MAINTENANCE
SINGLE
PRINTING
THICK PASTE
PRINTING
3D PRINT
PARK
TOOL
BACK
DUAL
PRINTING
SINGLE
PRINTING
THICK PASTE
PRINTING
3D PRINT
PARK
TOOL
BACK
DUAL
PRINTING
Thick paste extruding workow
CANCEL NEXT
example.gcode
5mm