Product Manual - ZMORPH FAB back to table of content
>>
75
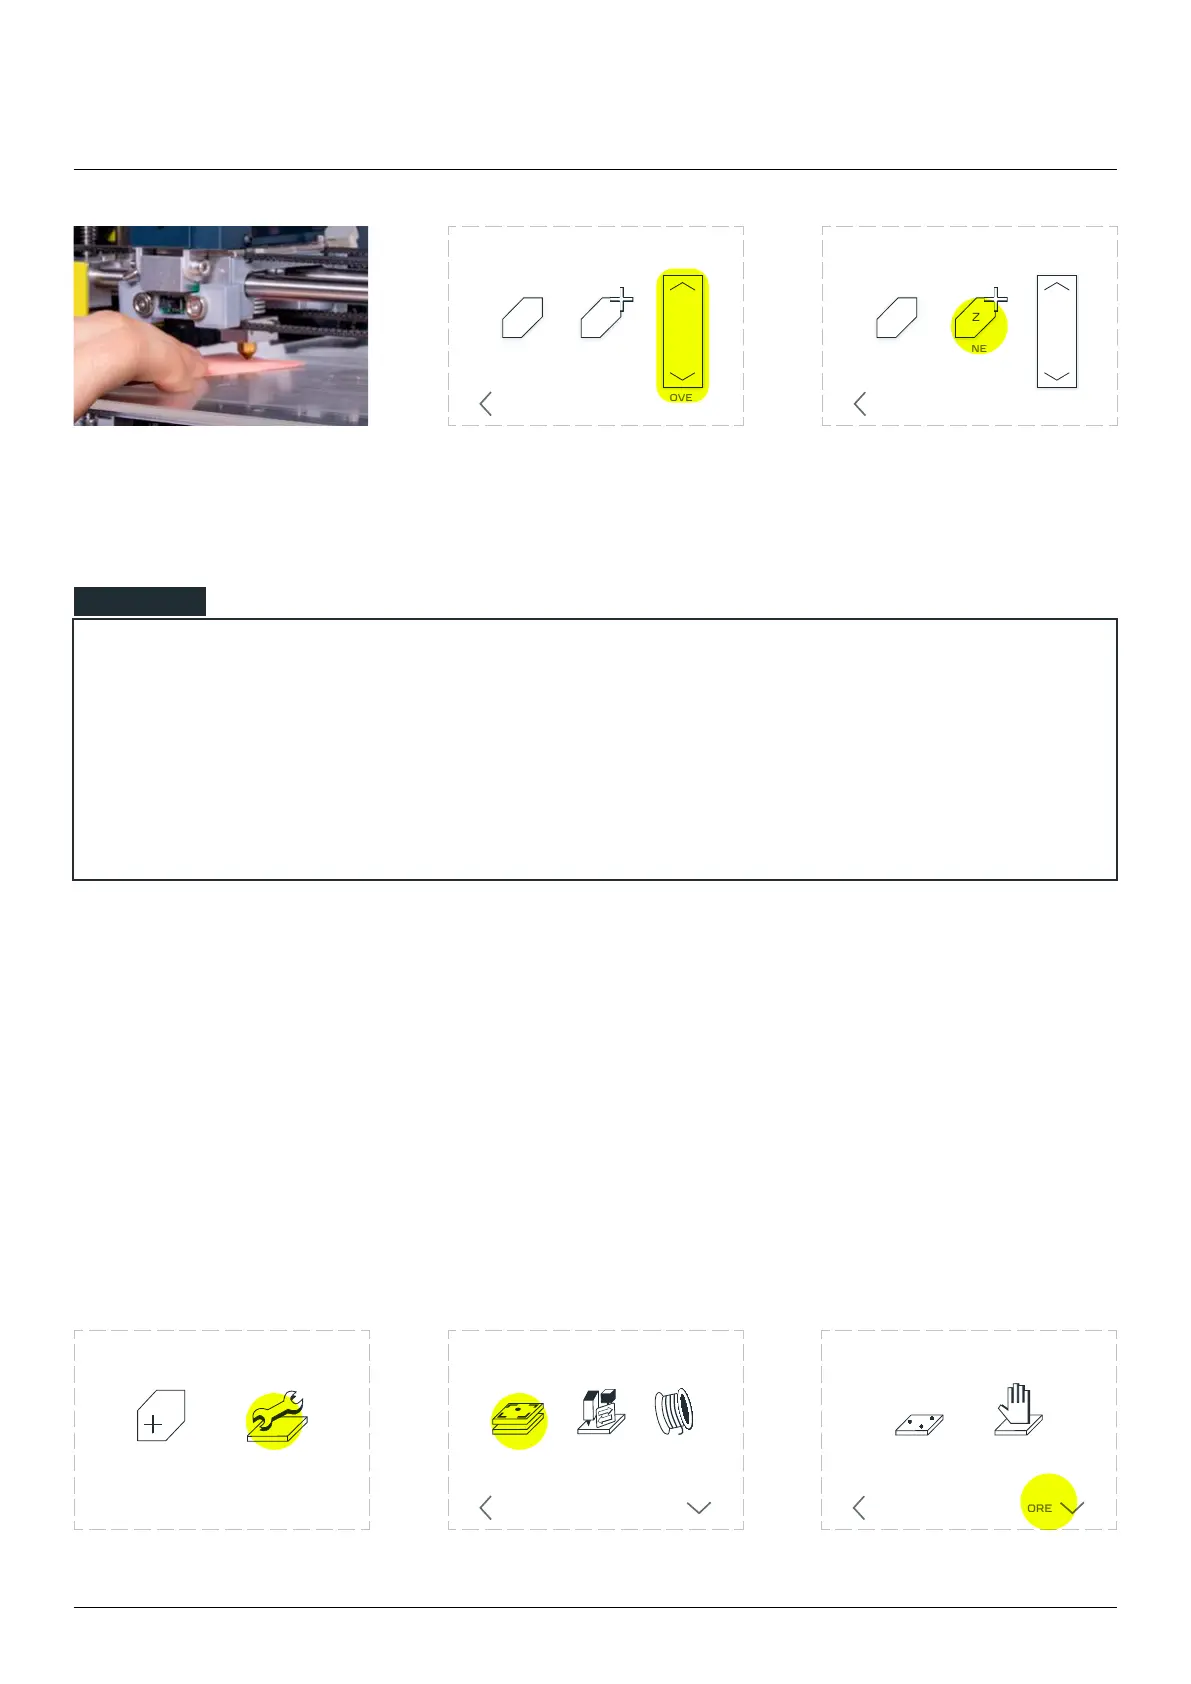
Wait until the extruder
stabilizes itself on the right
height.
Use arrows on the touch-
screen to lower or raise the
When the nozzle is at the
correct height, choose ‘Set
Move Z-axis to make the nozzle barely
touching the bed and click “Set new Z0”
GO TO
CURRENT Z=0
SET NEW
Z=0
MOVE Z
BACK
Move Z-axis to make the nozzle barely
touching the bed and click “Set new Z0”
GO TO
CURRENT Z=0
SET NEW
Z=0
MOVE Z
BACK
3D printing workow
NOTE
Move the paper between the nozzle and the worktable surface, if the nozzle is too low the paper
won’t move. If the nozzle is too high above the surface the paper sheet will be loose. The best
Be very careful using the ‘Move Z-axis’ feature, the movement of the Z-axis is slow and silent, don’t
press the arrow to many times because it might damage the work table glass surface.
12.9 Calibration - additional functions
In the Maintenance Menu in Calibration Function there is an additional menu with advanced settings:
Restore factory default - restores the factory default position and removes the history of calibration
Z-axis changes.
Manual 3-point calibration - an option for manual calibration the same 3 points that are used for
autocalibration.
Manual 3-point calibration
Choose ‘MAINTENANCE’. Choose ‘CALIBRATE’. Choose ‘MORE’
LOAD
FILAMENT
CHANGE
TOOL
CALIBRATE
3D PRINTING
BACK MORE
CALIBRATION
AUTO
3-POINT
BACK MORE
MANUAL
CALIBRATION
NEW JOB MAINTENANCE