Product Manual - ZMORPH FAB back to table of content
>>
32
Setting up Zmorph Fab
9.5 First use
calibration process (for more information, see the chapter on autocalibration). During this process, the machine
will heat up and it will be necessary to insert material into the toolhead. After the calibration process, the
LOAD
FILAMENT
CHANGE
TOOL
CALIBRATE
3D PRINTING
BACK MORE
CALIBRATION
AUTO
3-POINT
BACK MORE
MANUAL
CALIBRATION
NEW JOB MAINTENANCE
In the last calibration step the machine
will print five lines as a final touch
SKIP
START
CALIBRATION
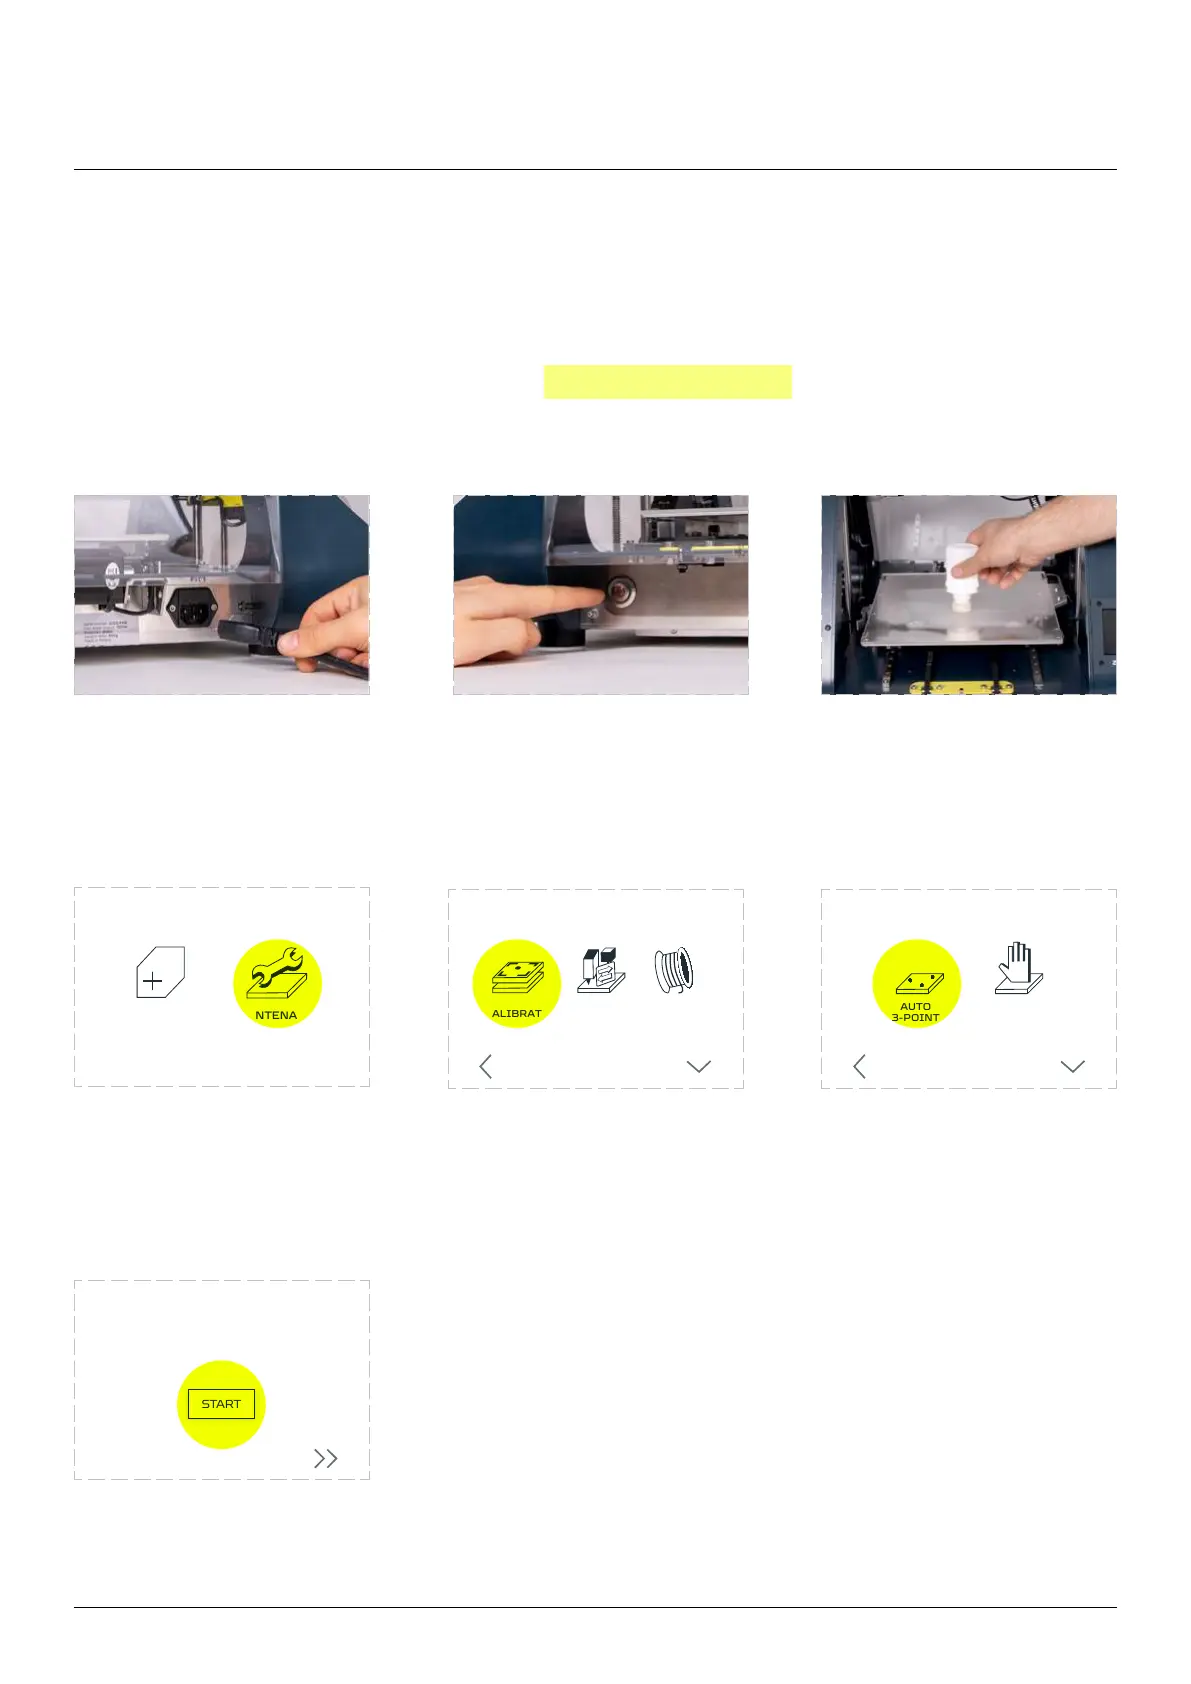
Connect the power cable
to the socket.
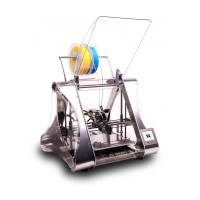
Turn on the machine. Apply 3D printing adhesive to
the center of the worktable.
Two layers should be enough.
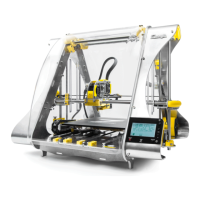
Choose ‘MAINTENANCE’. Choose ‘CALIBRATE’. Choose ‘’.
Wait for the machine to
probing.
To ensure best calibration
result print calibration
pattern. Choose ‘START’.