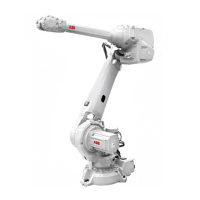
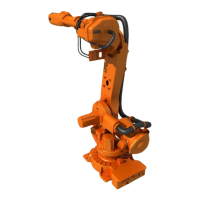
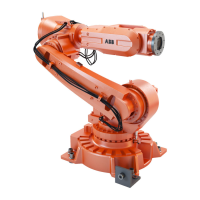
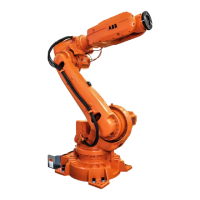
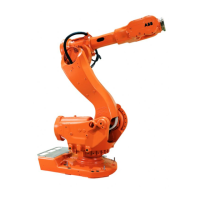
Removing motor axis 2
Use this procedure to remove motor axis 2.
InformationAction
xx0800000249
Move the robot to a position close to its
calibration position to allow the lock screw
to be inserted into the hole for lock screw.
1
Part:
• A: Lock screw
DANGER
Turn off all:
• electric power supply
• hydraulic pressure supply
to the robot, before entering the robot
working area.
2
CAUTION
Always cut the paint with a knife and grind
the paint edge when disassembling parts.
See Cut the paint or surface on the robot
before replacing parts on page 219.
3
See the figure above!Lock the lower arm in position by inserting
the lock screw into the hole and securing it.
4
For art. no. and dimension see:
• Required equipment - tools etc. on
page 347
See section
• Changing oil, axis-2 gearbox on
page 173
Drain the oil from gearbox axis 2.5
Continues on next page
348 Product manual - IRB 6640 Foundry Prime
3HAC040586-001 Revision: N
© Copyright 2011-2018 ABB. All rights reserved.
4 Repair
4.6.2 Replacing motor axis 2
Continued
 Loading...
