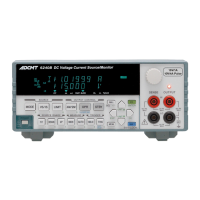
6243/44 DC Voltage Current Source/Monitor Operation Manual
2.2.3 DC Measurement
2-16
Turning the power ON.
1. Confirm that the POWER switch on the front panel is set to OFF.
2. Plug the supplied power cable into the AC power connector on the rear panel.
NOTE: To prevent 6243/44 failure, do not apply an input voltage or frequency to the
6243/44, that exceeds the specified ranges.
3. Plug the other end of the power cable into the AC outlet.
4. Set the POWER switch on the front panel to ON.
When the self-test is finished, the measurement screen appears.
NOTE: The display after the power is turned ON may vary depending on the condi-
tions saved to “Save 0” during the 6243/44’s previous use.
Initializing the setting conditions
Initializing the 6243/44’s setting statuses
5. Press the MENU key.
The parameter group selection screen appears.
6. Select PARAMETER LOAD by rotating the Data knob.
7. Press the key.
8. Select Load Default (parameter) by rotating the Data knob.
9. Press the key.
10. Press the DIRECT/ENTER key.
Upon completion of initialization, “Done” appears.
11. Press the EXIT key.
The measurement screen returns.
Connecting the DUT
Connect the DUT with the supplied input and output cable and alligator clips.
12. Connect the A08532 alligator clips to the supplied A01044 input and output
cable.
13. Connect the input and output cable to HI OUTPUT and LO OUTPUT termi-
nals of this instrument.
14. Clip the DUT 1 K resistor with the alligator clips.
 Loading...