Section 11 – History Log
11-3
Mounting and Wiring the Printer Interface Unit
The printer interface unit must be installed in a separately ordered PID box. It is powered locally by a
separately ordered plug-in transformer rather than by the RS-485 bus.
Step Action
1 Mount the printer interface unit in the separately ordered PID box.
2 Connect the printer to the interface unit using the 18’ cable supplied.
3 Connect the AC wires from the 12VAC transformer. You may plug the transformer into
the 120VAC outlet, but do not plug in the transformer for the printer at this time. Plug
that transformer in when the installation of the system is complete.
Addressing the Printer Interface Unit
The printer interface unit(s) use communication group number 02 on the RS-485 bus, and unit
numbers 0 (master printer) and 7 (slave printers). The printer interface unit comes pre-addressed for
communication group number 2 and unit number 0, so no adjustment to the addressing is required if
only one printer interface is being used.
If additional printer interfaces are being used, set jumpers E2 through E4 for unit number 7. See
Figure 11-1.
Displaying and Printing the History Log
The FOCUS 200 PLUS system can display the history log on the screen of an operating panel or
produce a hard-copy printout of events. The operating panel will display the last event that occurred,
and, by means of selector buttons, you can scroll through the history log.
The printer can be operated on-line or off-line. When the printer is operated on-line, events will be
printed out as they occur. When operated off-line, printouts are made on command from an operating
panel. A printout can be made of the most recent 60 events or the most recent 500 events, and will
begin with the oldest event. The printout can be terminated at any time by selecting Stop Print.
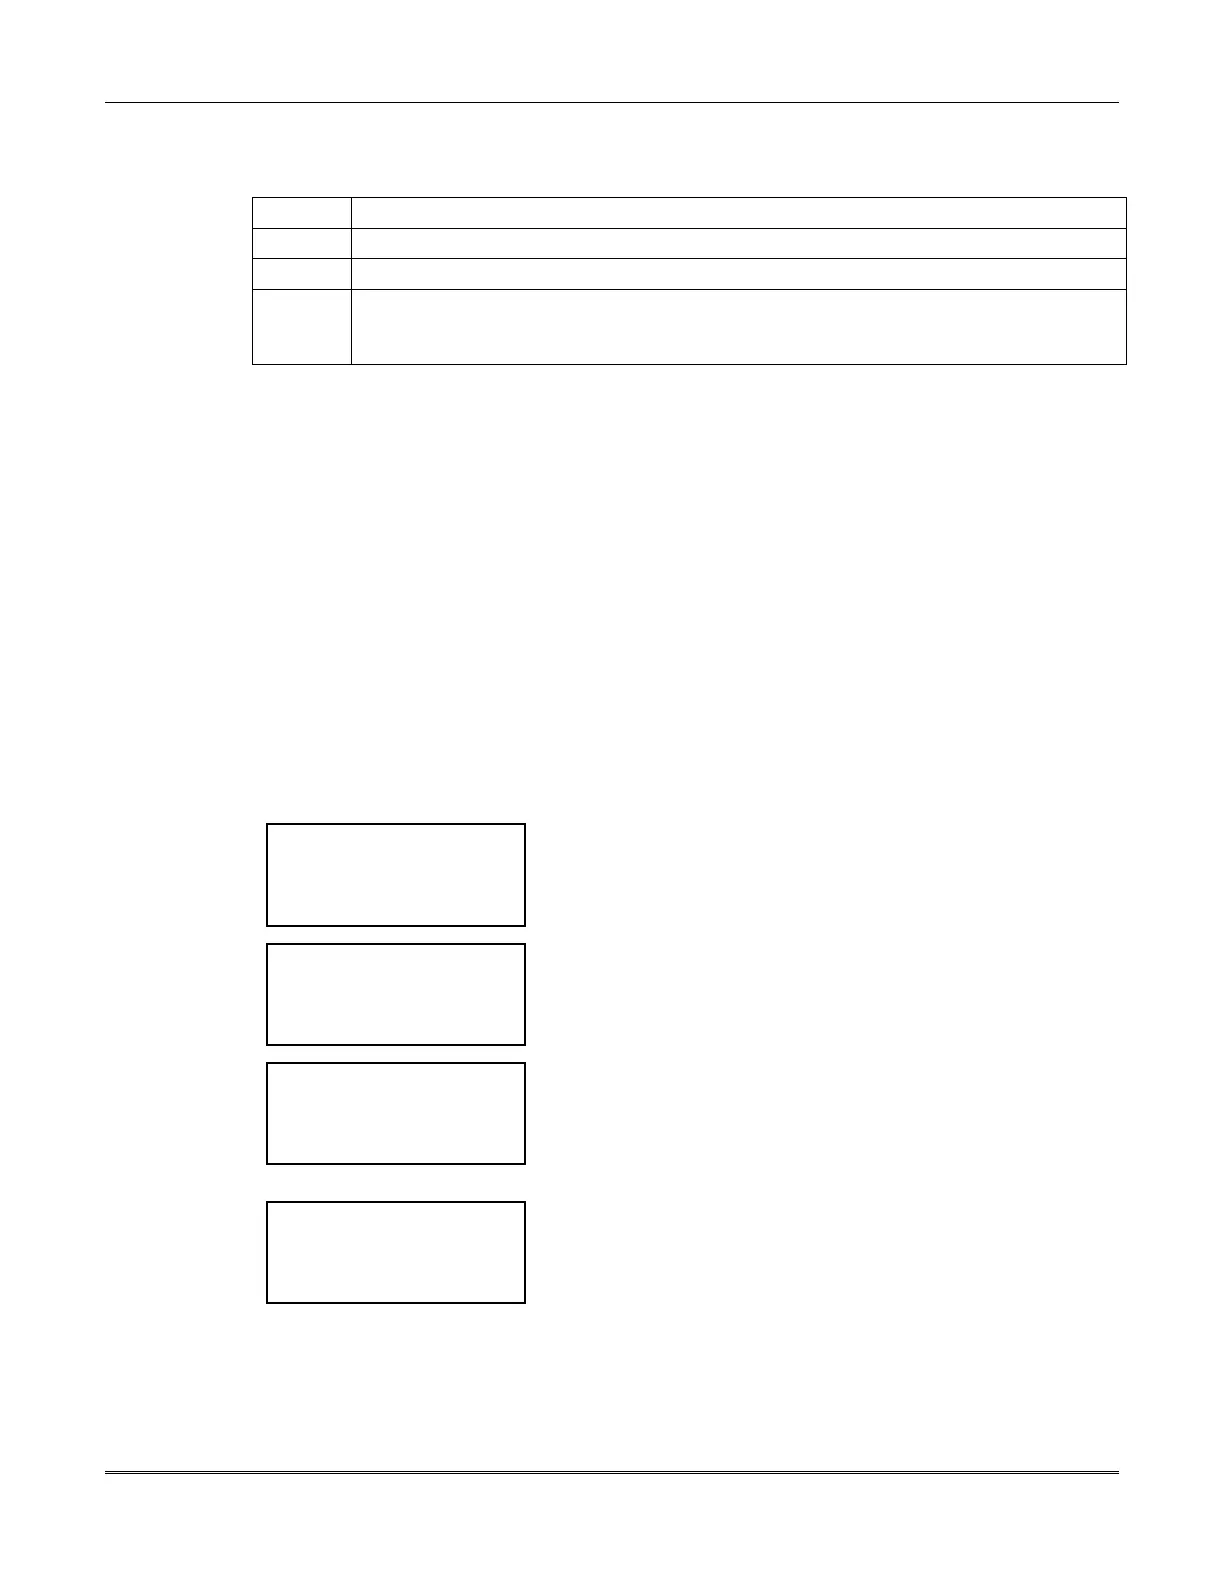
To display or print the history log, proceed through the following prompts:
< ? Enter choice:
< Lesson Turn on >
< See alarms Reset >
< Quit More >
Enter the Service Code.
Action Menu #1
is displayed.
Select
More
twice.
< ? Enter choice:
< Bypass History >
< Status Time >
< Previous More >
Action Menu #3
is displayed.
Select
History
to display the next screen.
< ? See history:
On this screen >
On Printer >
< Quit
This is the
See History Screen
.
Select
On this screen
to display the history on the operating
panel’s screen.
Select
On Printer
to print the history.
Select
Quit
to move back to
Action Menu #3.
09/28/98 11:06 AM
PNT245 OUTPUT RST
< Previous Pgdn >
< Quit Next >
If
On this screen
was selected, this screen is displayed.
The first line shows the date and time of the event. The second
line shows a description of the event.
Select
Previous
to display the previous event.
Select
Next
to display the next event.
Select
Pgdn
to display more detail of this event.
Select
Quit
to move back to the
See History Screen.
 Loading...