EasyManuals Logo

Aeon COBRA 400 2012 User Manual

Aeon COBRA 400 2012
196 pages
To Next Page IconTo Next Page
To Previous Page IconTo Previous Page
Page #107 background imageLoading...
Page #107 background image
TRANSMISSION
5-6
5
5. Remove forward gear and dog components until next snap ring.
Snap ring pressure can cause rings and pliers to eject
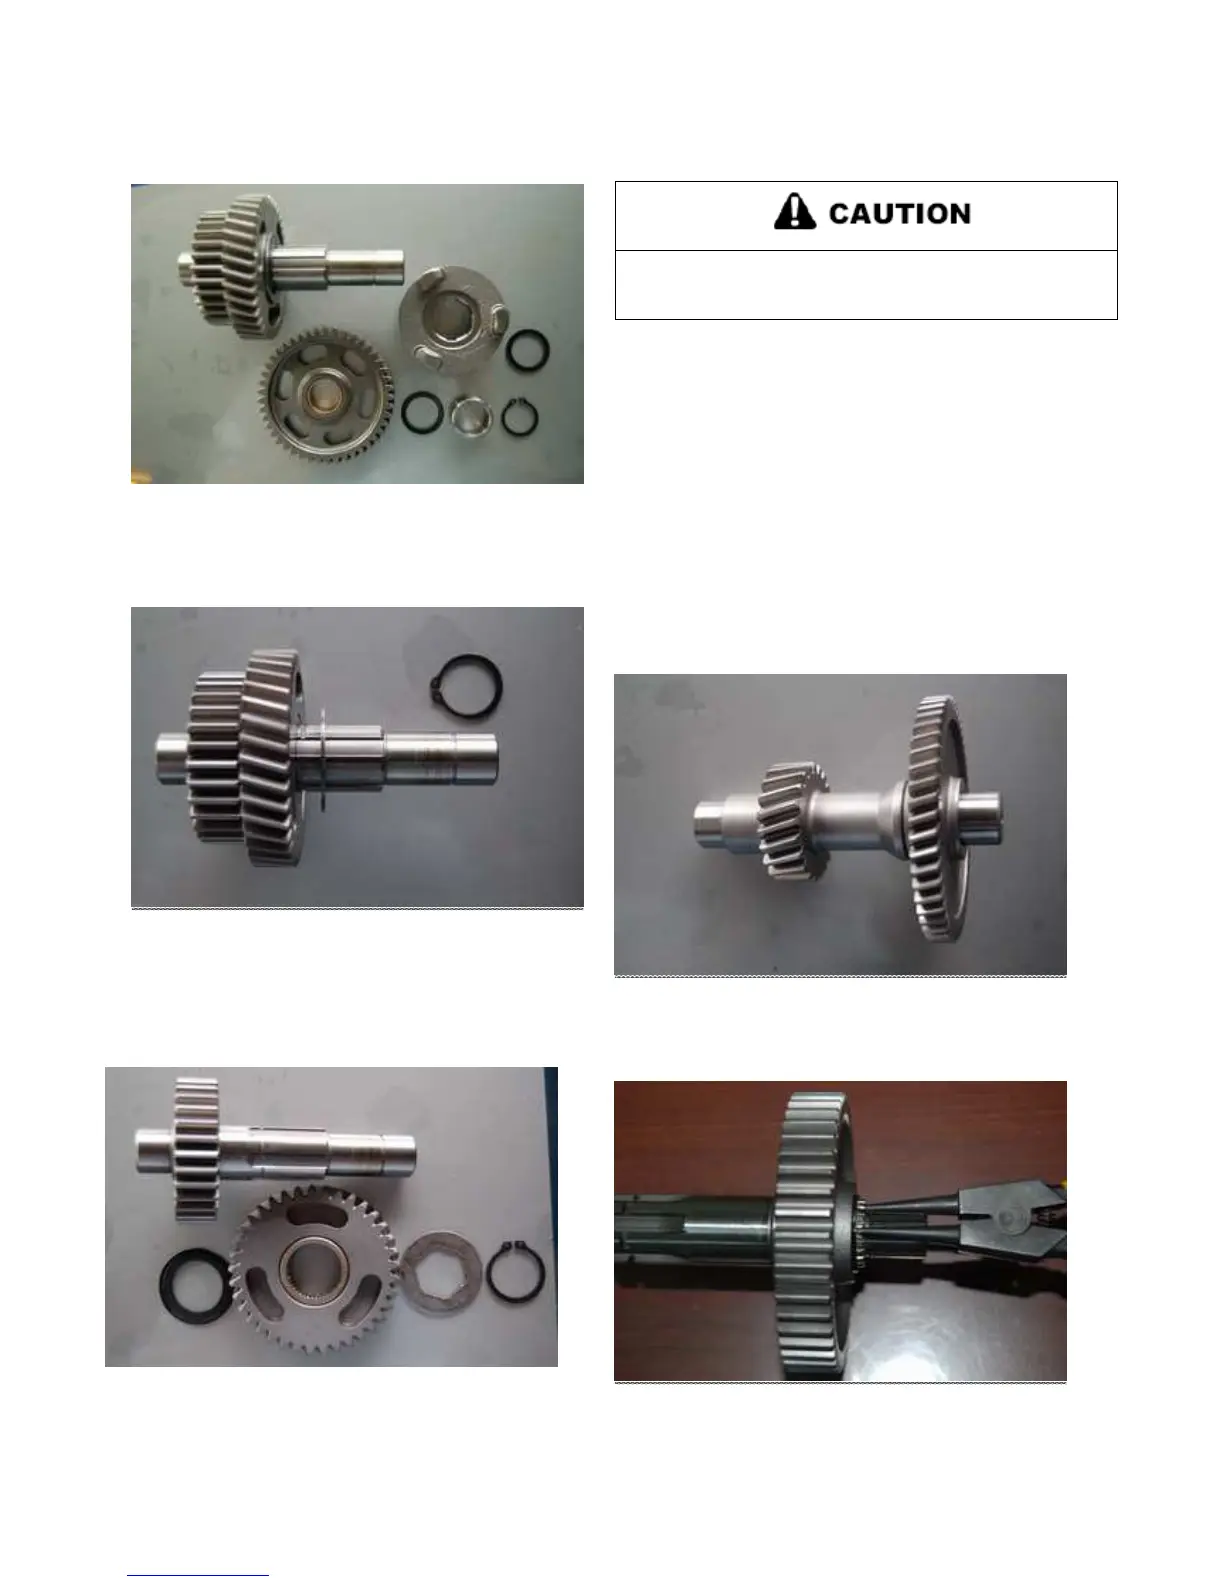
suddenly. Use care during removal.
7. Inspect the shaft and gears visually without excessive wear or
crack. Replace any damaged components.
8. Assemble the reverse gear, washer, a new snap ring, and the
sliding gear on the shaft.
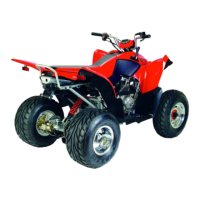
9. Assemble the forward gear, washer, bush and a new snap ring,
on the shaft.
6. Remove second snap ring from main shaft.
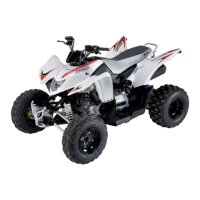
COUNTER SHAFT INSPECTION
Inspect the shaft and gears visually without excessive wear or
crack. Replace any damaged components.
6. Remove reverse gear components.
OUTPUT SHAFT REMOVAL AND INSPECTION
1. Remove the snap ring from output shaft.

Table of Contents

Questions and Answers:

Question and Answer IconNeed help?

Do you have a question about the Aeon COBRA 400 2012 and is the answer not in the manual?

Aeon COBRA 400 2012 Specifications

General IconGeneral
BrandAeon
ModelCOBRA 400 2012
CategoryOffroad Vehicle
LanguageEnglish

Related product manuals